Page 1 of 7
86 toy SAS
Posted: Mon Jan 29, 2007 12:24 pm
by Stinson
This build is going to be a slow process, but should get done none the less. I started out with an 86 toy that I got for free, it was parked next to a barn and wouldnt start. PO put a new battery in backwards and blue the main fuse. I went over and bent the prongs together and drove it home.
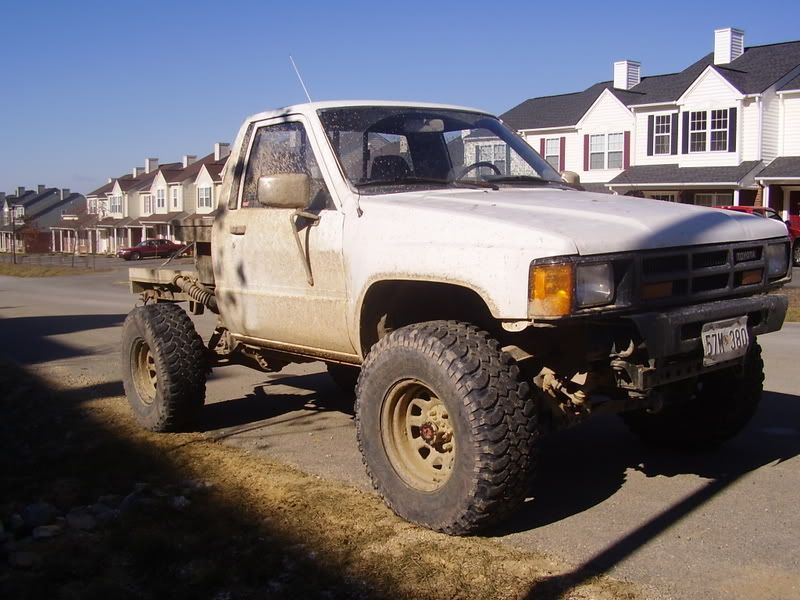
After a tune up and timming chain guides the 22r was running good. Slapped a set if 32inch muds on it and bobbed the bed and DD'd it for 2 years. With a little wheeling at Rausch Creek and Paragon.

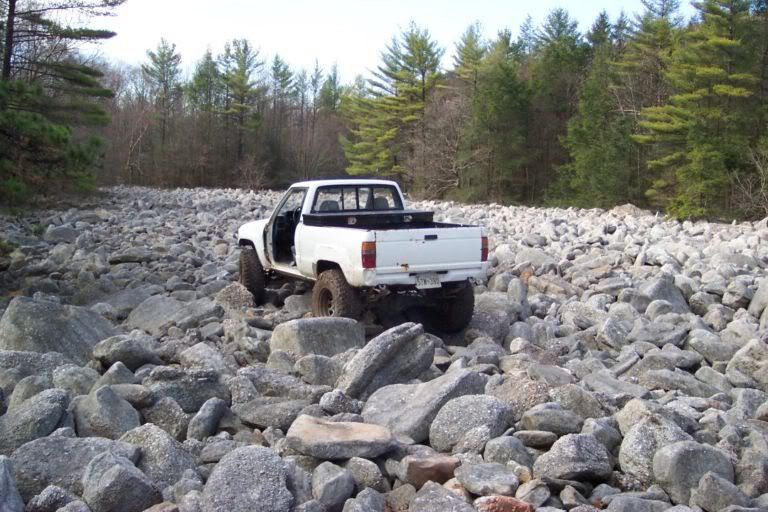
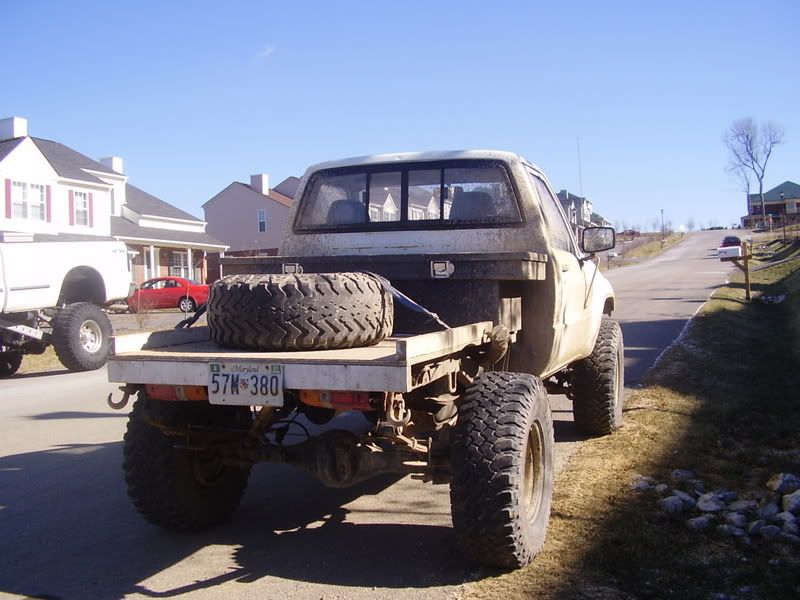
Bed rusted out so it got yanked, in hopes of making a nice flat bed. That didnt happen because of a lack of welder. So a piece of ply wood went on and sat my tool box and spare on it. One Aussie locker and a plywood bed later and this is what ive got.
Yesterday I picked up an axle, yanked it out of an 85 and began taking off the uneeded crap. Im going to tear the axle down and rebuild it.
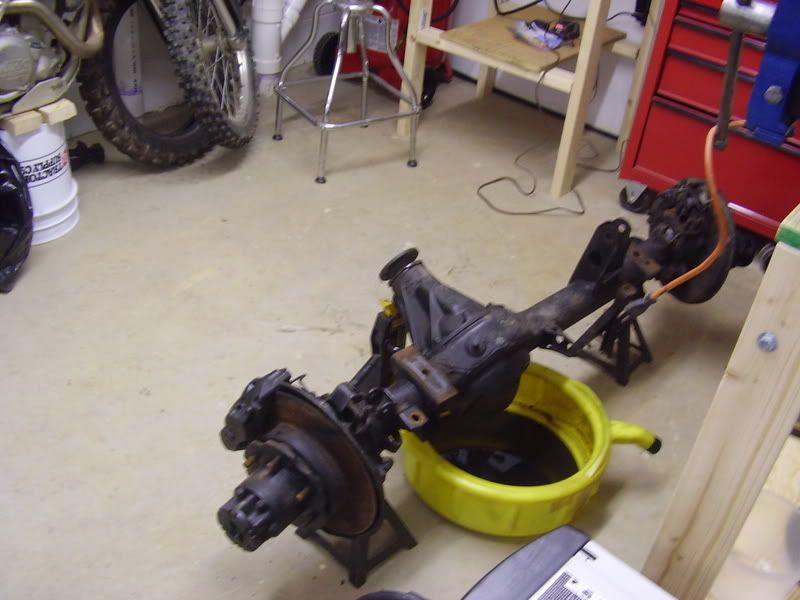
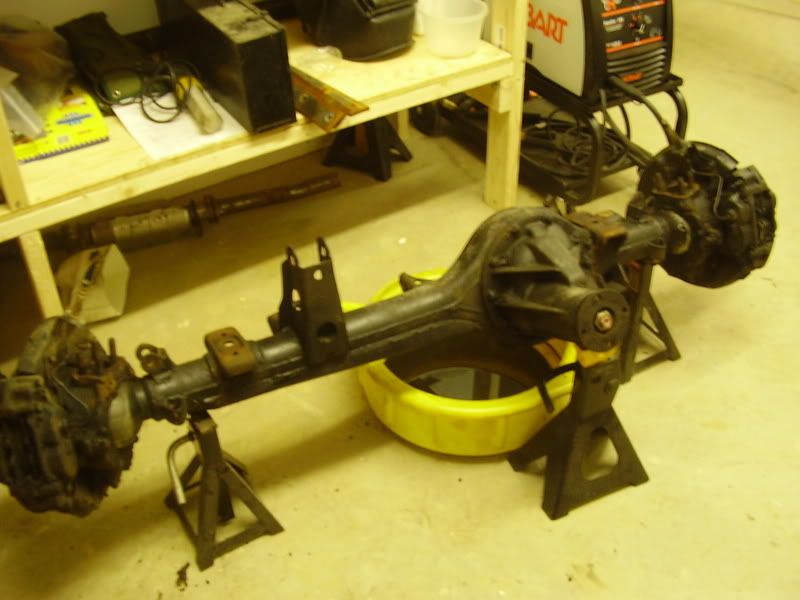
The plan as off right now, is to run rears up front. My stock 86 pack and add some 85 rears to get to ride hieght. Im going to build a drop hanger with a 2inch reciever in it and then run 63" chevies out back which I already have as well. I will regear when I get the money. I also plan on doing a tube bed and then prolly incorporate an exo into that. This will all be a while since I took a pay cut moving down here...... So thats the plan and I will try to take some pics as I make progress.
Posted: Mon Jan 29, 2007 12:38 pm
by Leach
Looking good man, cut her up.
Posted: Mon Jan 29, 2007 12:46 pm
by Lukipela
no matter how much you want it to be done, it will never be finished, there will always be something else to do to the toy. but it does look good
Posted: Mon Jan 29, 2007 1:34 pm
by Yoda
looks good, what size meats you gonna run on it
Posted: Mon Jan 29, 2007 4:27 pm
by shmoken875
you already have a running start man

Posted: Sat Feb 03, 2007 11:56 am
by Arya Ebrahimi
Stinson,
Sounds like a solid plan. Sounds remarkably familiar too. If you need a hand with anything, just holler, there are a few people in the club now with Toy SAS experience. Also, if you need any misc. stock parts, let me know, I just might have it kicking around the shop.
Ary
Posted: Sat Feb 03, 2007 1:22 pm
by MtnToys
I have 54mm socket that I can lend you if you need it to torque the wheel bearings to spec. You might want to consider using your IFS wheel hubs on the sold axle so that your SFA will be the same width as your rear. Its easy cheap and it works.
Posted: Sat Feb 03, 2007 4:54 pm
by Stinson
And how do you do that??? Oh and if you need a tie rod, I got one you can have. Cya Stinson
Posted: Sat Feb 03, 2007 5:16 pm
by Stinson
Thanks Ary I might have some questions for you here and there. One thing I might need to borrow or buy, if you dont have one is the frame jigs so I know where the holes in the frame need to go for my shackles. Got a set of them?? It wont be for a while, still gathering parts and need steering still. CYa Stinson
Posted: Sat Feb 03, 2007 7:40 pm
by yotacowboy
i've got some measurements from Sky manufacturing for the shackle tubes... i'll dig them up for you. the jig works okay, but all you need is a hole-saw and about 5" of 1/4" steel round stock... and a weak ass drill so you don't break your wrists.
as far as the IFS bearing hub deal: it's a simple way to get the front axle to match the width of the rear without running 1.5" wheel spacers. search on pirate for how to do it for free (i don't know if doing it the "free" way is that safe, tho...), otherwise you'll need to run sky's wide axle kit. check out sky-manufacturing.com. i'm running the widening kit, as is miller (i think...). works great and you won't run into the issues associated with dissimilar metals/wheel spacers loosening, etc. a lot safer, imho, and worth the money.
not much here more than pics, but here's my sas from a while ago:
viewtopic.php?t=83
Posted: Sat Feb 03, 2007 7:45 pm
by MtnToys
IFS hub

SA hub
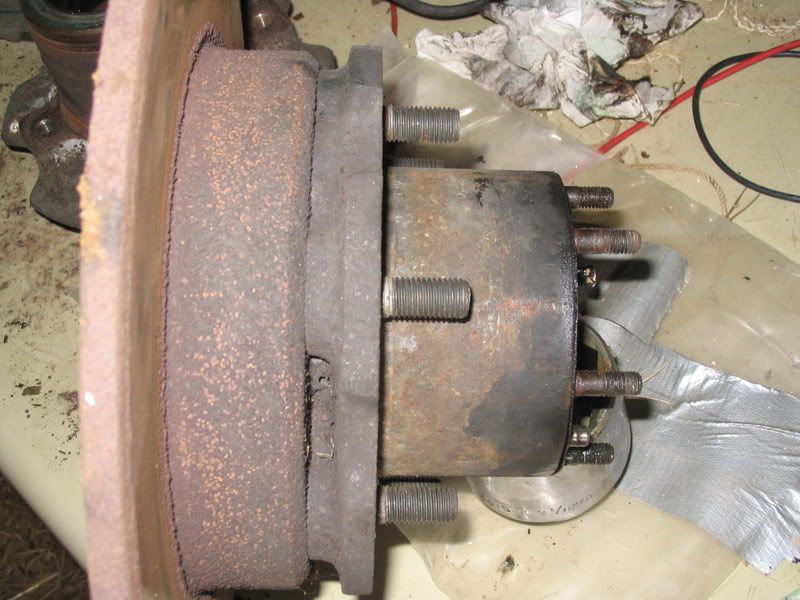
The point where the wheel mounts to the hub is 1.5â€
Posted: Sat Feb 03, 2007 7:48 pm
by MtnToys
Thanks for the offer on the tie rod. Im going to see if I can adjust it first. If not I might have to take you up on your offer.
Posted: Sat Feb 03, 2007 9:21 pm
by MILLER
I second Clays opinion on using Sky's widening kit, solid stuff. The hole saw however, didnt work for me. burnt up a lenox saw and ended up cutting the holes with a torch. Very interesting with the fuel line 2 inches away from the hole. I am not going to post how I shielded the heat from the line, dont want any resposibility with that mess. There is webing inside the frame where you have to cut the hole. I do have a set of frame jigs somewhere if you want to use them. The are from the Marlin SAS kit, and they are real sloppy though.
For cutting off the IFS brackets, cut most of the way through toyotas shitty welds with an angle grinder and chisle the bracket off or bend it back and forth till it breaks. Leaves a lot less to grind. You will have to cut the bracket apart so that you are breaking one weld bead off at a time.
Posted: Sat Feb 03, 2007 11:33 pm
by Stinson
I was planning on running sky's axle widening kit. Now I do remember reading about using the IFS hubs to widen the axle. There was alot of people arguing both ways. Ill do some more research.....
Posted: Sun Feb 04, 2007 9:24 am
by yotacowboy
MILLER wrote:For cutting off the IFS brackets, cut most of the way through toyotas shitty welds with an angle grinder and chisle the bracket off or bend it back and forth till it breaks. Leaves a lot less to grind. You will have to cut the bracket apart so that you are breaking one weld bead off at a time.
an air hammer/chisel works wonders, too.