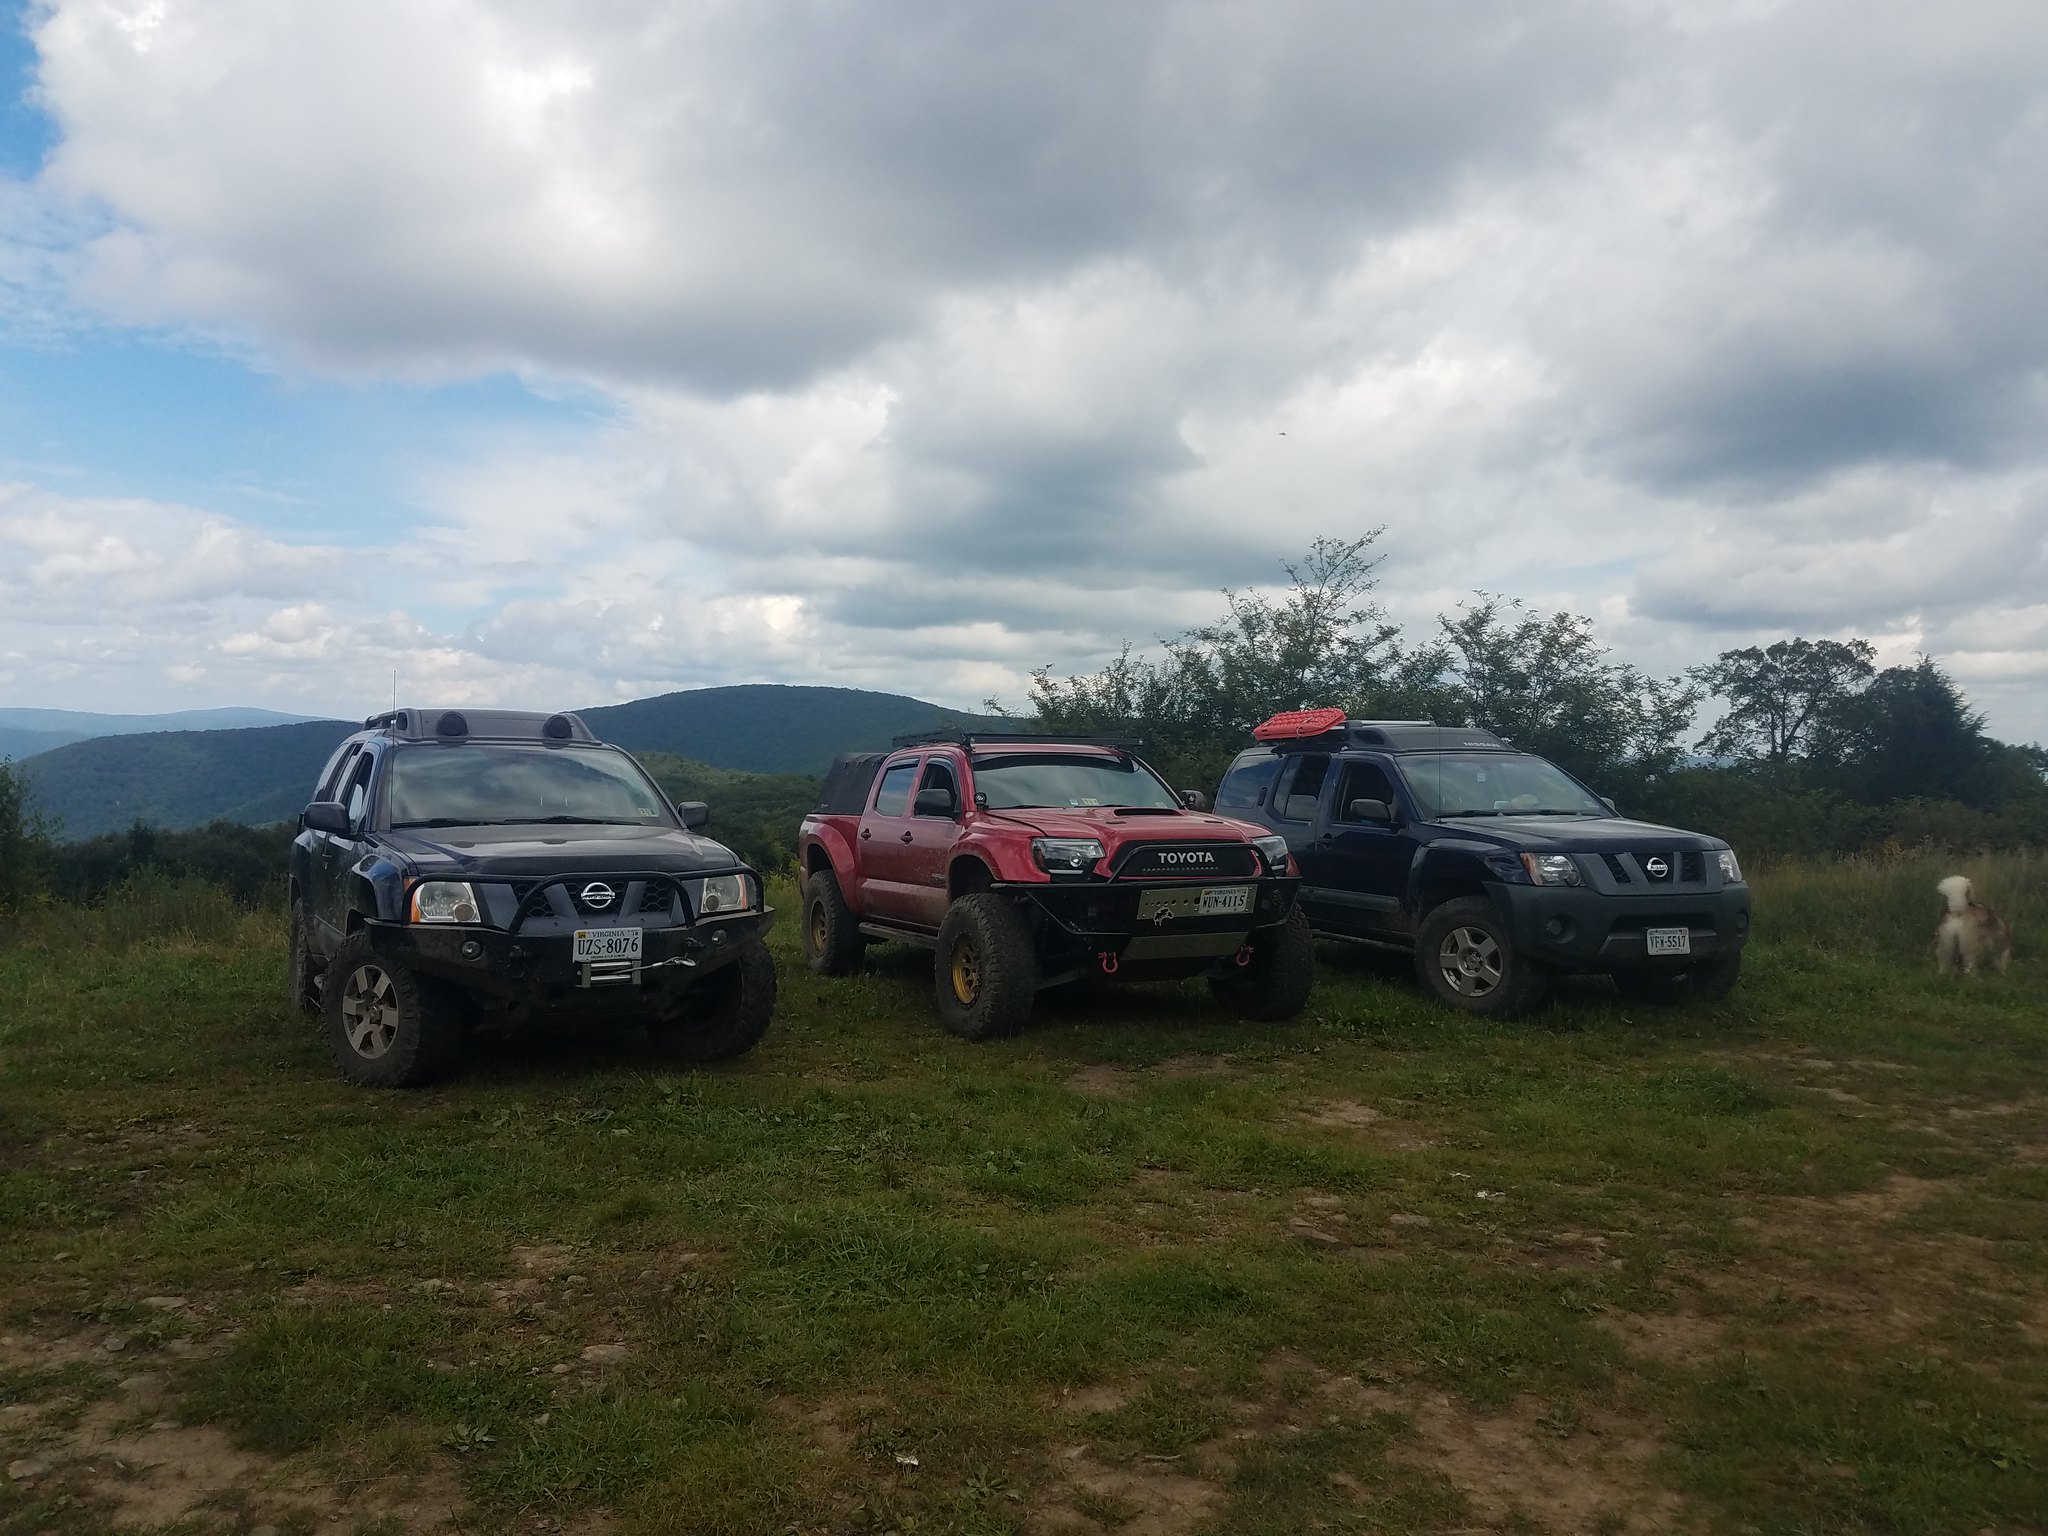
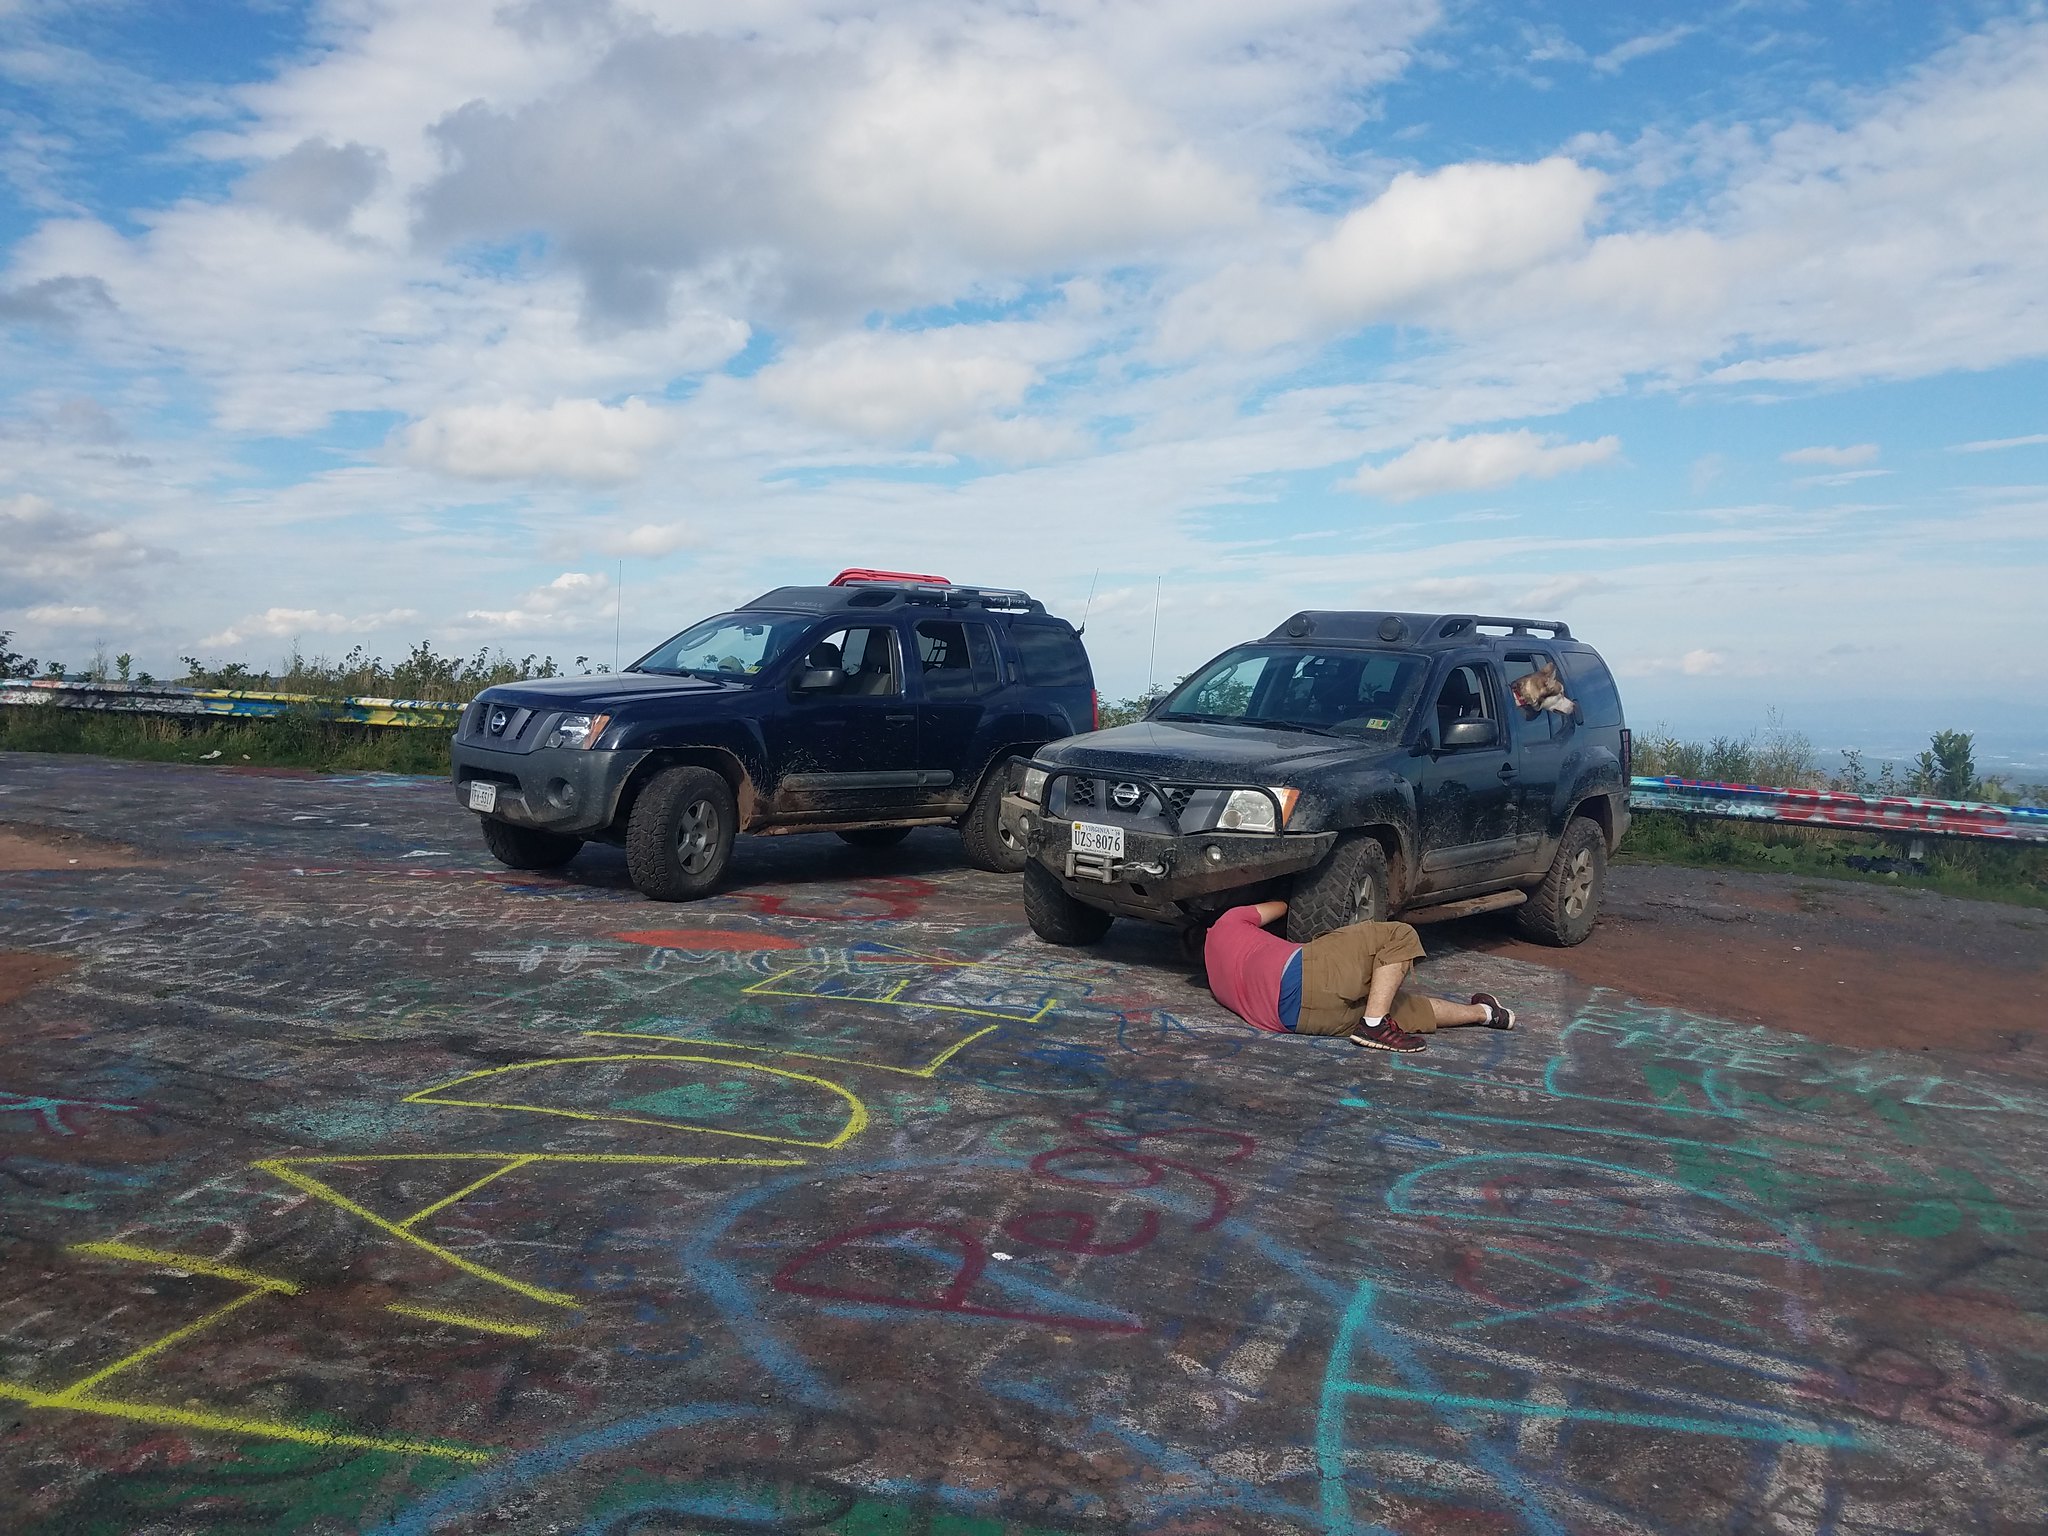
Still falling behind. Did go on a trip with some guys from the Xterra group on FB. That was a good time! Only 3 of us showed up but we made the most of it.
Three of us went out to Flag Pole yesterday and ran the Union Springs leg from the bottom up. This was my first time going up this route and it was a lot of fun! It's much more challenging in this direction and I really enjoy the technical trails so I was right at home out there.
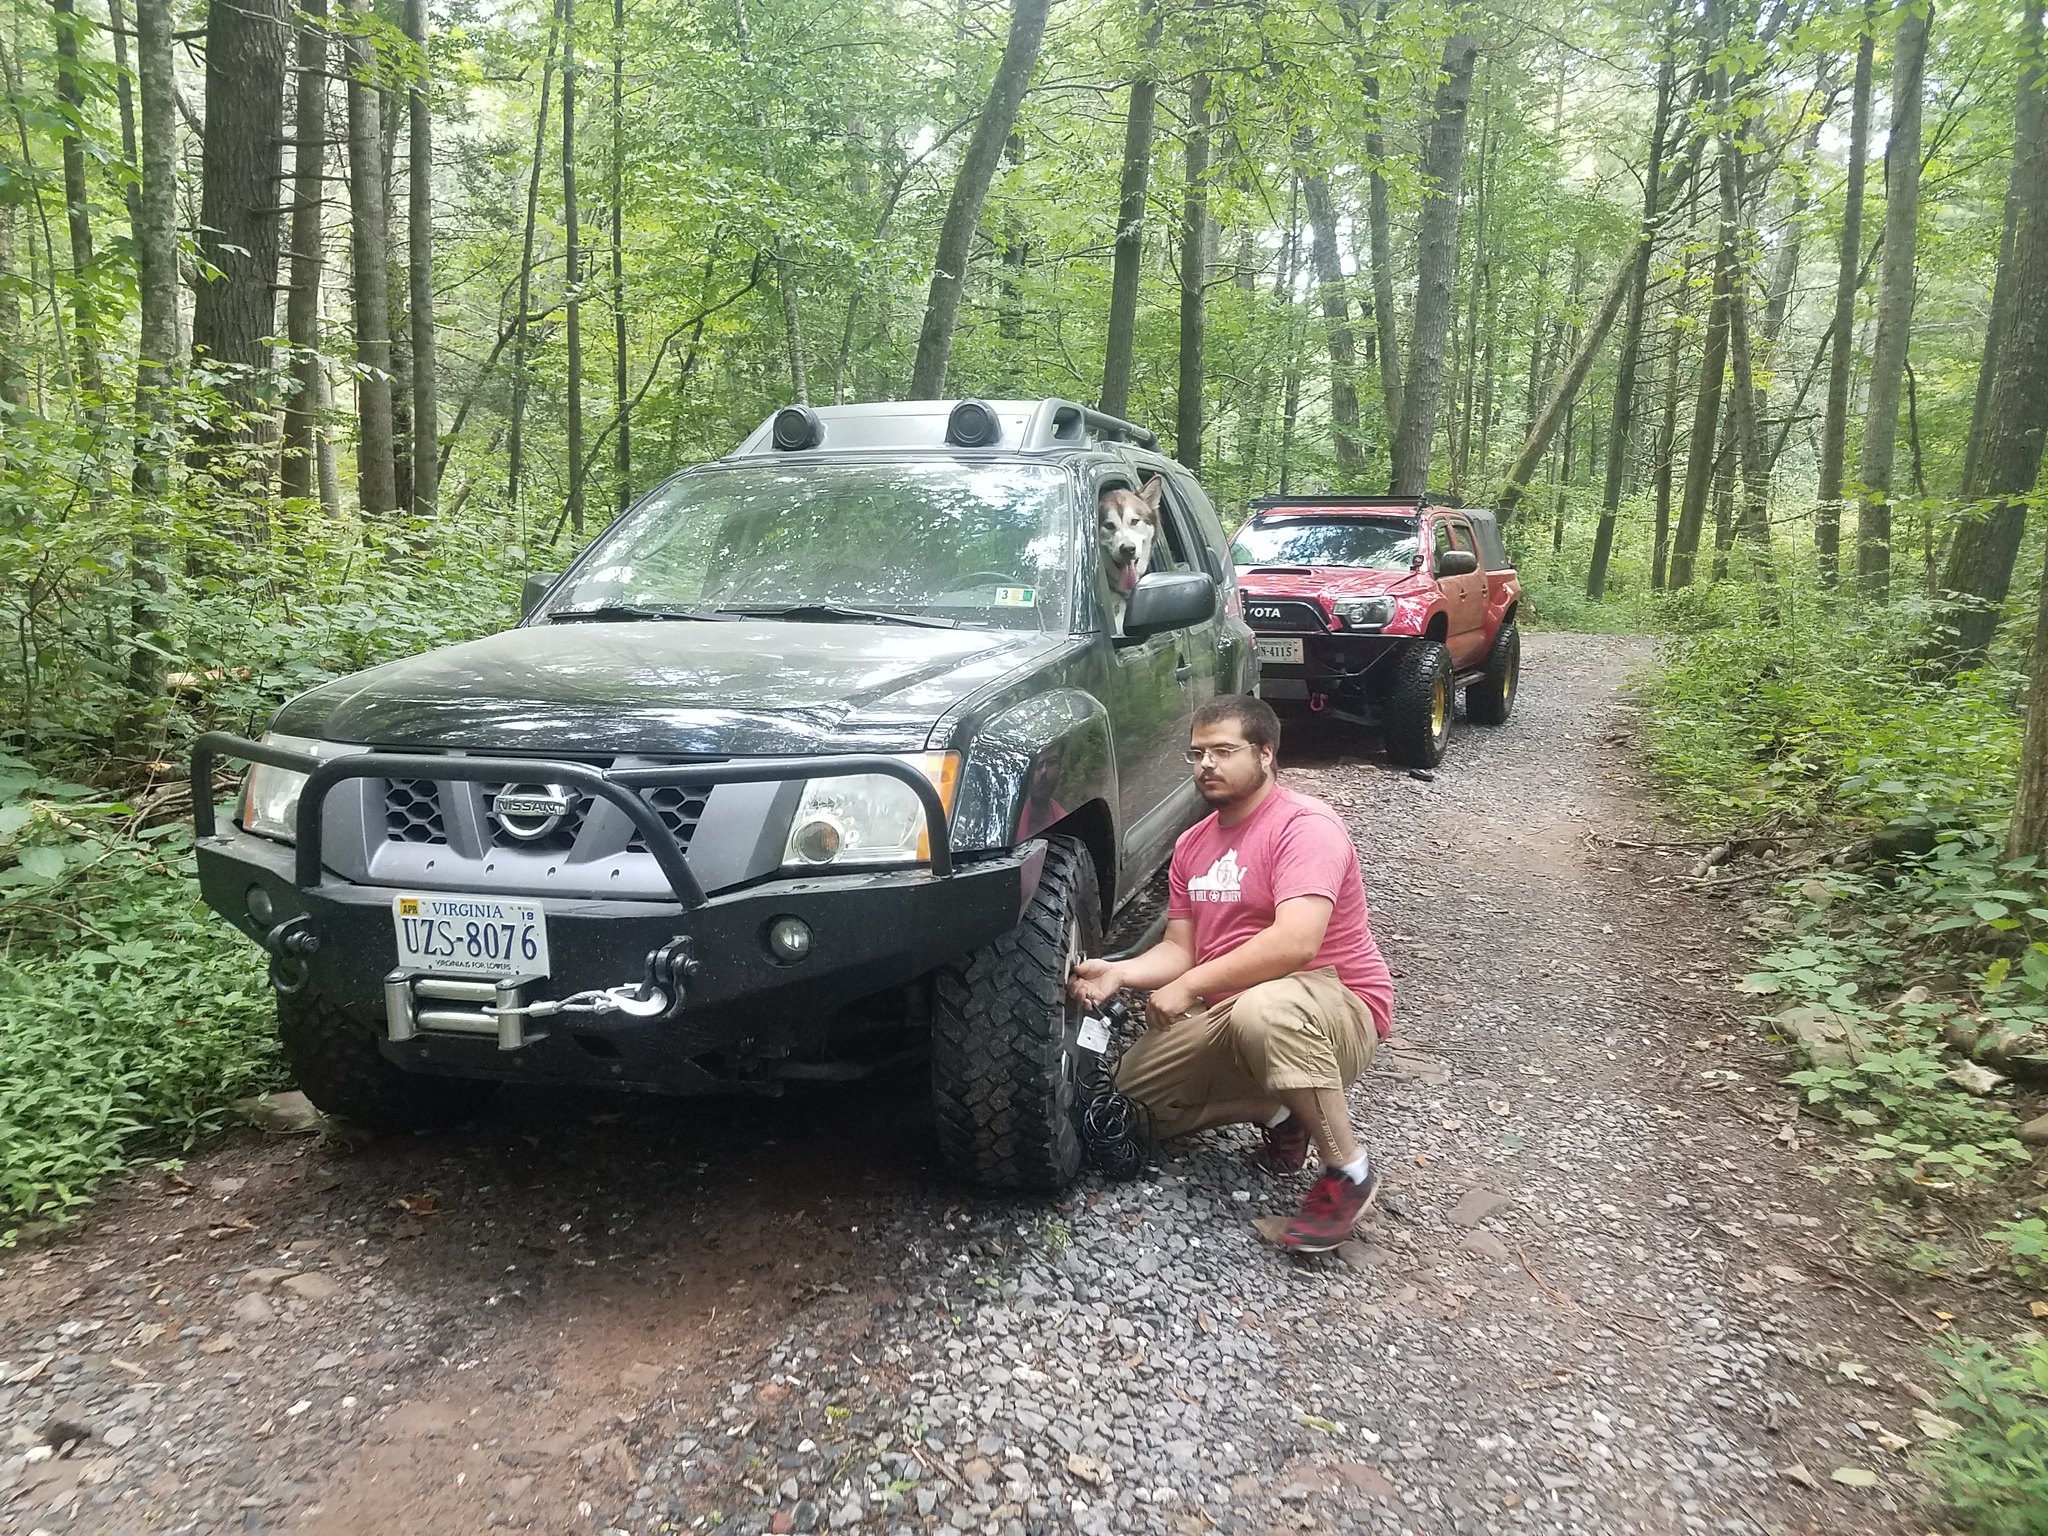
We met up at Sheetz in Harrisonburg to fuel up and get ready for the trail. Only three of us showed up. Chris, David and myself. We headed out around 10:45. At the creek crossing, we stopped to air down.
 20180825_113451
 by
TerryD, on Flickr
 20180825_113500
 by
TerryD, on Flickr
 20180825_113512
 by
TerryD, on Flickr
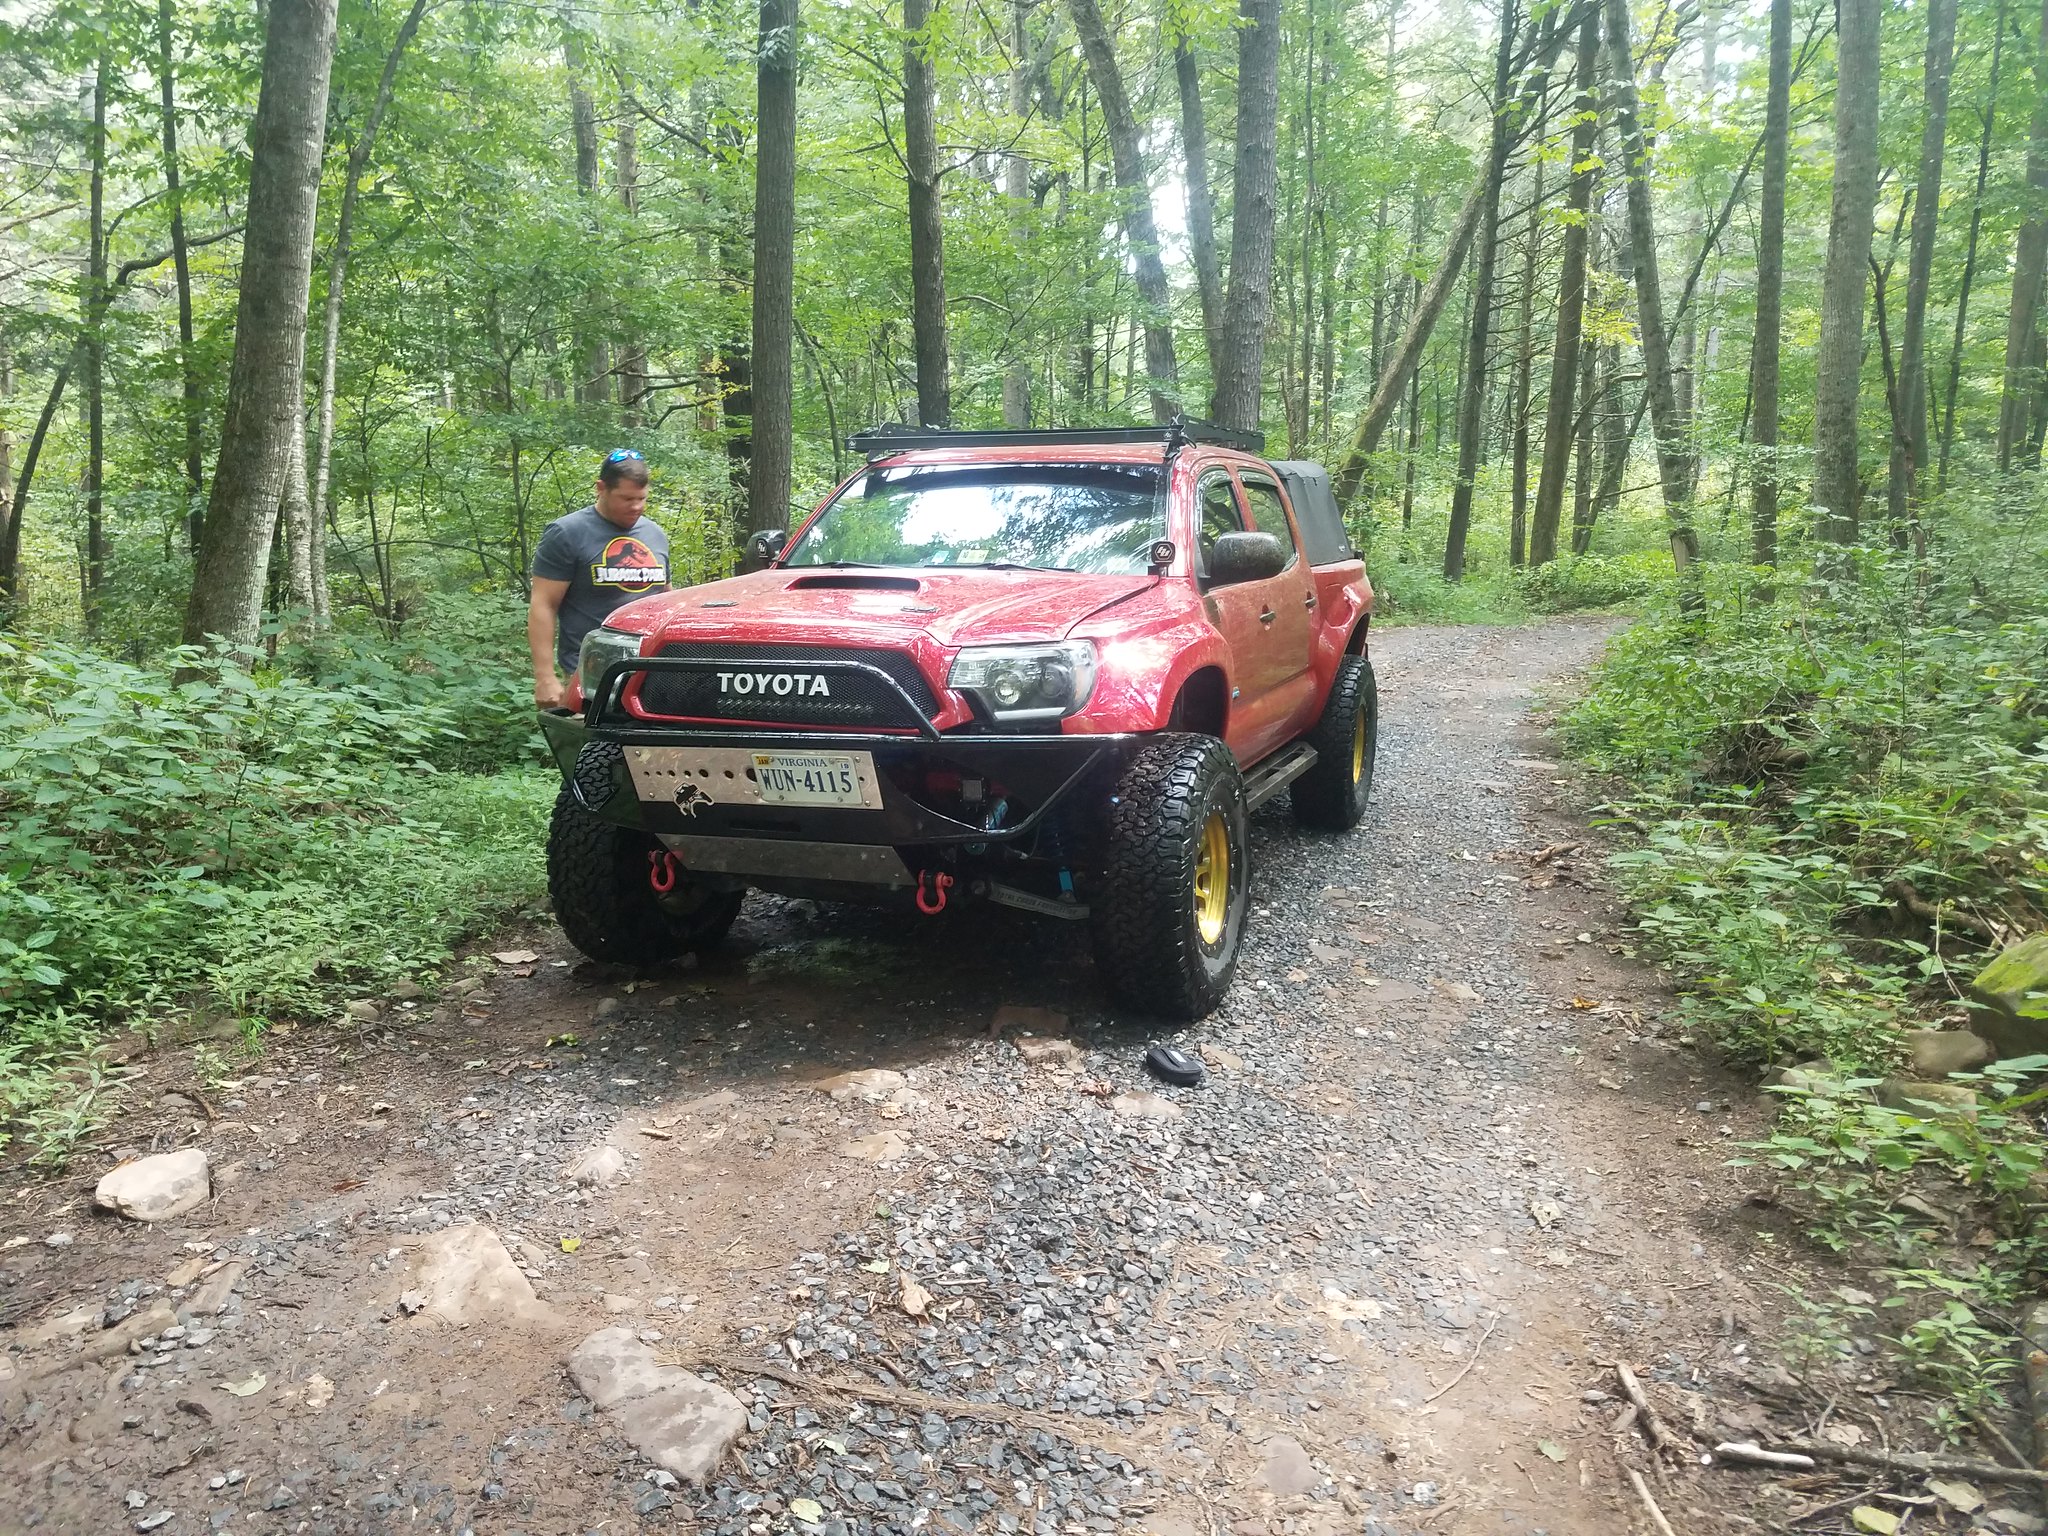
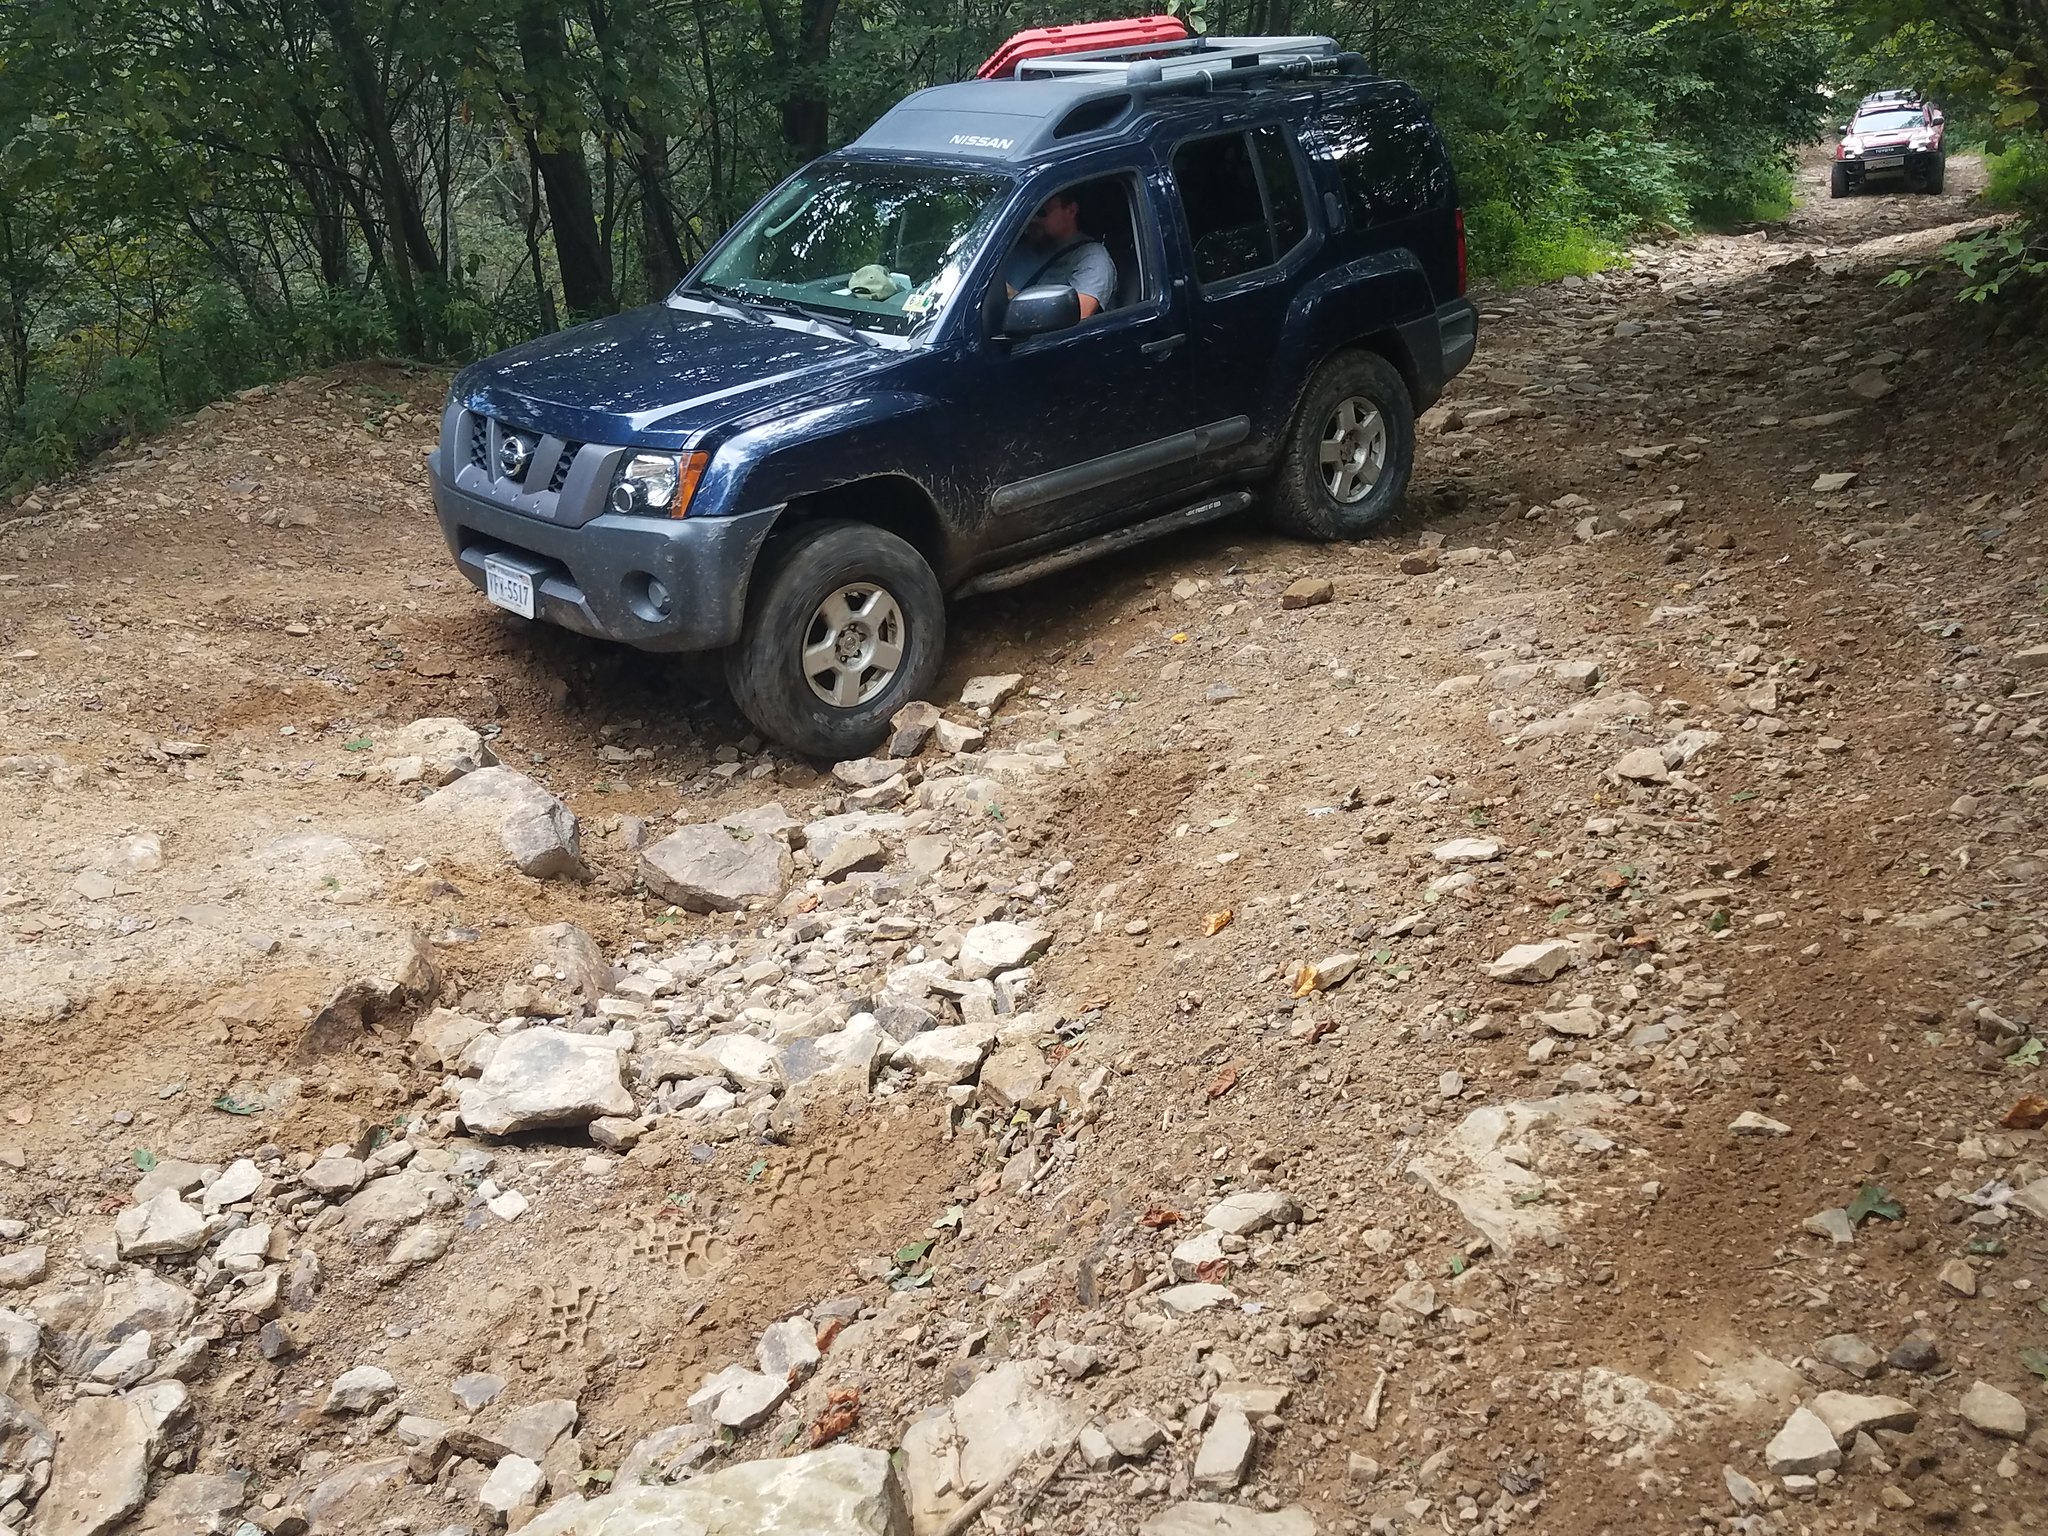
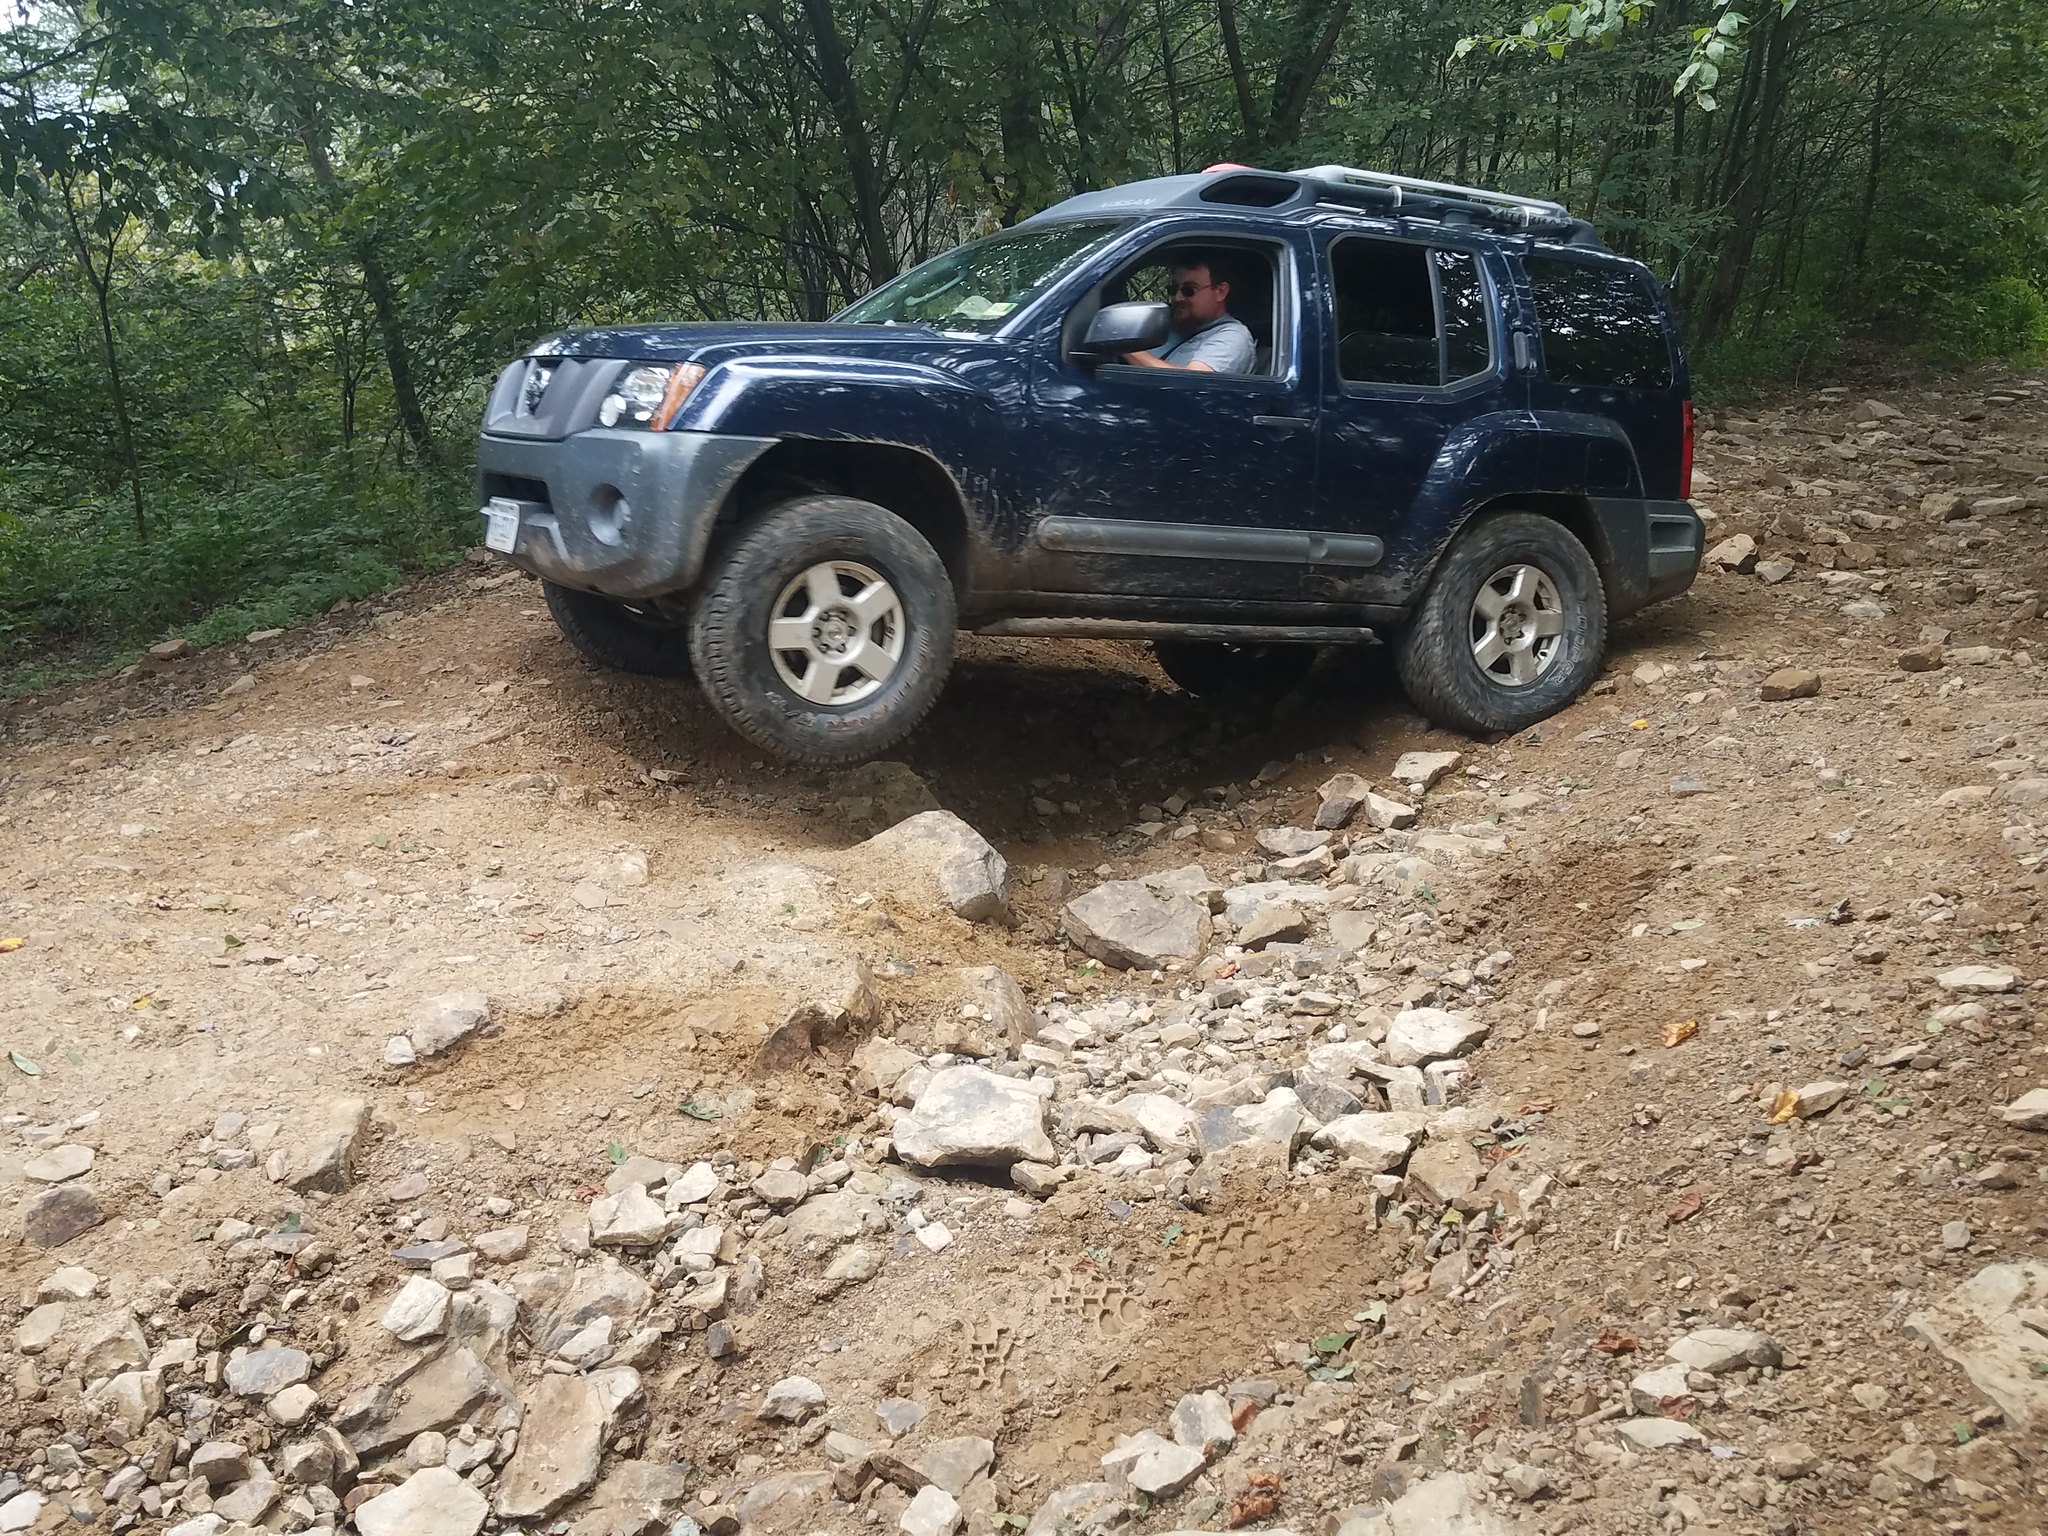
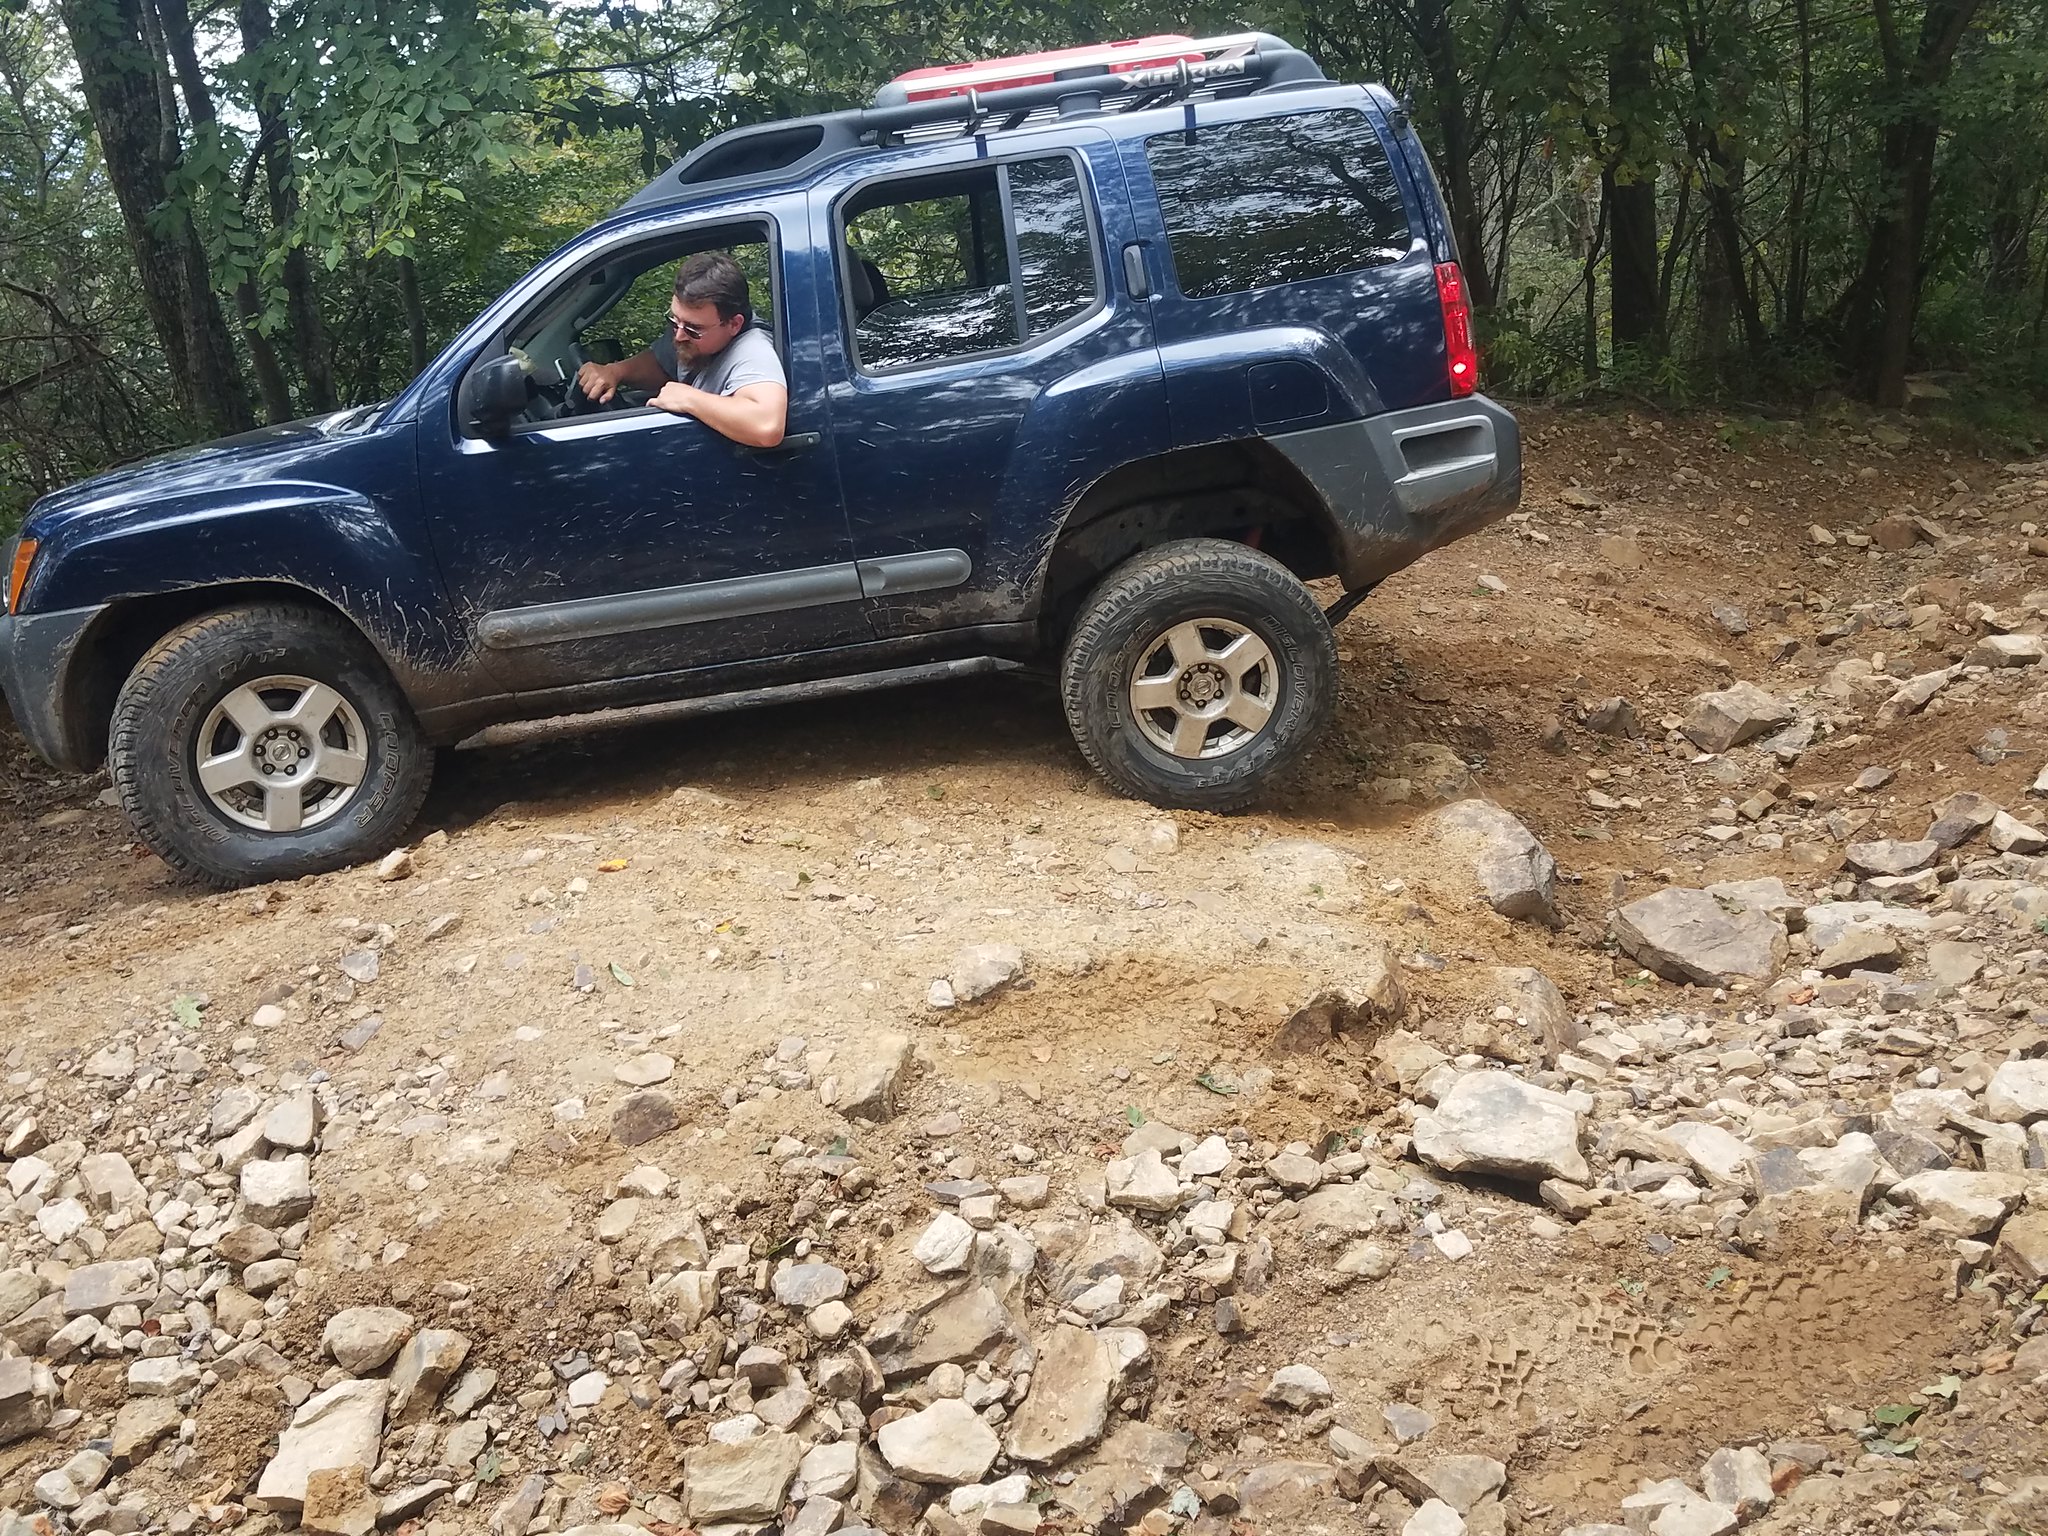
We rolled along up the gravel road pretty good and when we hit the muddy field at the trail head, Chris took the lead. His Taco with the long travel suspension just soaked up the trail and he just sailed along in front. He'd stop and let us catch him up regularly.
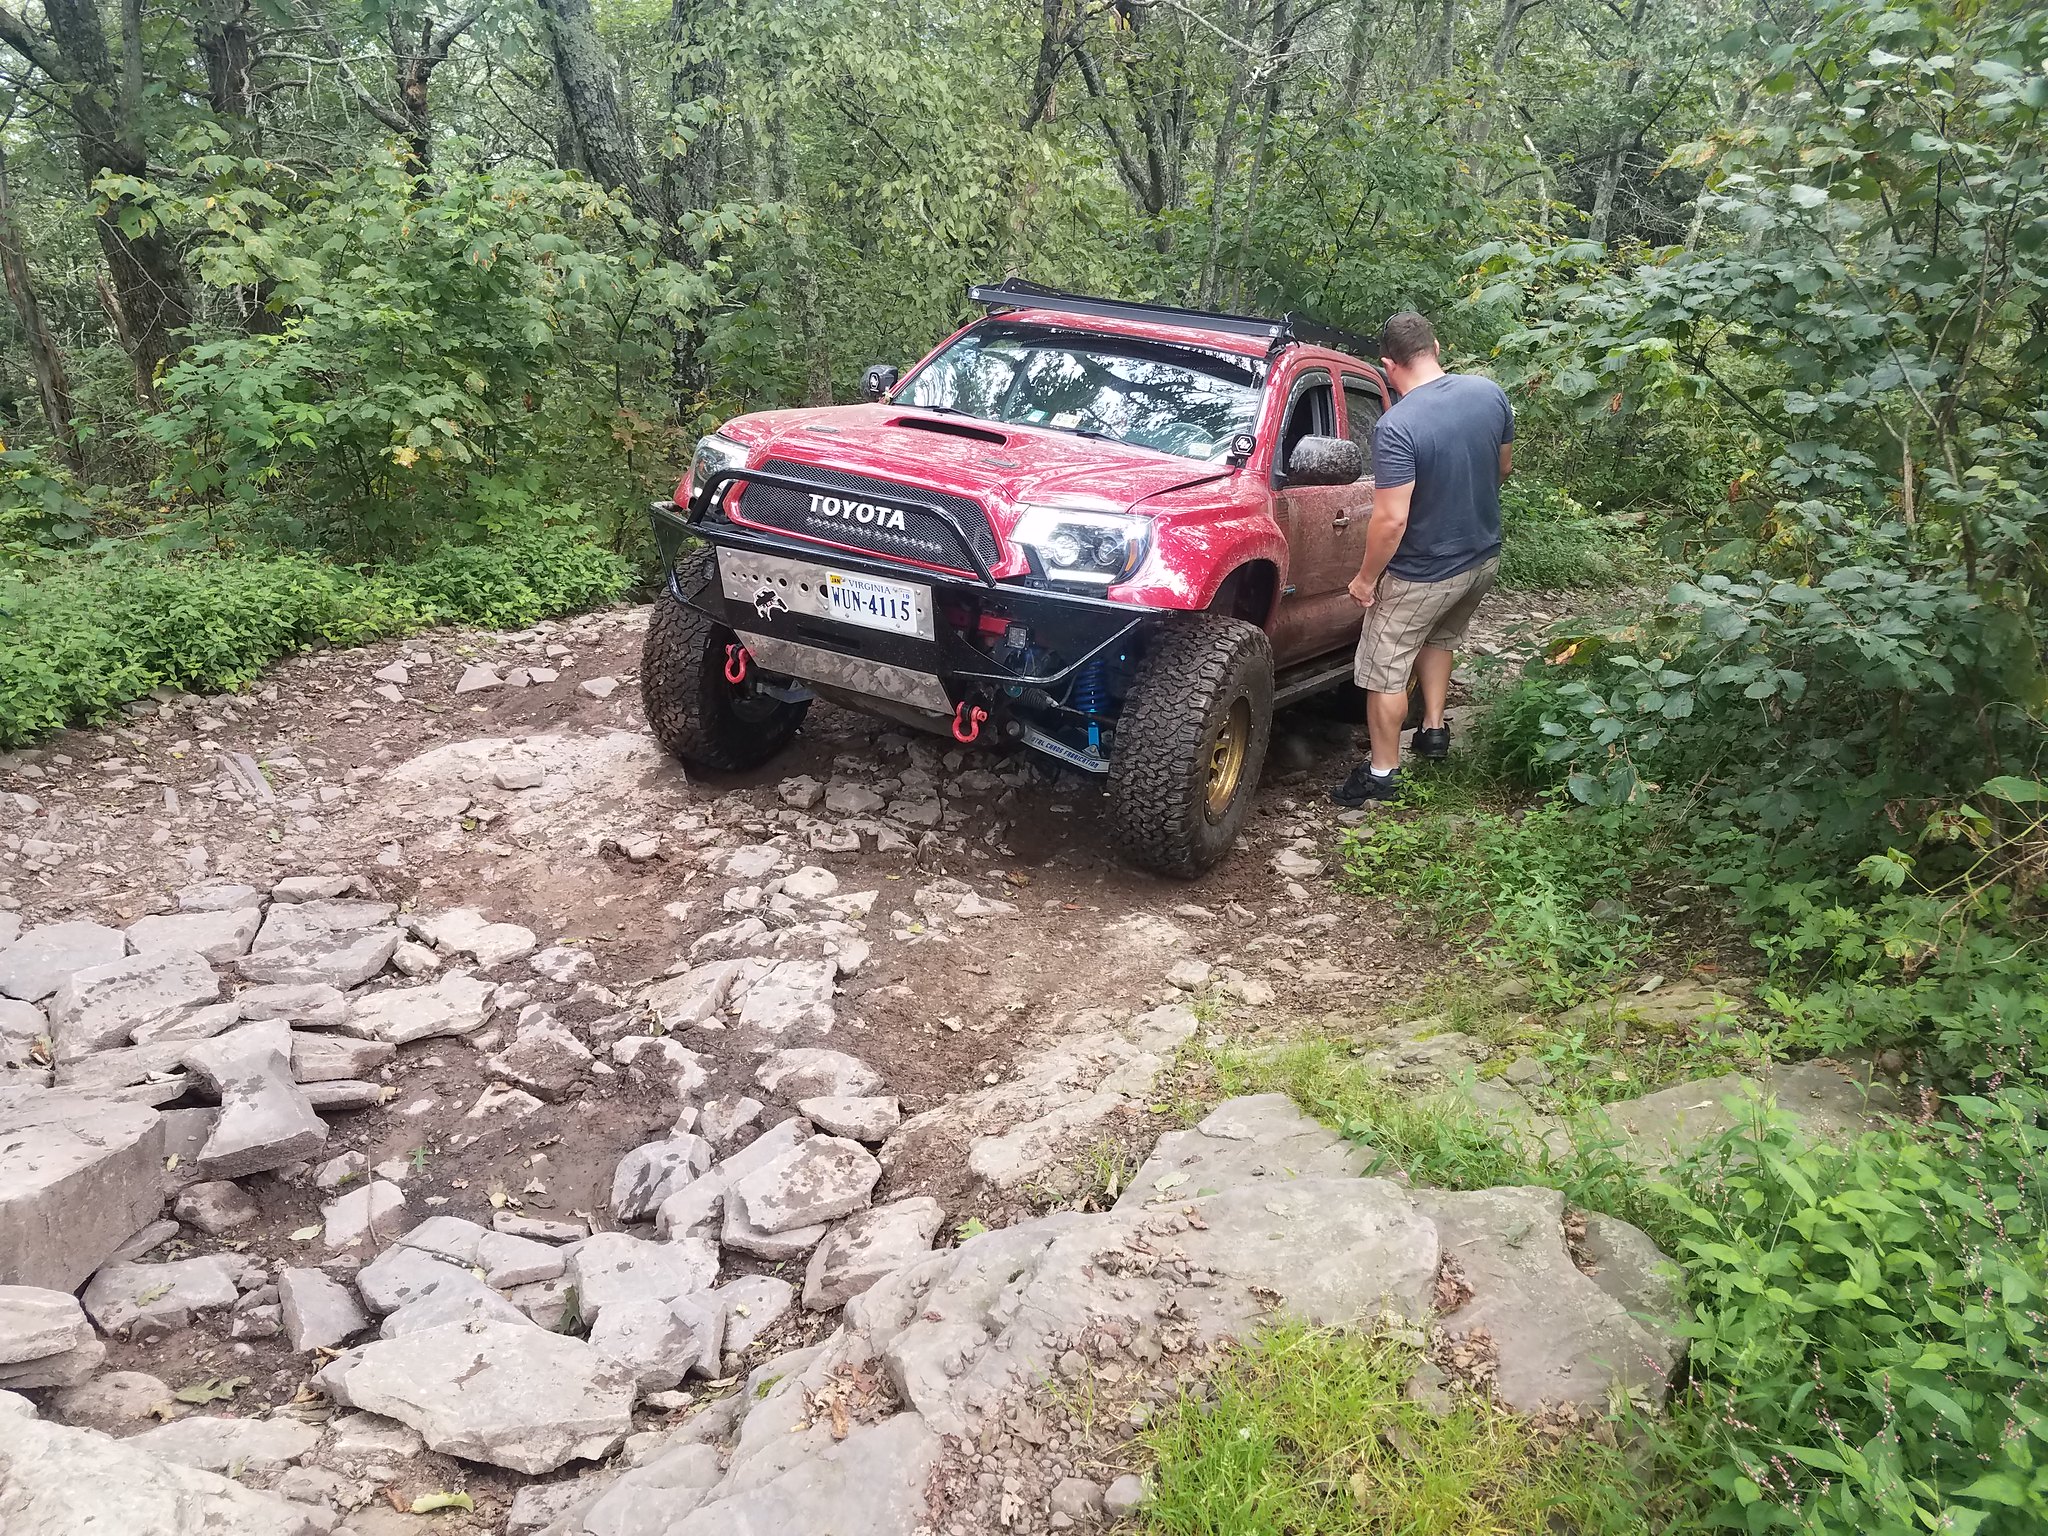
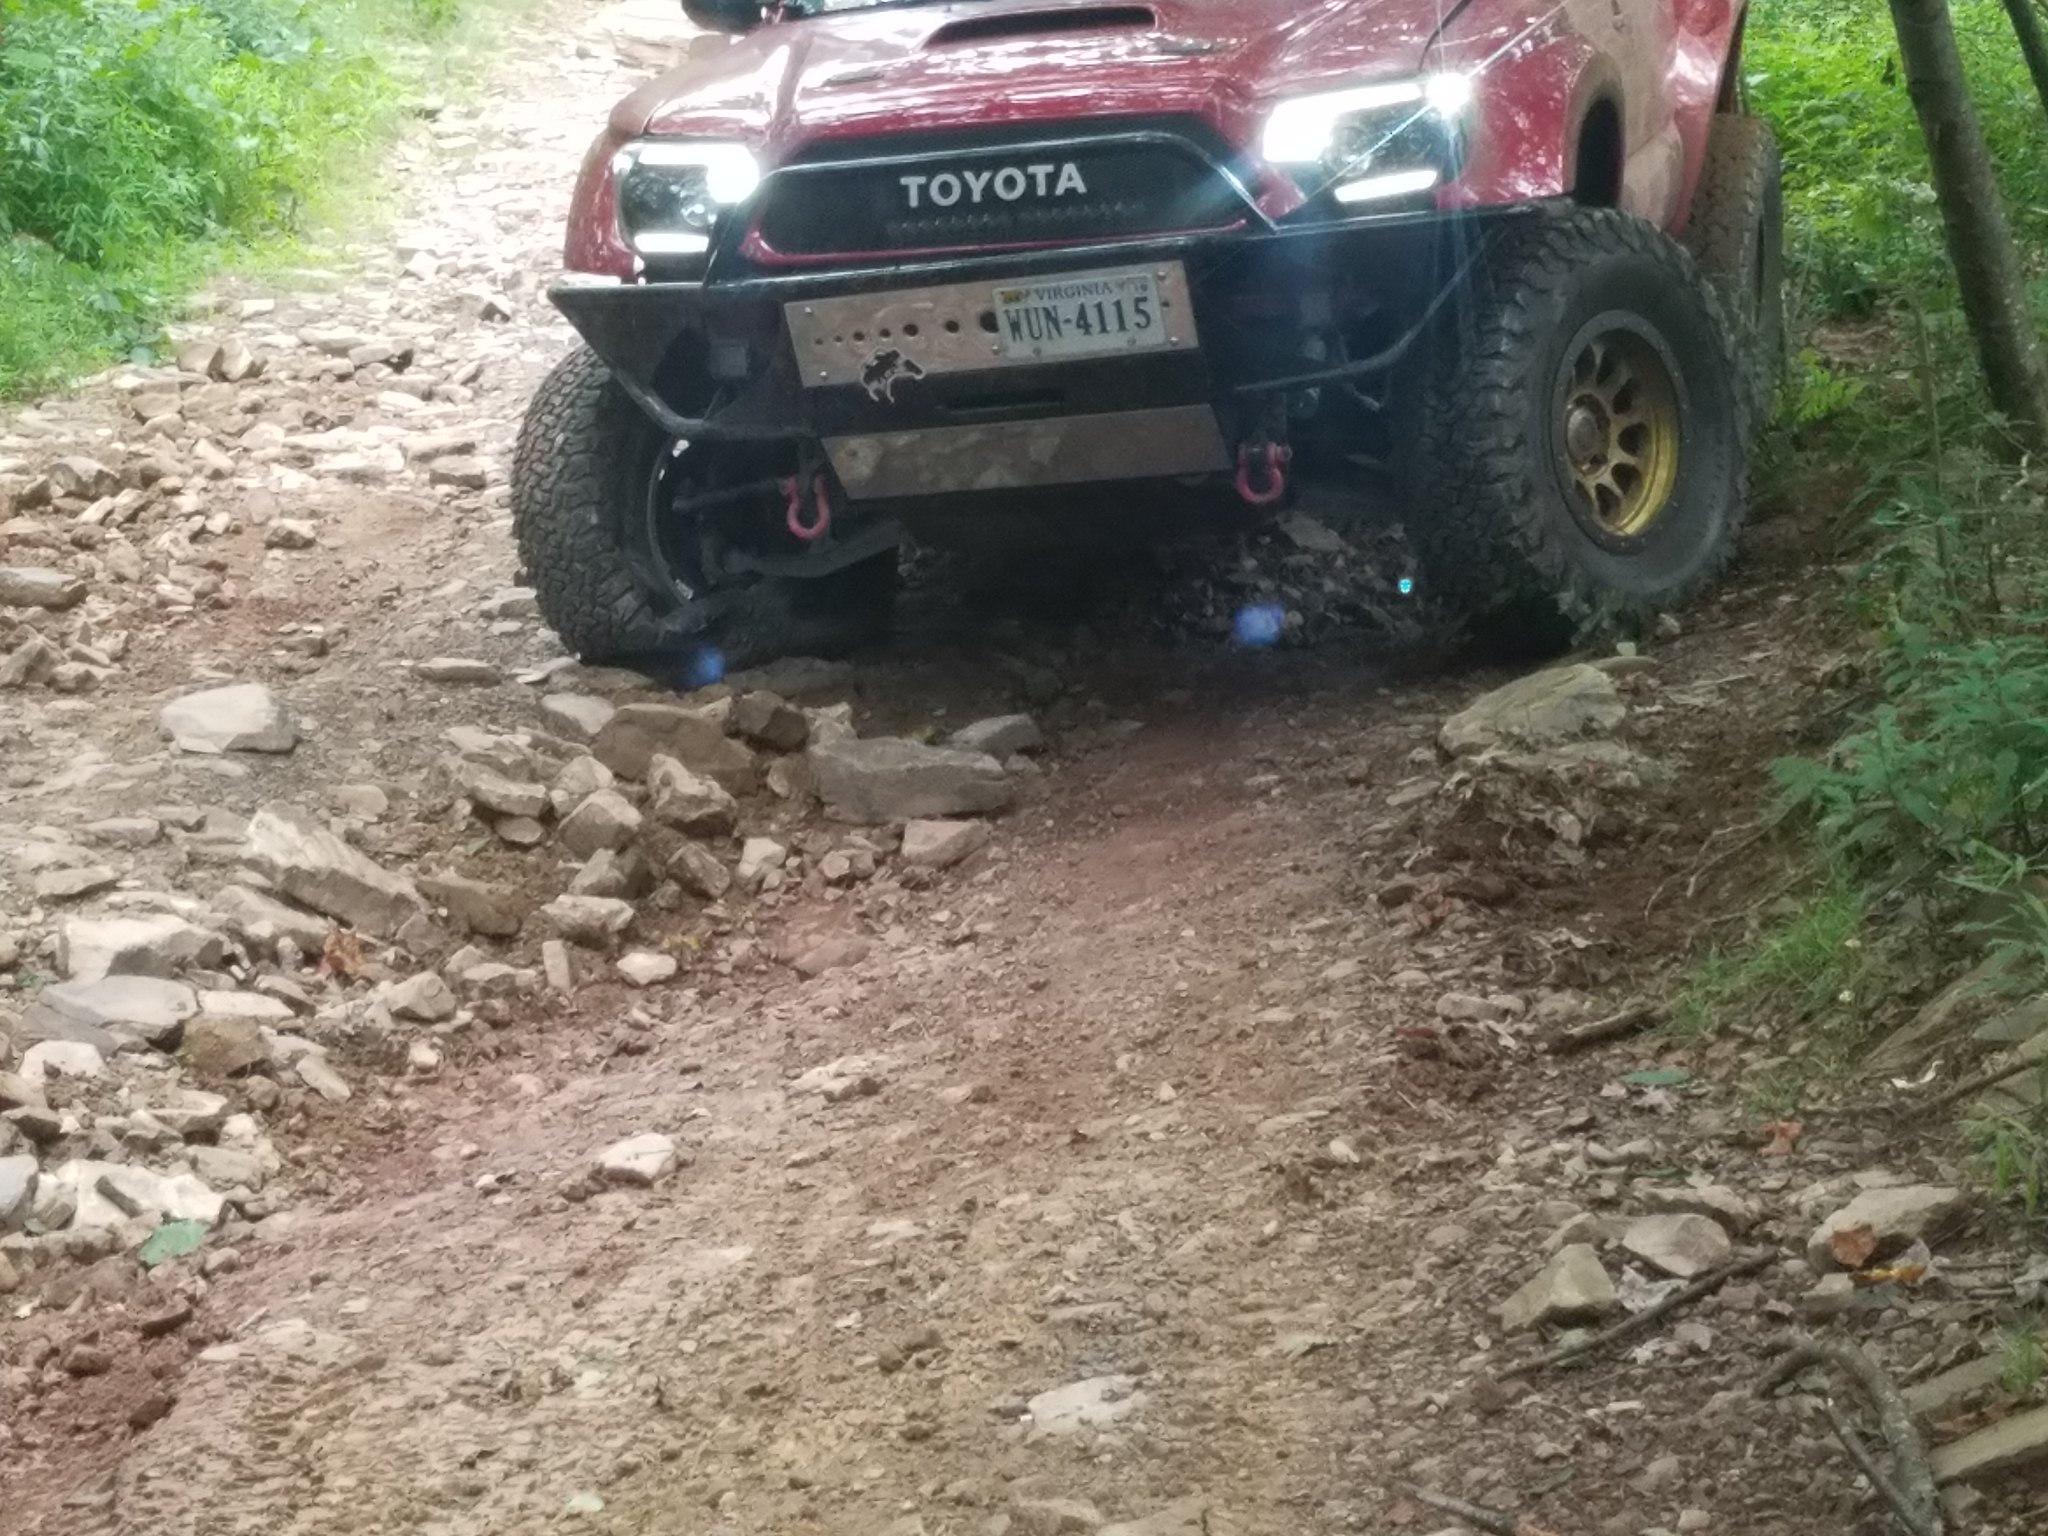
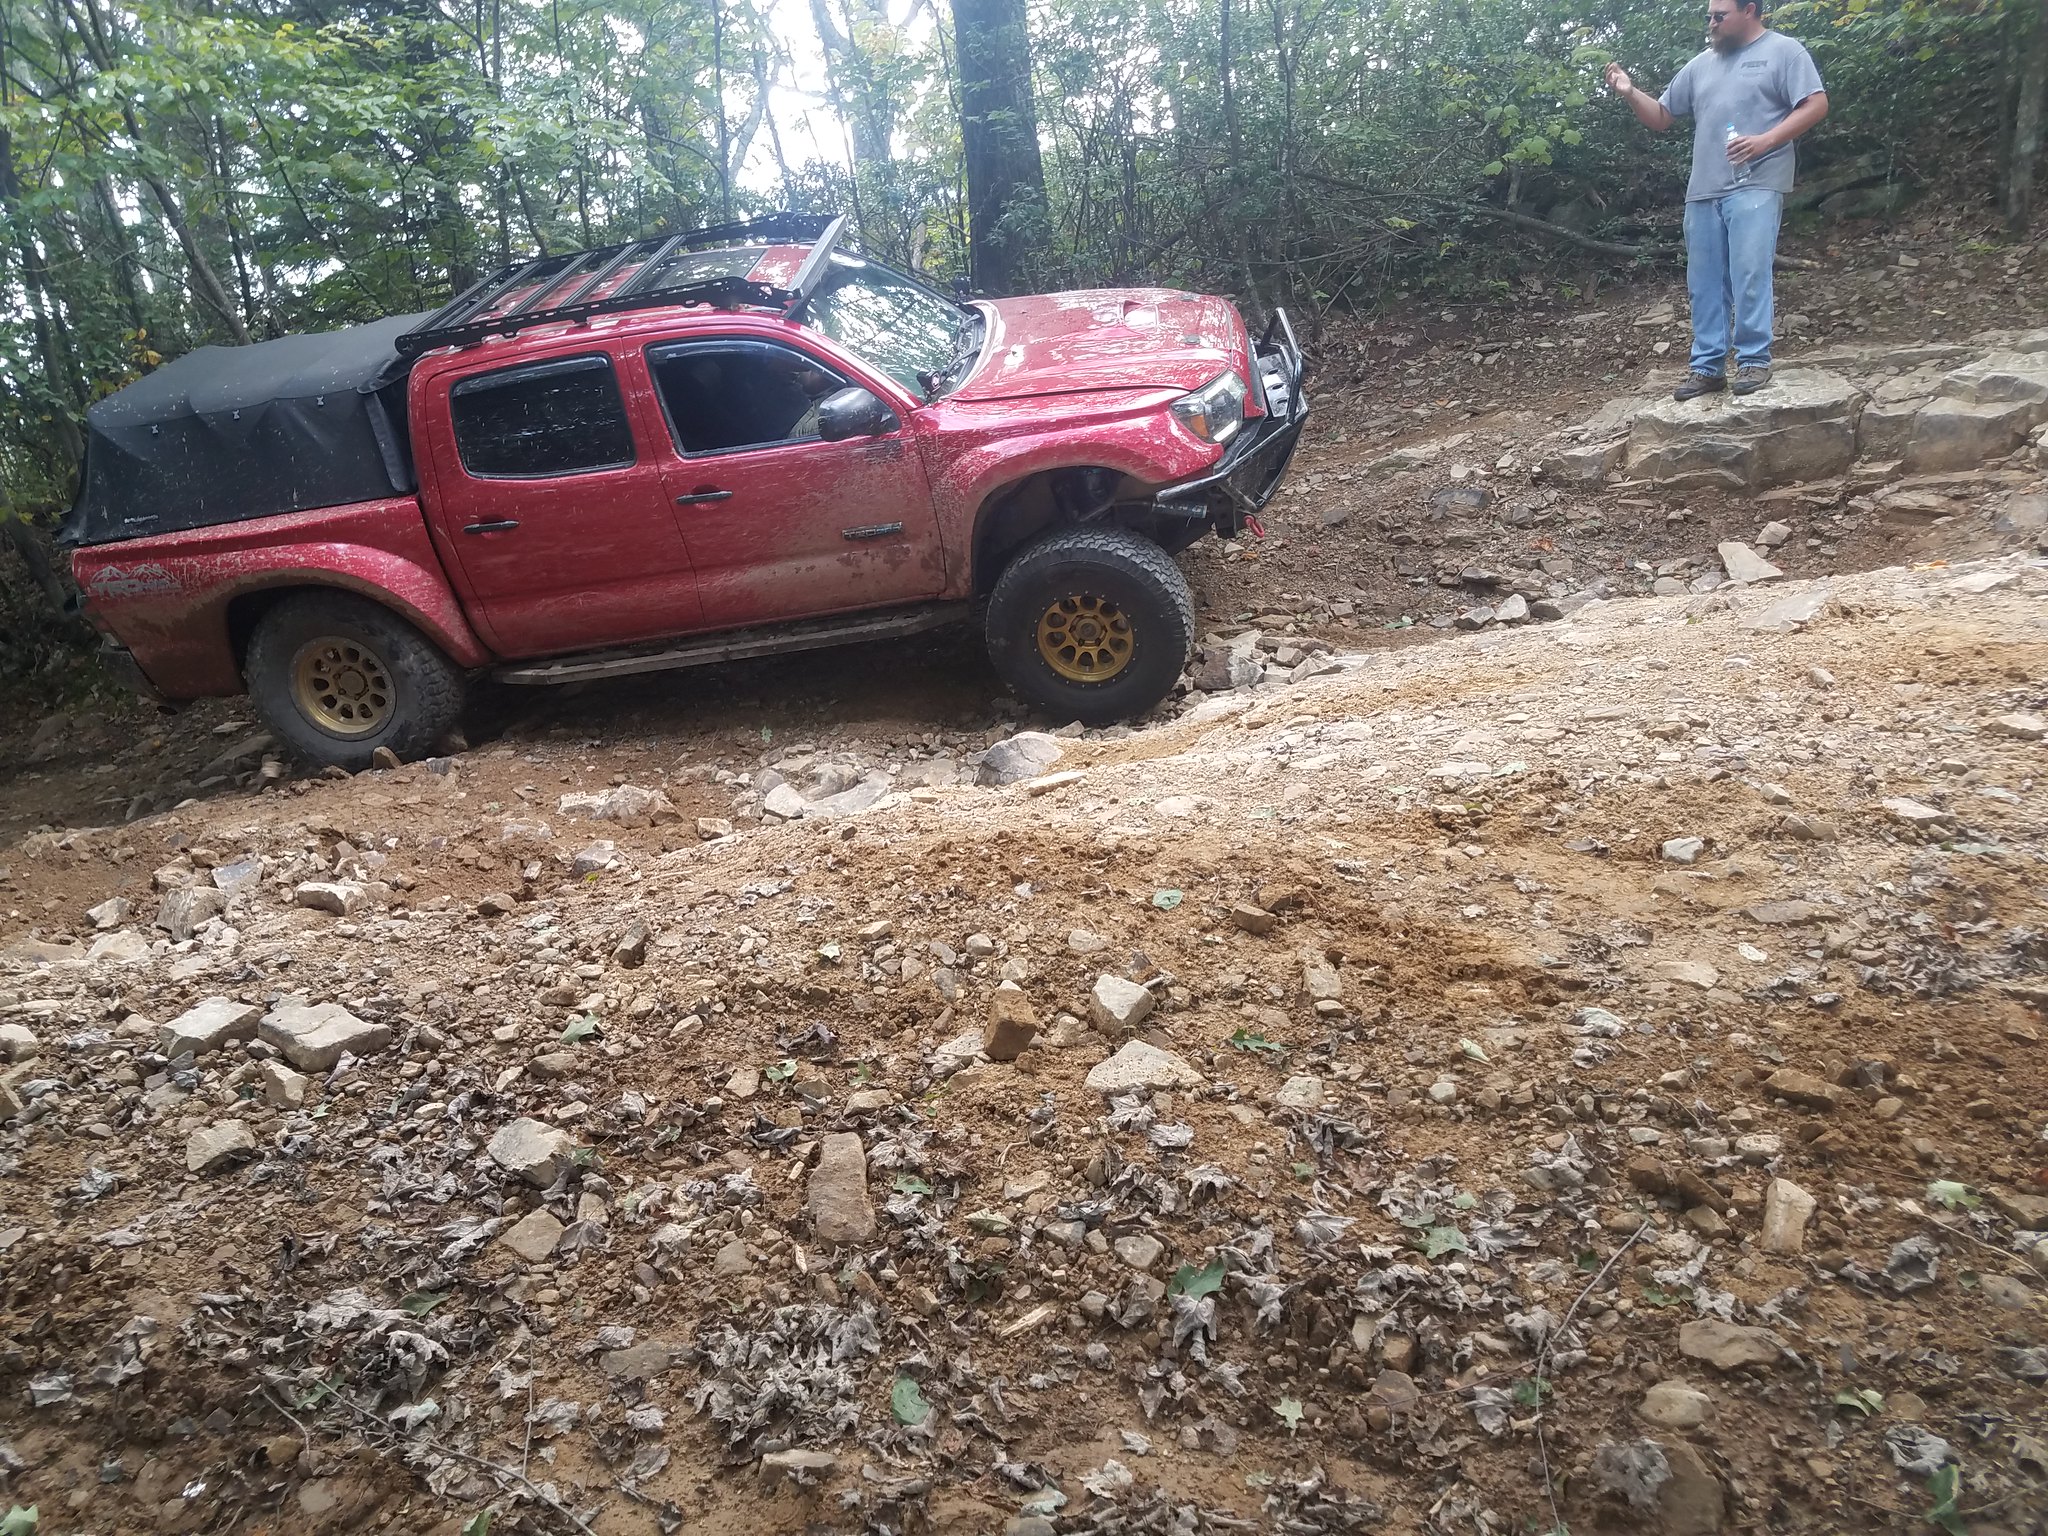
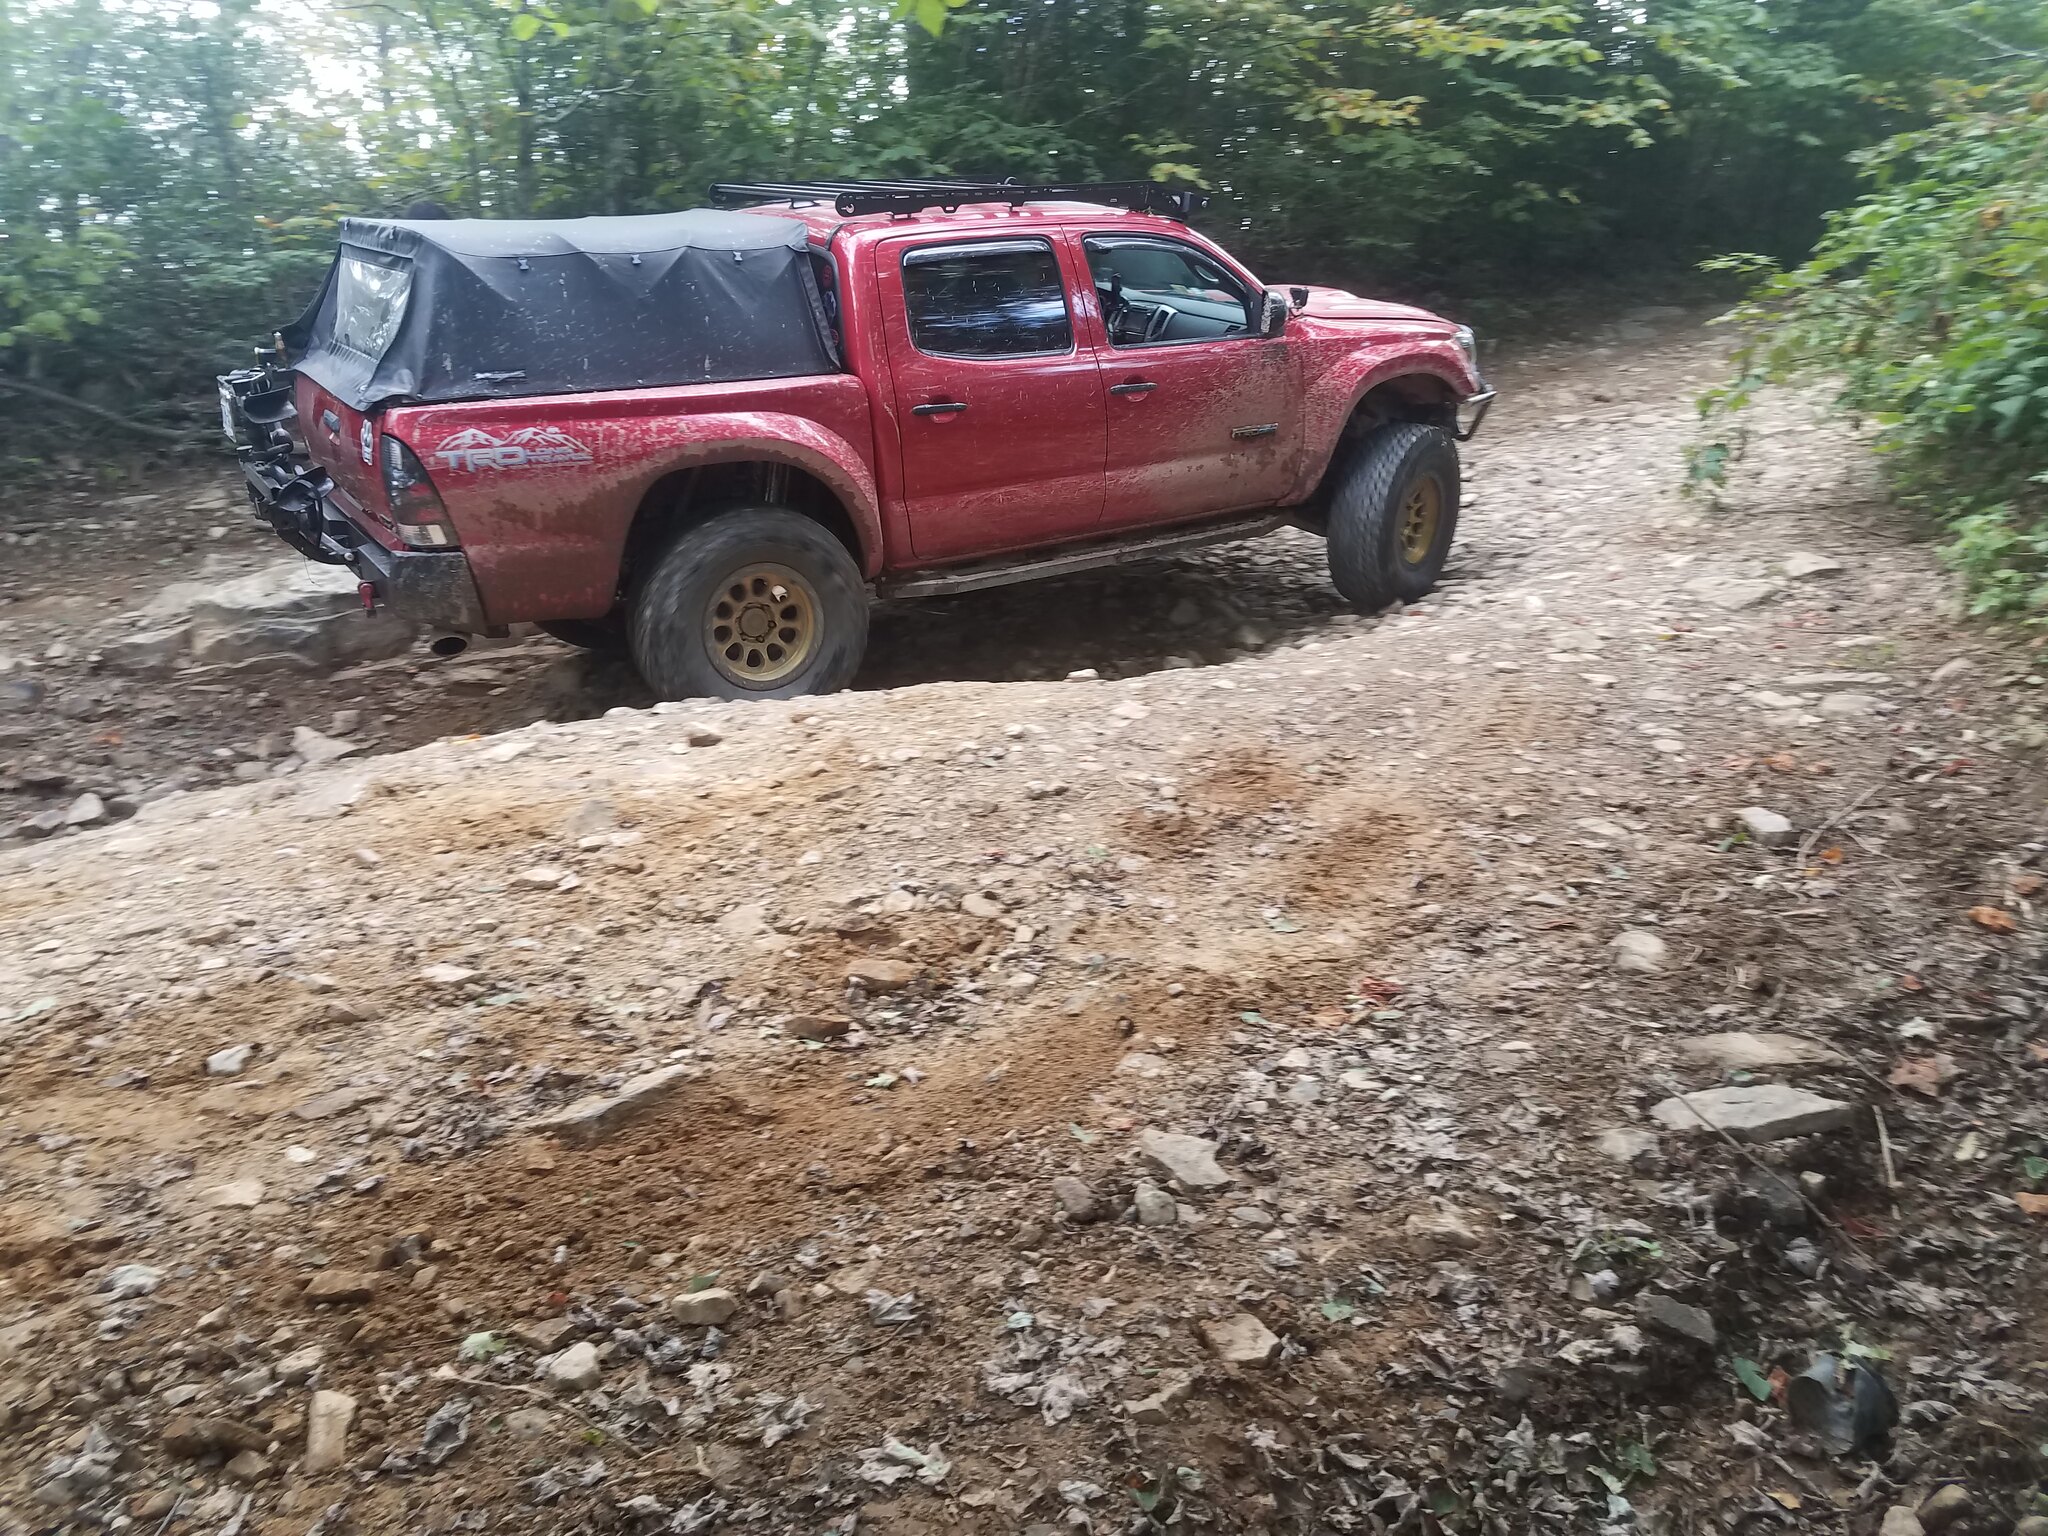
Chris was the first to try the rock ledge at about half way up.
 20180825_122519_007
 by
TerryD, on Flickr
As he was crawling up on it, we noticed that he was just pulling with his rear wheels. We checked it out and found the passengerside outside CV shaft was busted. With a little momentum and proper tire placement, he bounced right up it. I was next, followed by David. The trails were just damp enough that you slid and spun a little on every obstacle but with some good spotting from Chris, we both walked right up it.
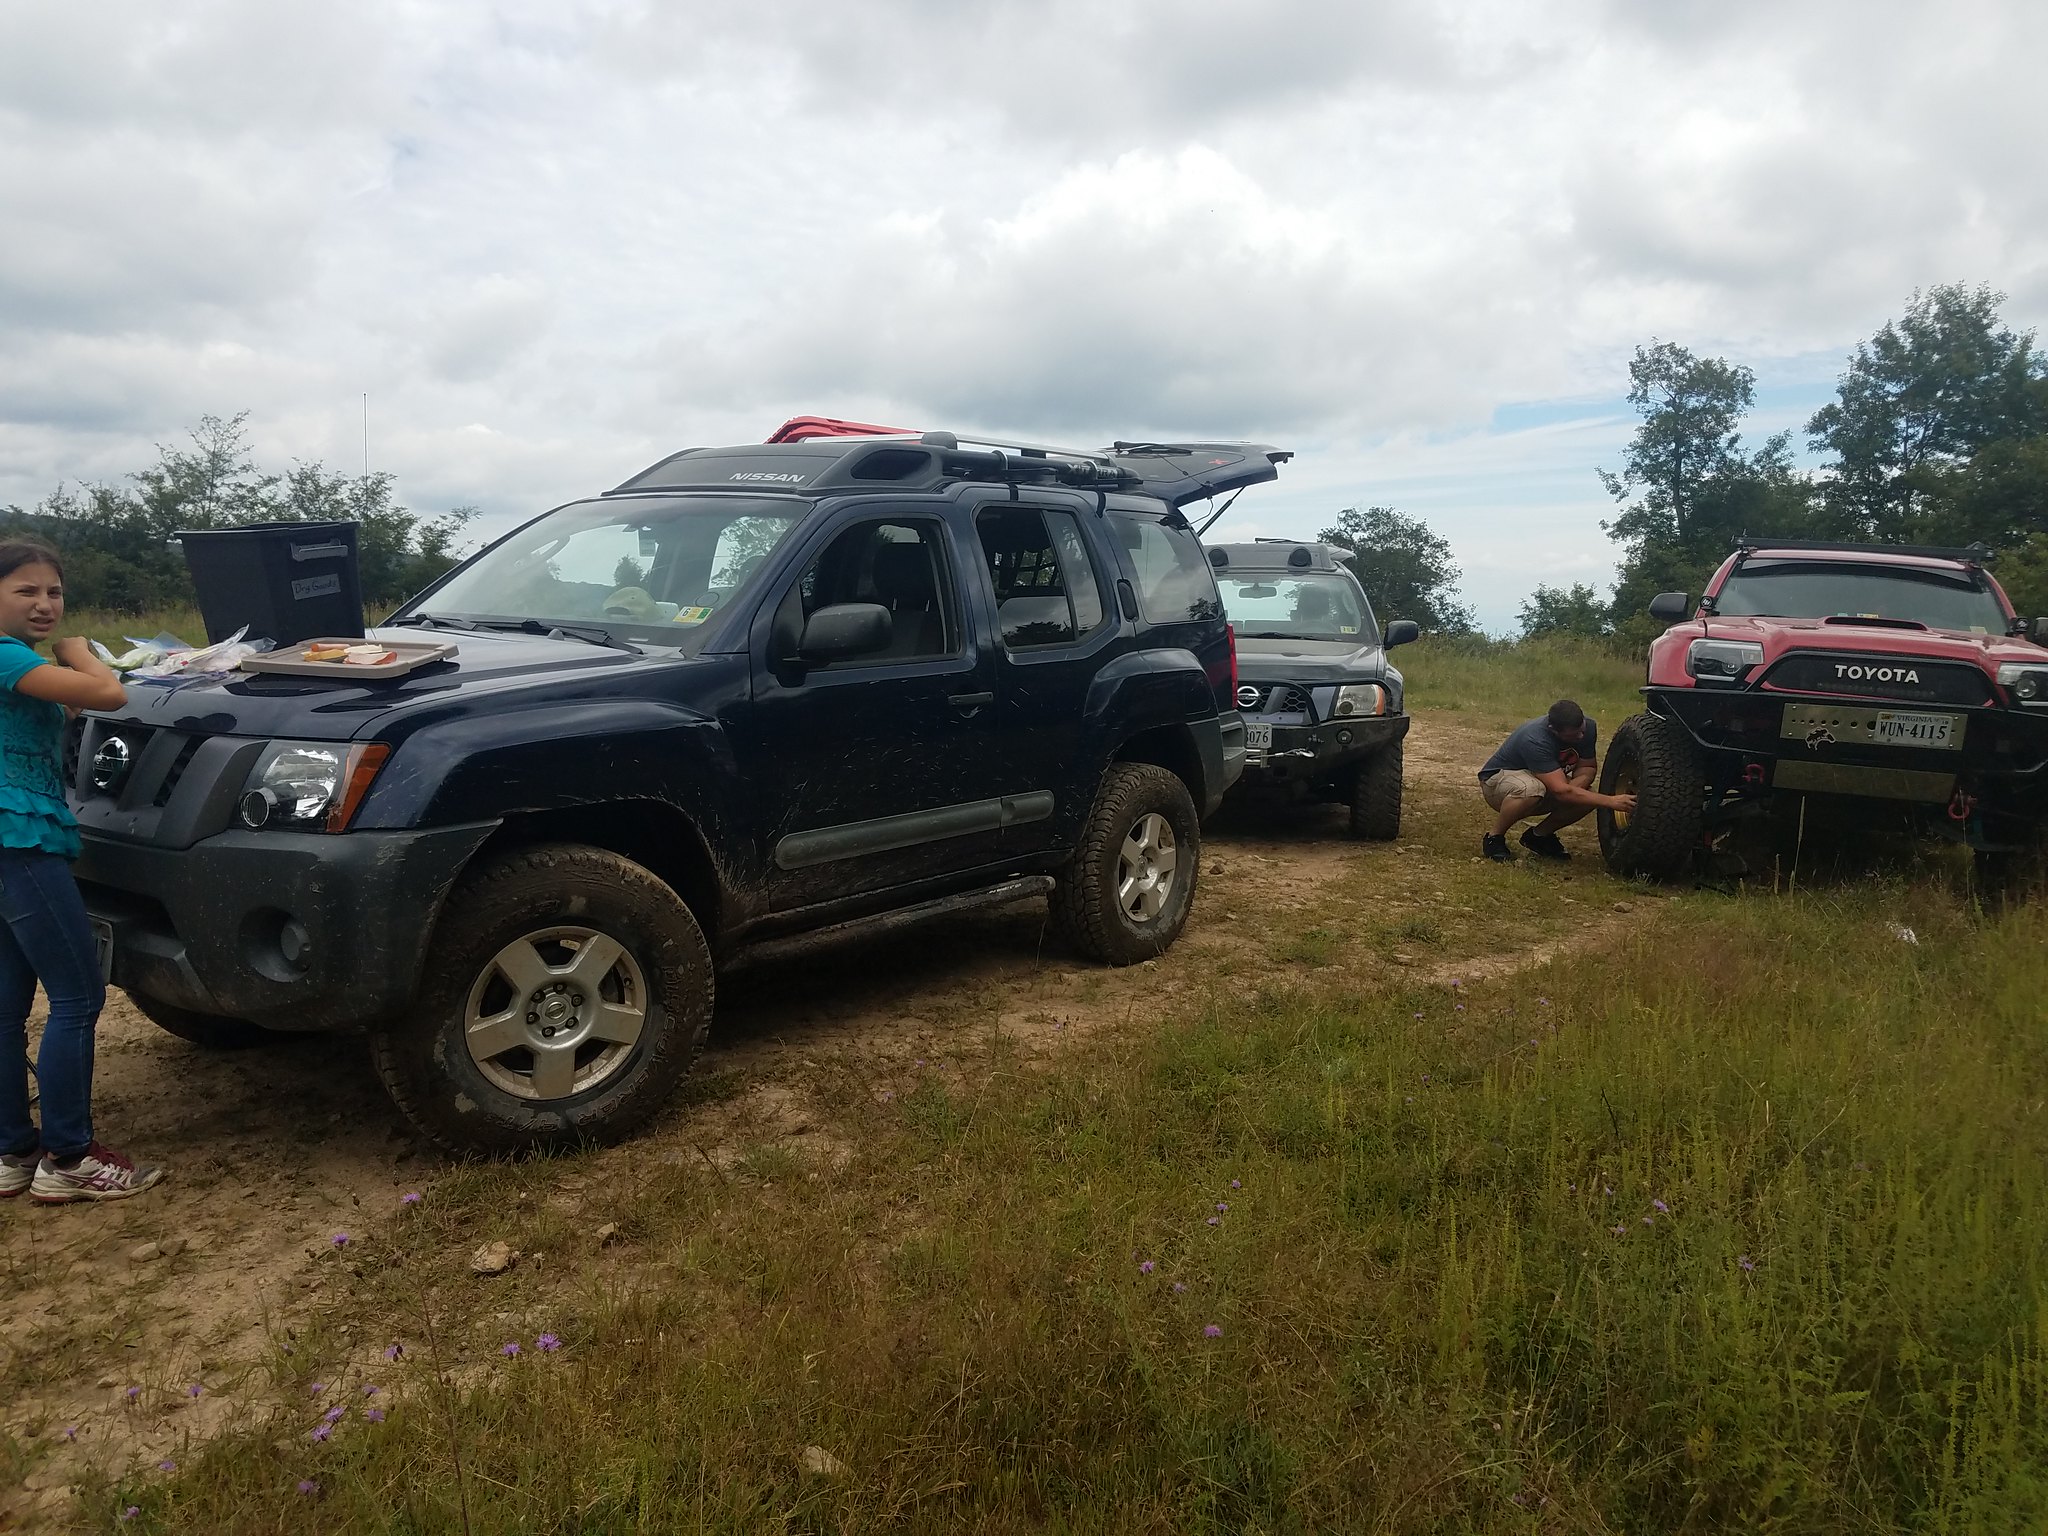
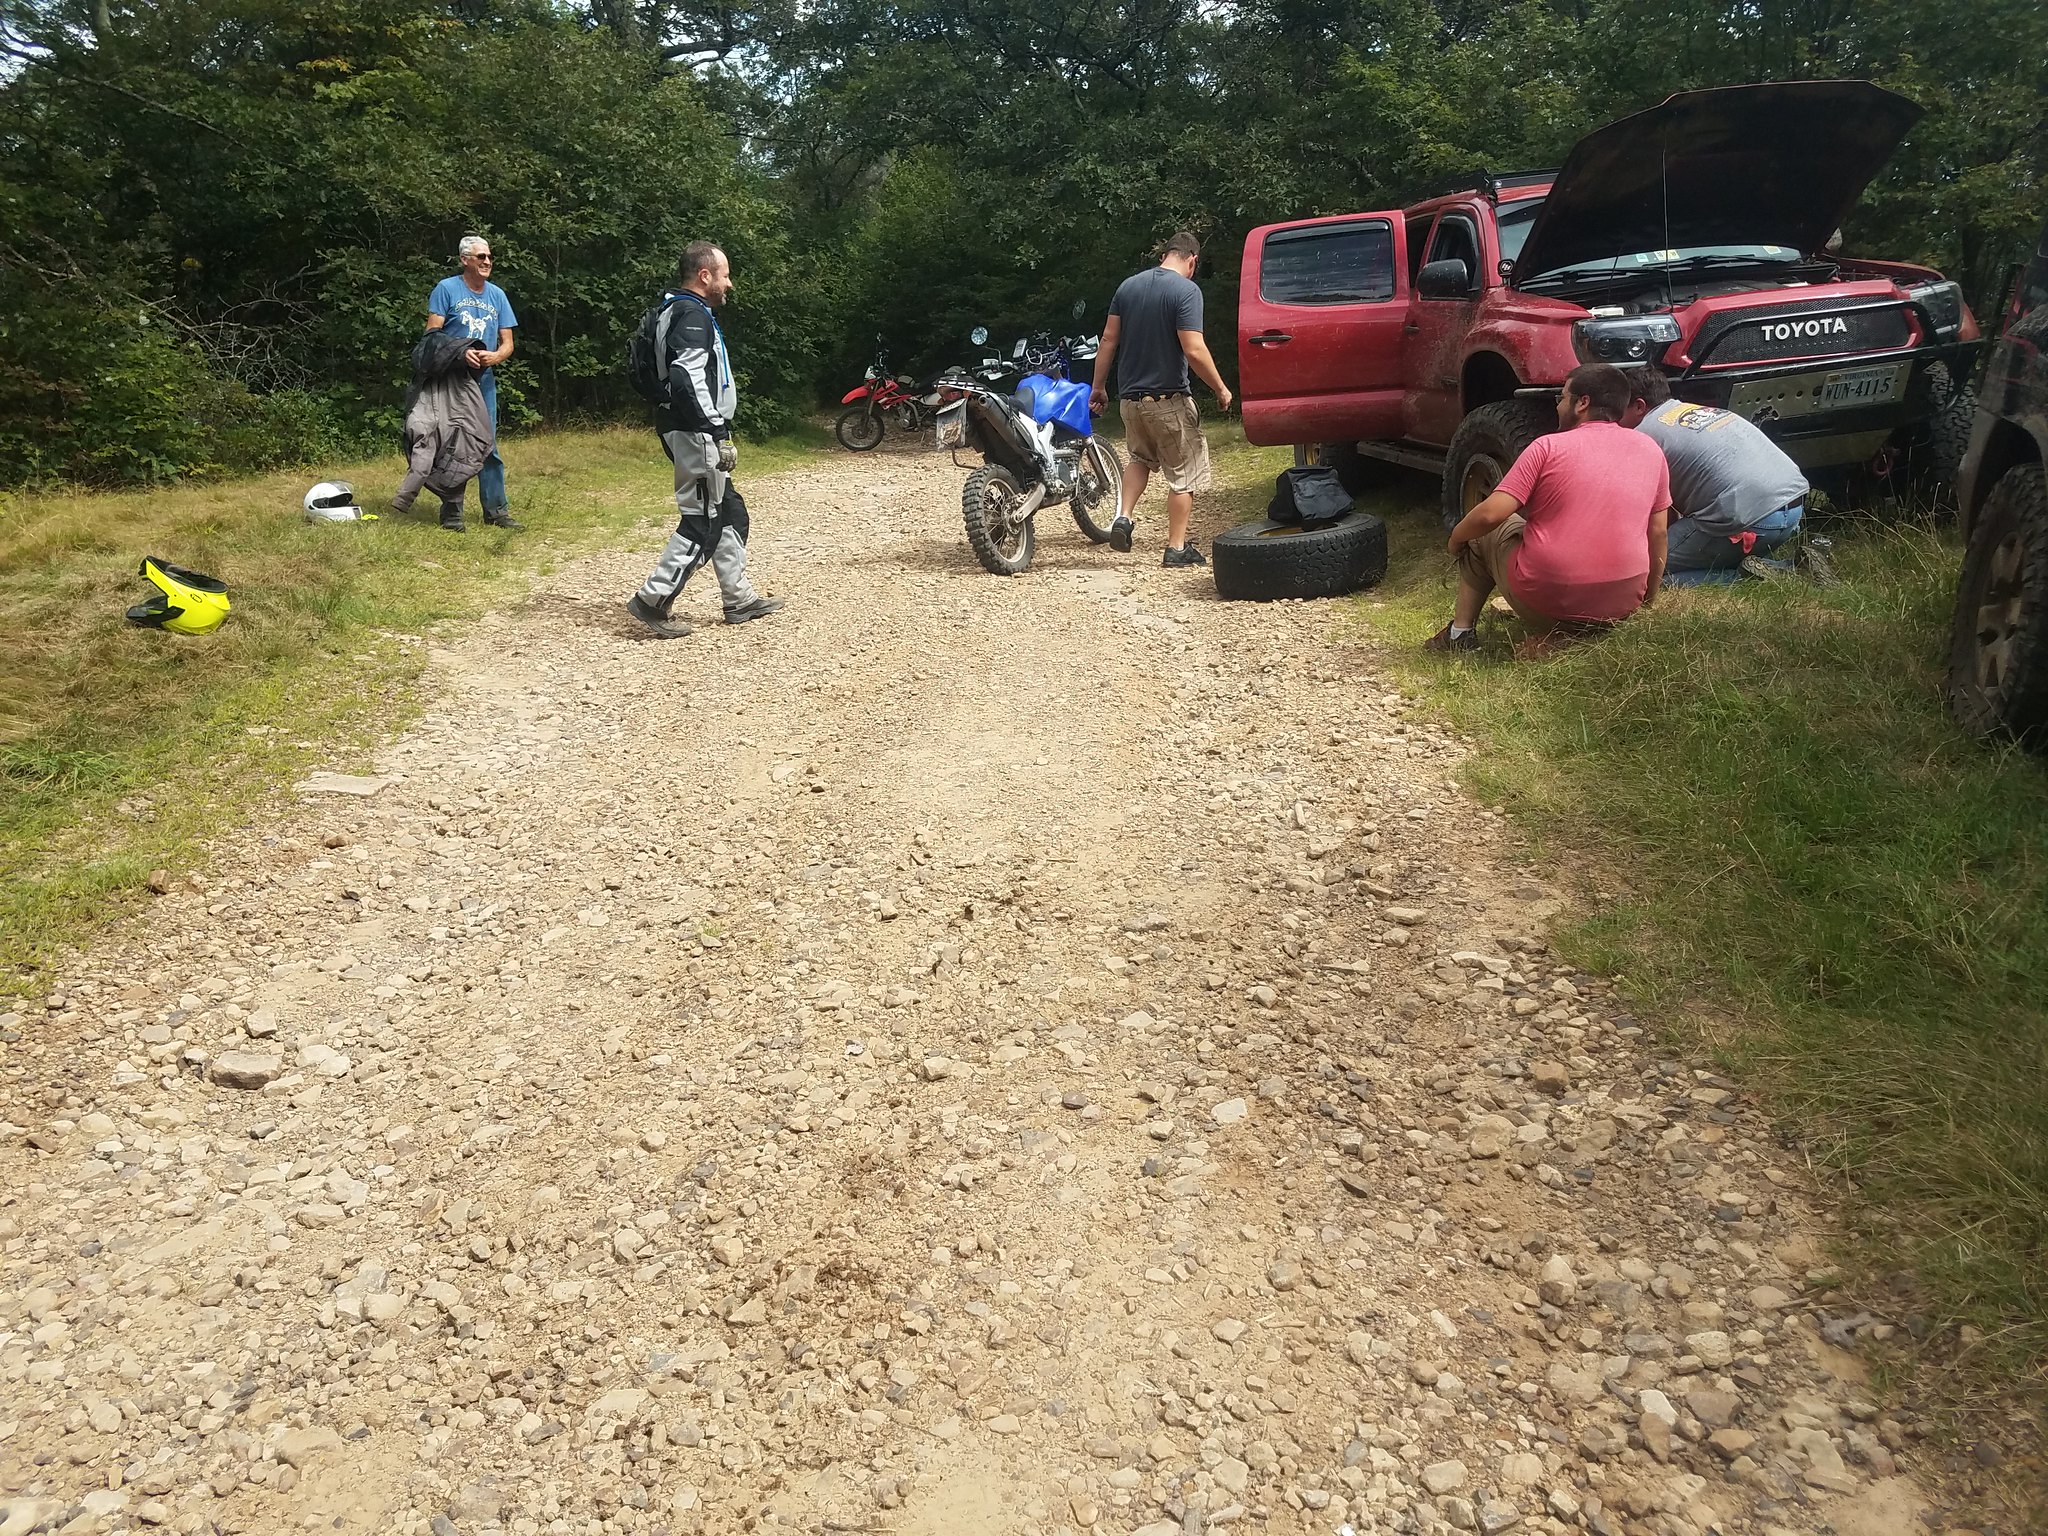
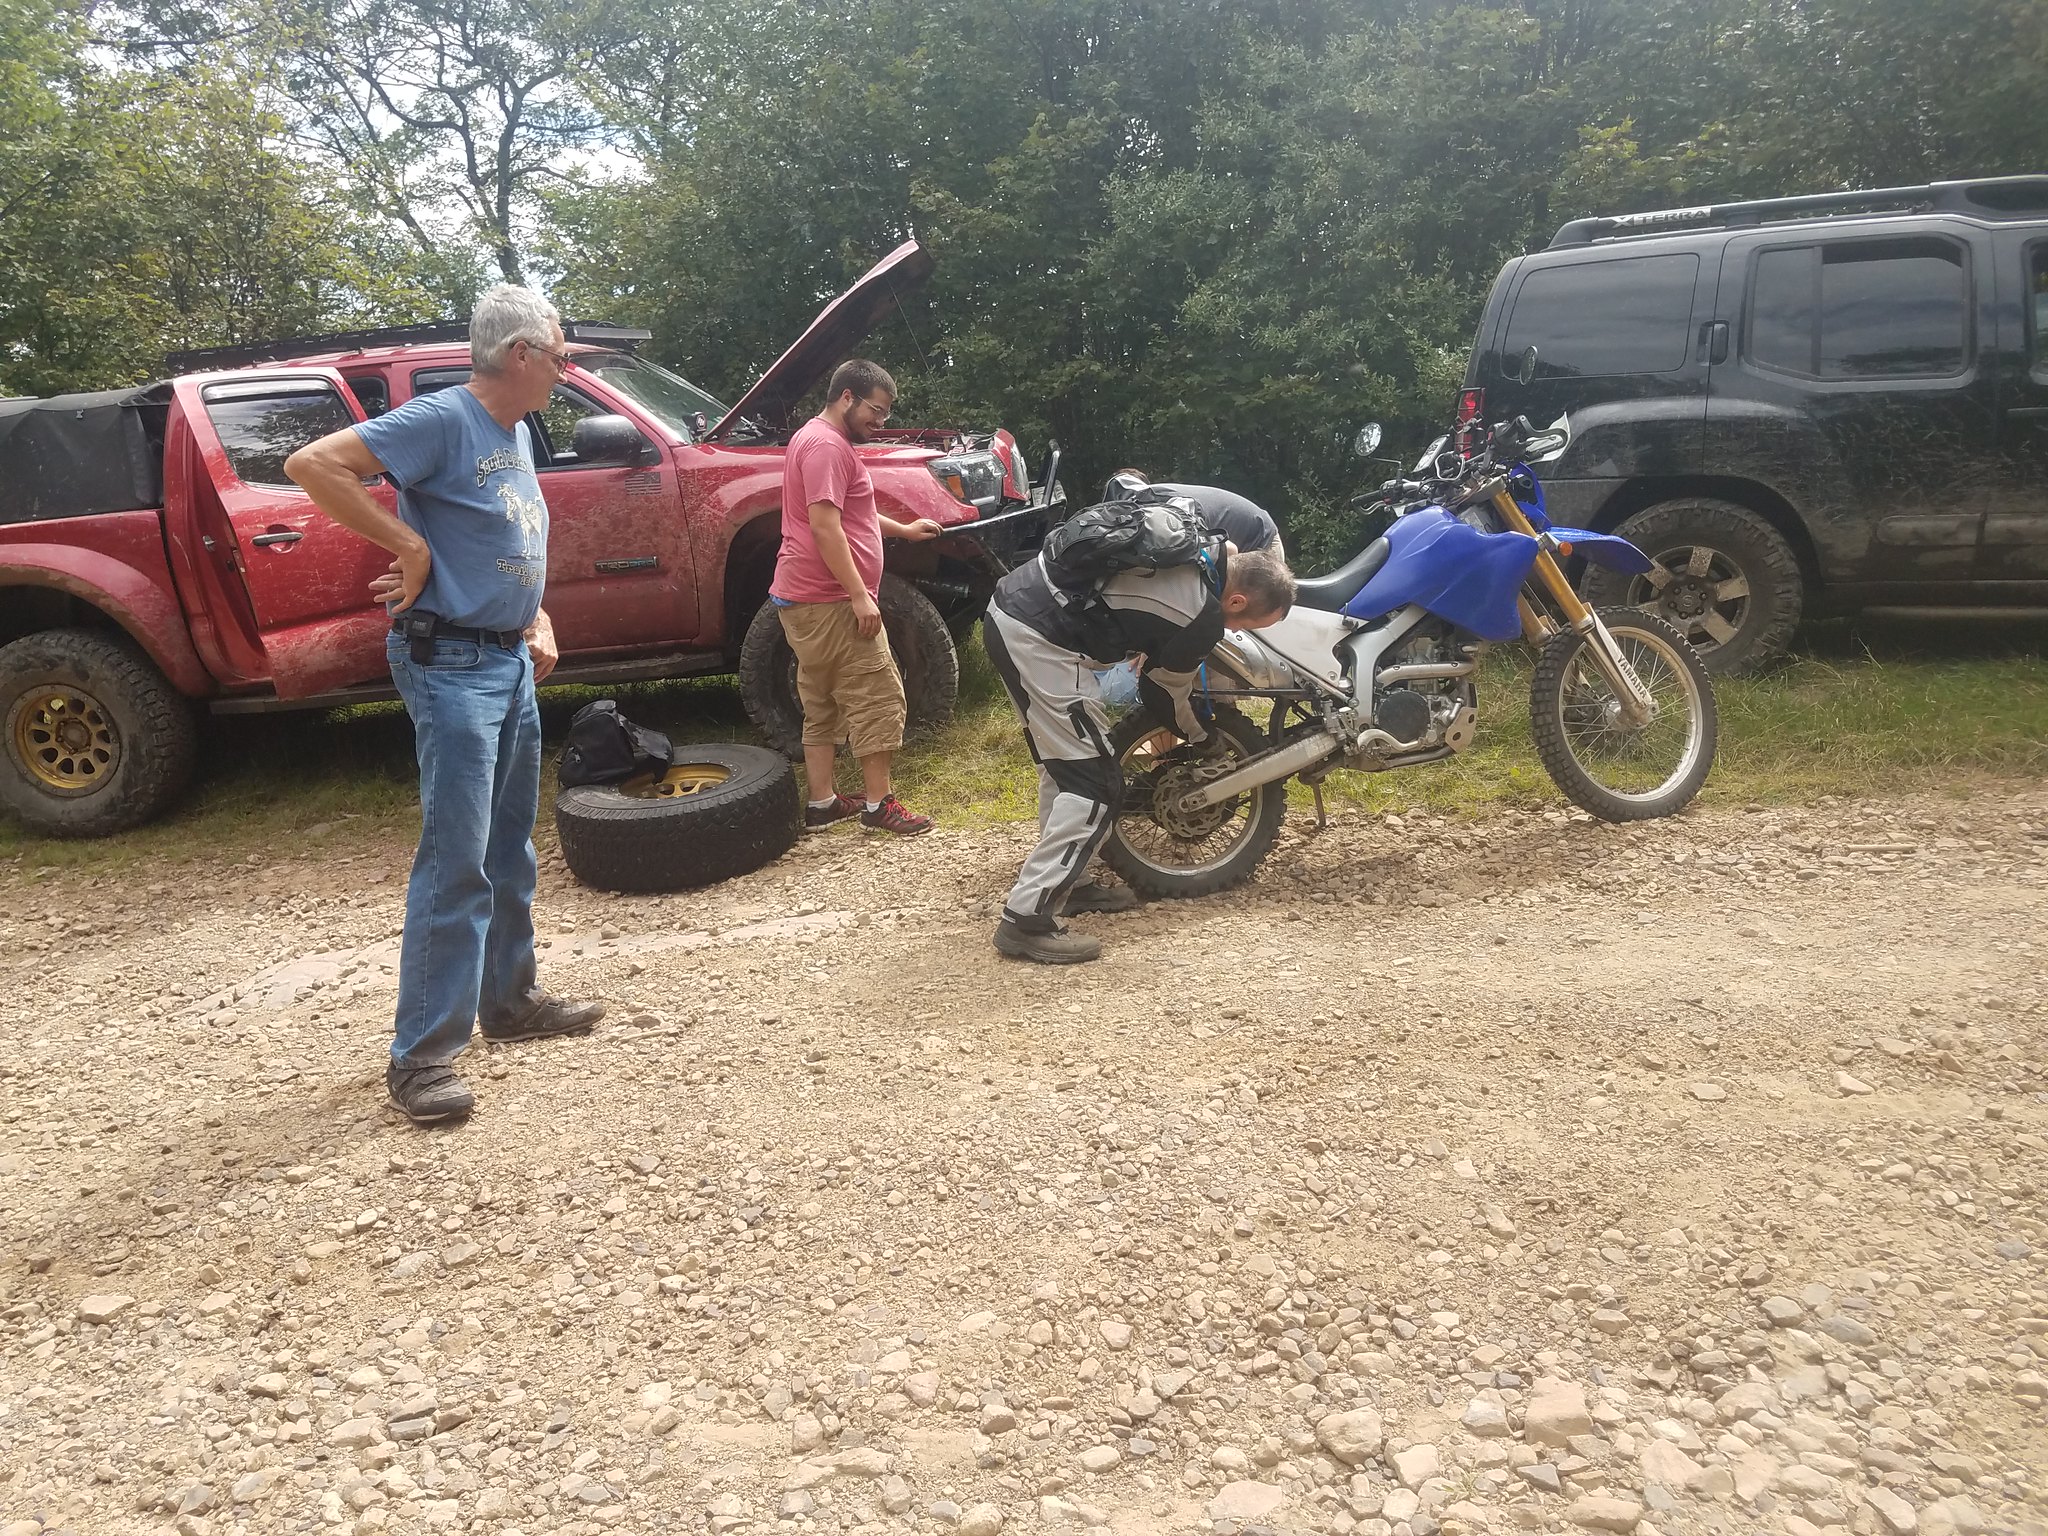
We stopped in the next field to check out Chris's truck better and try to come up with a solution.
 20180825_130202
 by
TerryD, on Flickr
 20180825_130210
 by
TerryD, on Flickr
We had to use David's factory jack and firewood to scotch up the Taco to get the tire off so we could work in there.
 20180825_131931
 by
TerryD, on Flickr
The outer joint and completely grenaded and we were able to disassemble the shaft in place rather than having to pull the wheel bearing or knuckle apart. With that out, the tools cleaned up and lunch taken care of, we headed on up the trail.
 20180825_142040
 by
TerryD, on Flickr
We were so near the top that Chris decided to push on rather than turning back. We were confident we would be able to get him up the washouts at the top of the trail with some good spotting.
I took the lead out of the field headed to the top. We figured that if I could get up first, I could tow Chris up if he couldn't make it.
My trip up the hill was pretty interesting. I wound up doing some three-wheeling on the last ledge and had to bump it a couple times to get it to carry through.
 20180825_144800
 by
TerryD, on Flickr
 20180825_144802
 by
TerryD, on Flickr
 20180825_144807
 by
TerryD, on Flickr
Chris came up next. He made it to the last ledge but his rear slid into the rut and we couldn't get him lined back up so he started backing down to make another run at it. Somewhere between the field and the hill climb, he had cut the passenger side front tire and as he backed down, it came completely off the rim.
 20180825_145824
 by
TerryD, on Flickr
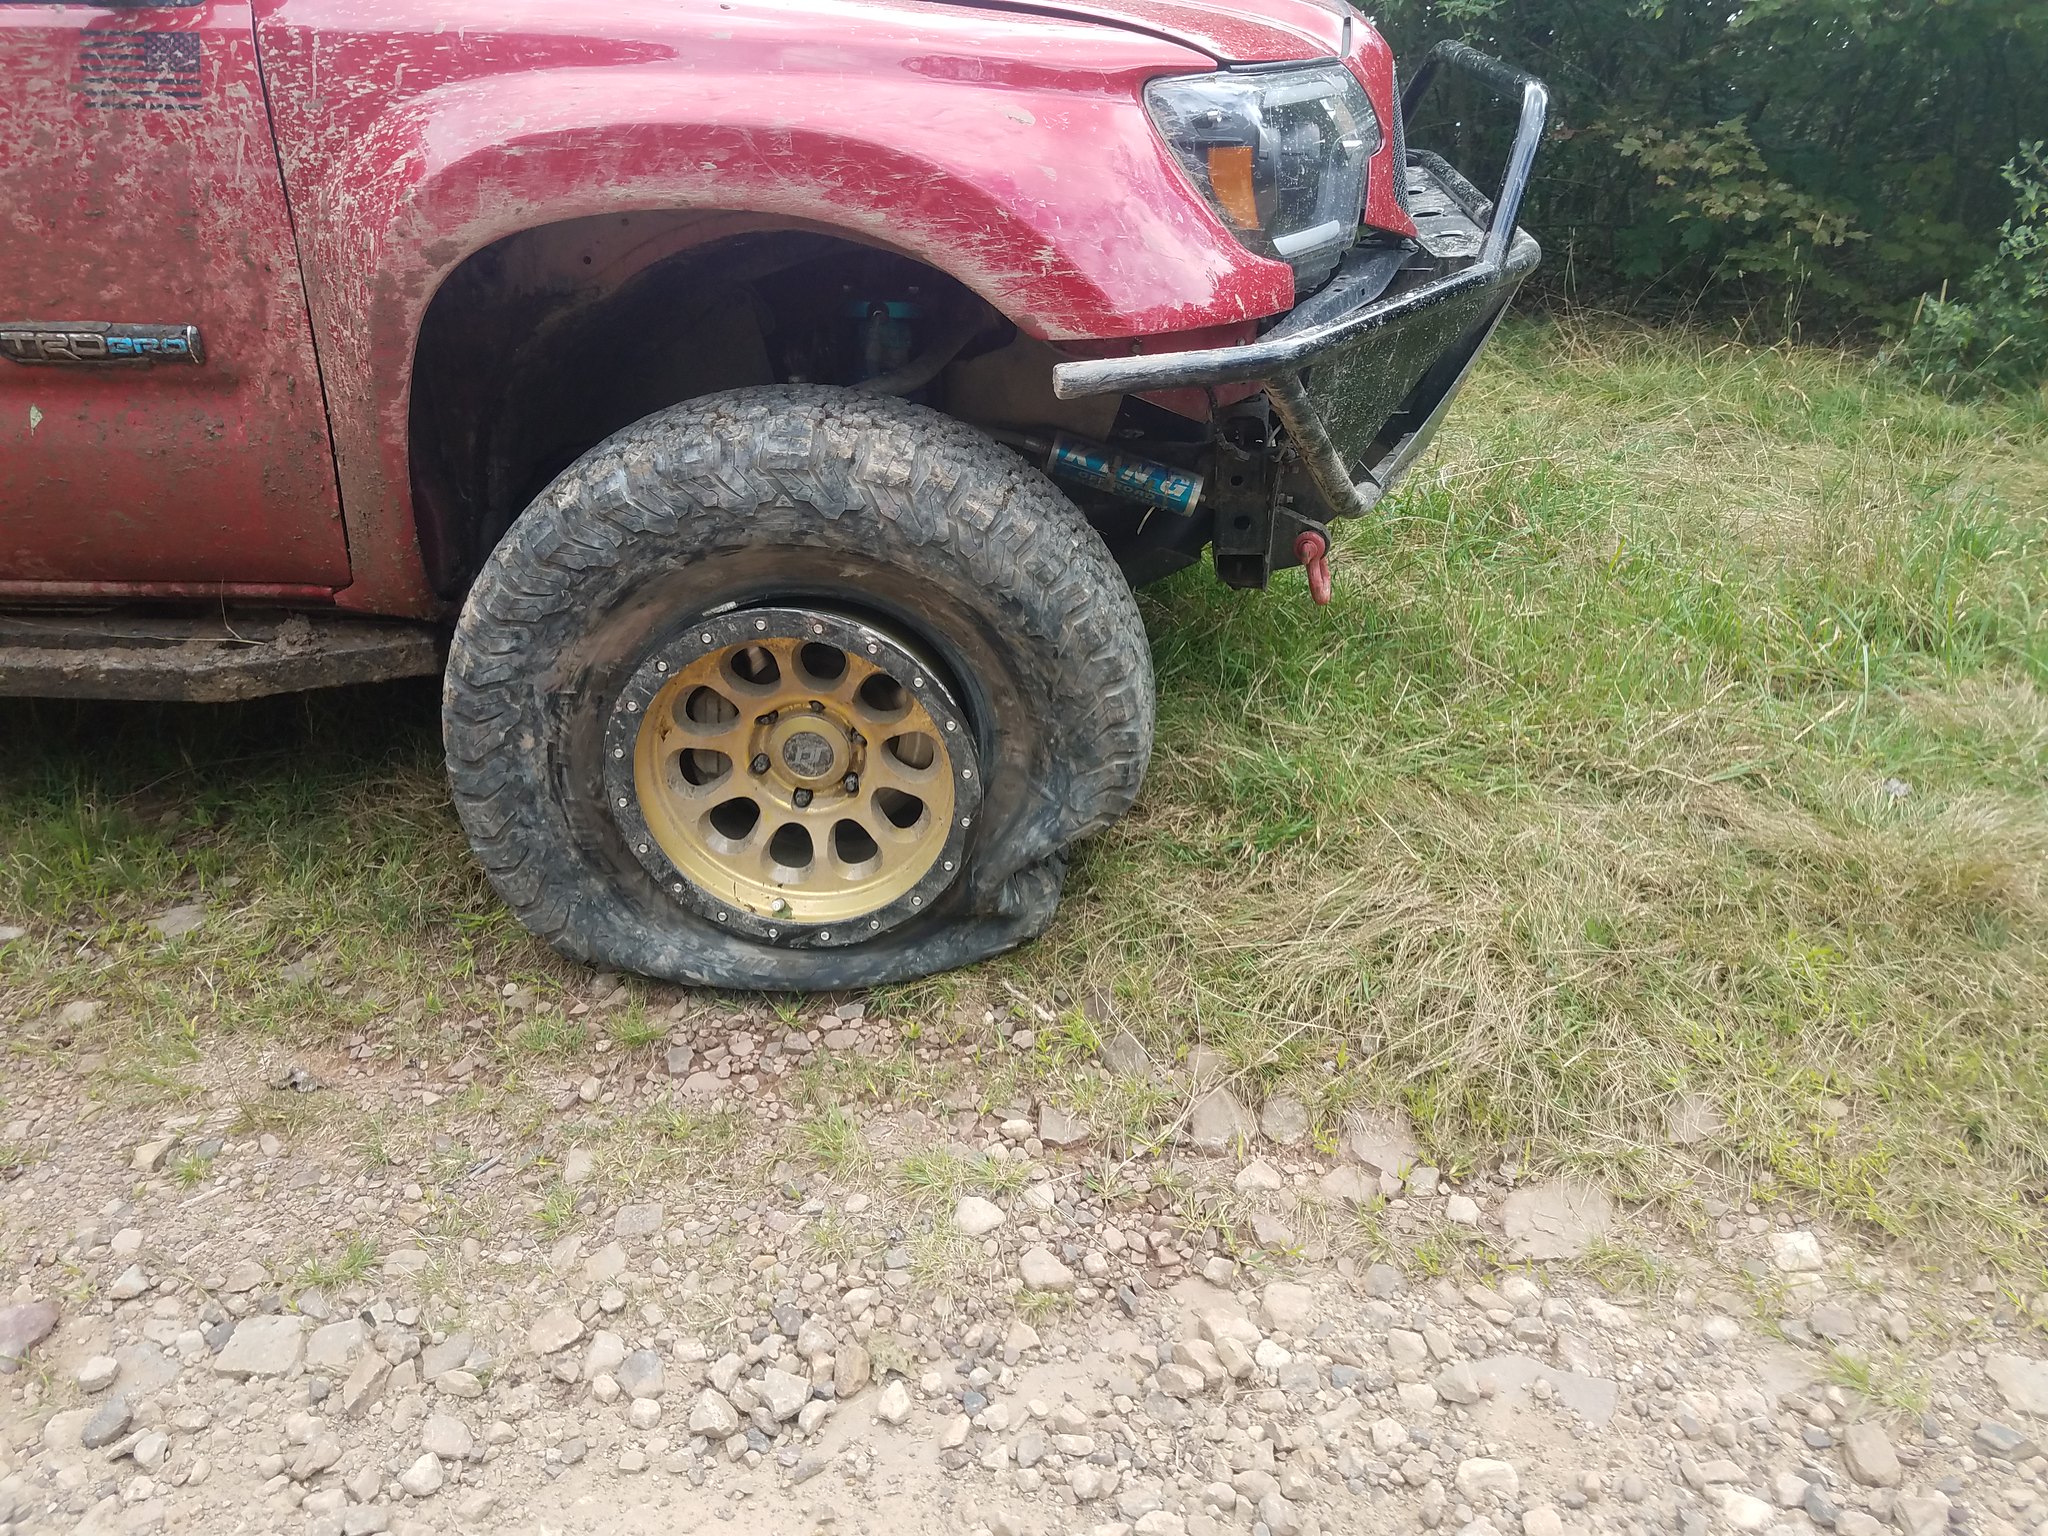 20180825_150442
 by
TerryD, on Flickr
He backed back down to the flat spot at the bottom of the hill where it would be a little safer to change the tire. Chris started getting his spare out while David and I were jacking up the truck and building another firewood jack stand. During this adventure, several groups came by. Two Jeeps, one going in each direction, a group of guys on motor cycles, a group on bicycles and even a bear hunter.
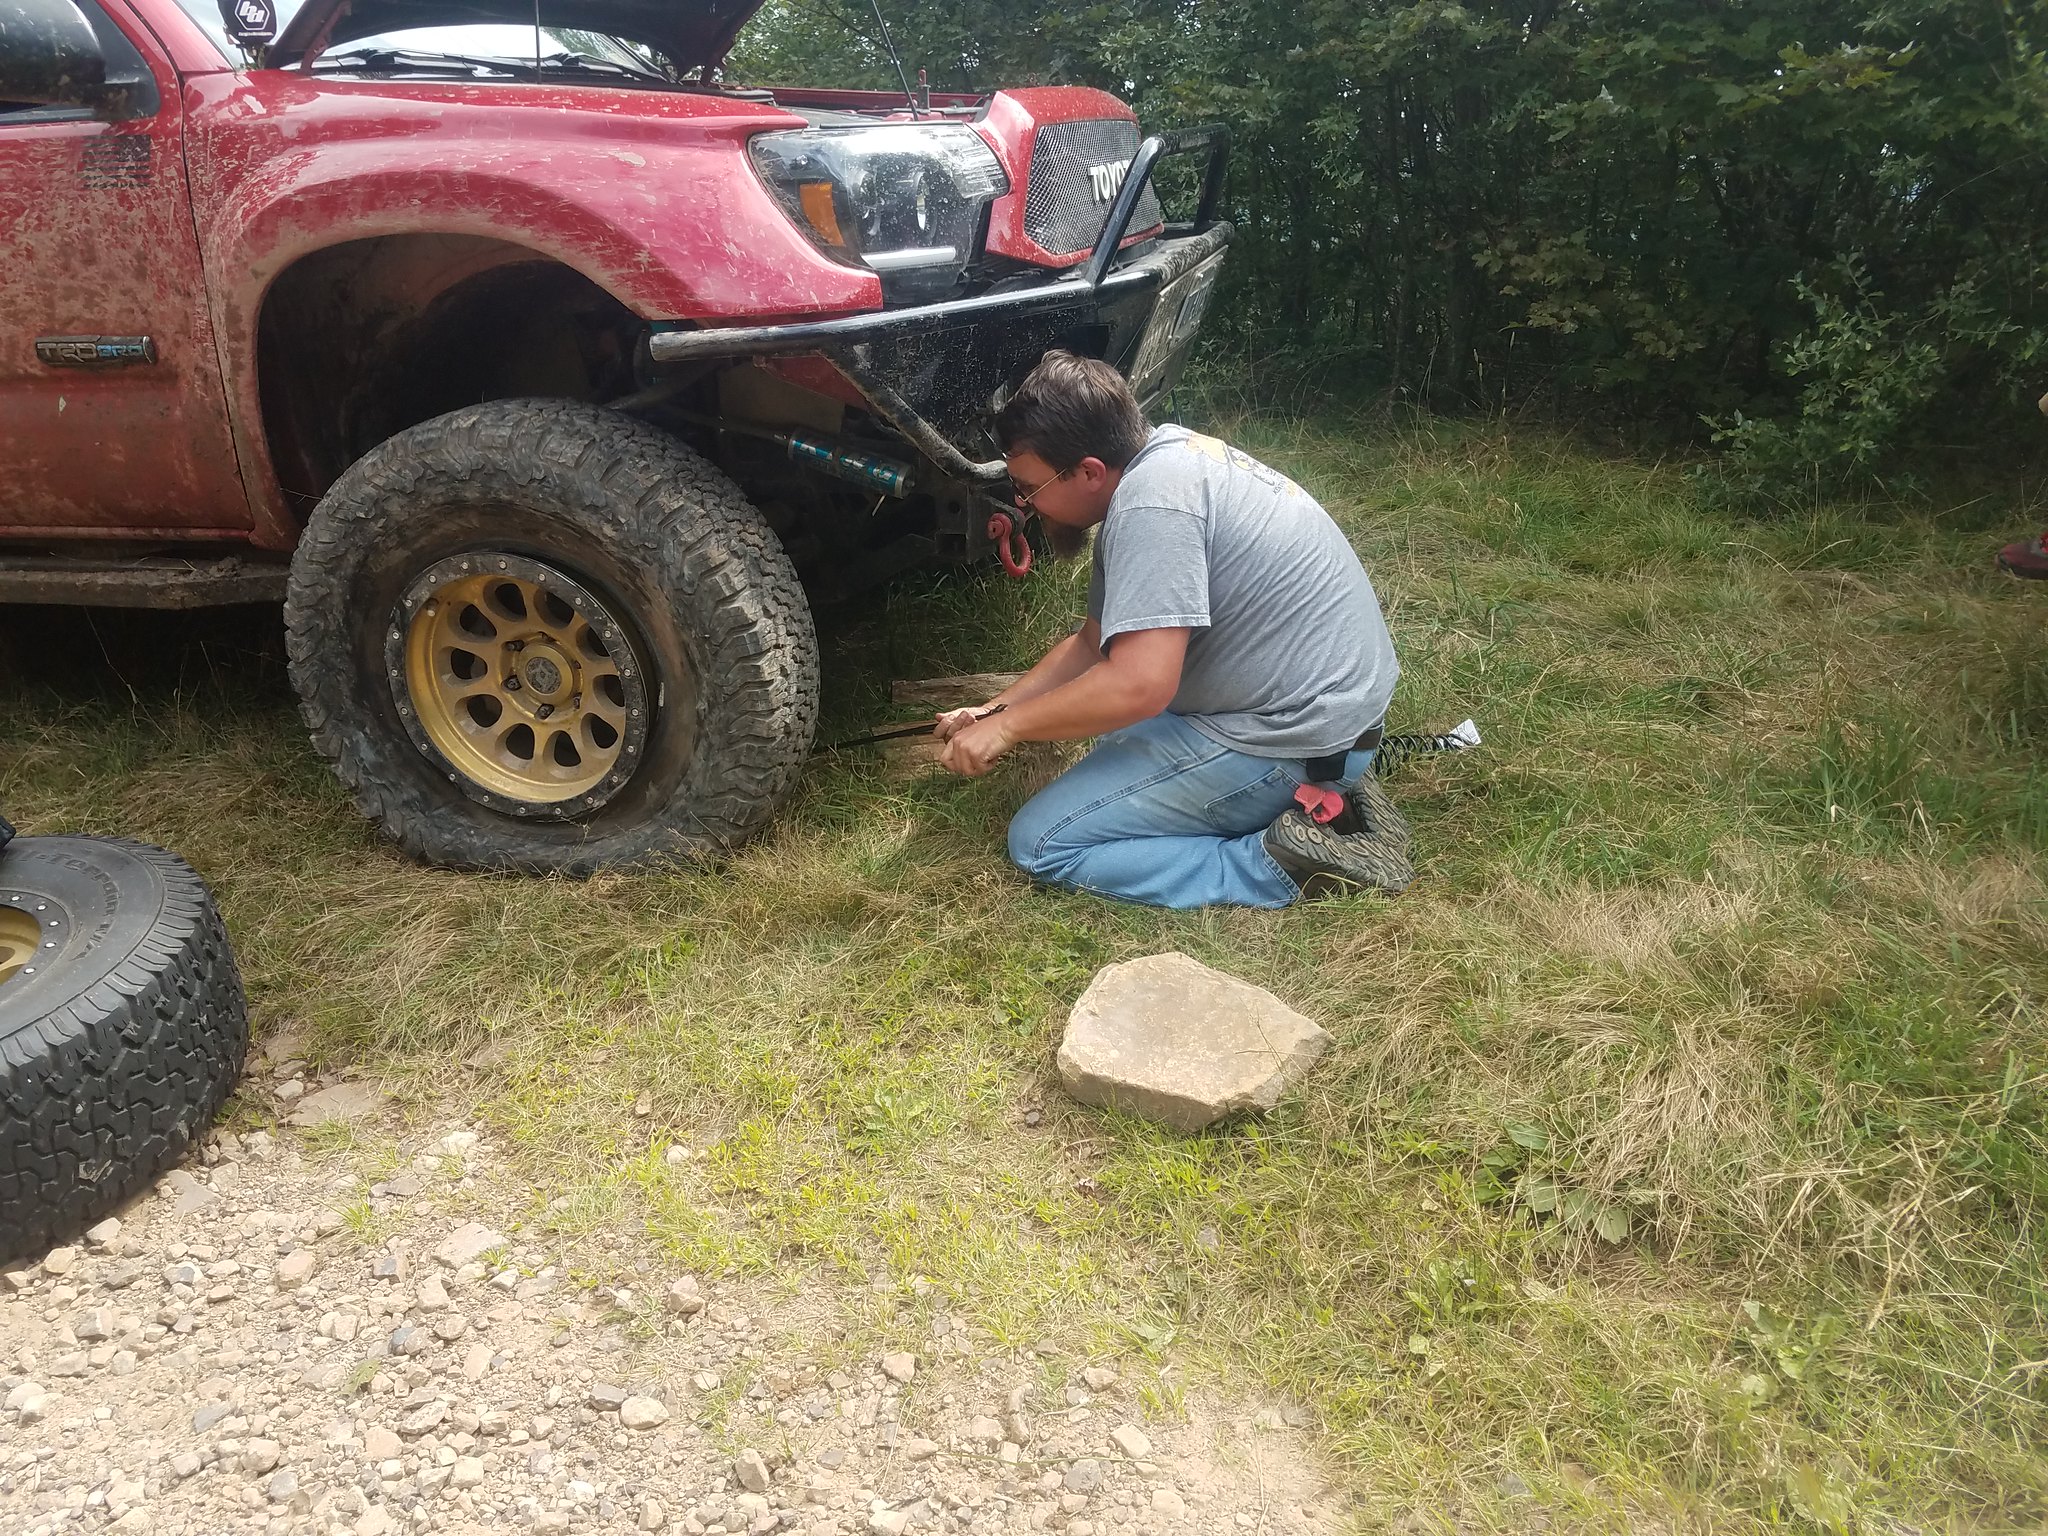 20180825_151440
 by
TerryD, on Flickr
 20180825_152703
 by
TerryD, on Flickr
Two guys on motor cycles made a wrong turn at the top of the hill and came down by us then realized they had gone the wrong way and came back by. On their way back by, they stopped and asked if we had air. One of their rears was almost flat. Chris drug out his compressor and aired the guy up while we were finishing up getting his truck back on the ground.
 20180825_151018
 by
TerryD, on Flickr
 20180825_151114
 by
TerryD, on Flickr
After that, we decided to get David to the top first, then we could both focus on getting Chris up. I spotted him up the same line I used and he was up quickly.
 20180825_153835
 by
TerryD, on Flickr
 20180825_153838
 by
TerryD, on Flickr
With David at the top, we all talked it over and decided that since Chris had more wheel base and much more travel, we could probably send him up the middle of the trench if he could get lined up on it at speed.
His first attempt looked like it was going to be perfect but right at the top, his back end slid into the notch again. He backed back down a bit and tried it a second time and this time his rears held. He was able to use the momentum and rear locker through the one section he lifted a rear tire on and was up in a flash.
 20180825_154325
 by
TerryD, on Flickr
 20180825_154352
 by
TerryD, on Flickr
 20180825_154355
 by
TerryD, on Flickr
Once we were all at the top we decided to head across to Reddish Knob. David and I were both going South and that would put us out closer to Staunton and Chris could ride the paved road out from the knob to 33 and back into Harrisonburg since he was going to be heading North. After a quick stop off at the top of Flag Pole Knob since it was David's first time up there, we made our way out to Reddish Knob. That road is pretty nice and going was quick and smooth.
At the pavement we ran into a group headed off the mountain toward 33 and Chris followed them. David and I headed on toward Reddish Knob, after a short detour because I apparently can't read my own maps..... The road up to Reddish Knob is a single lane paved. I mean seriously single lane. For most of it, both my mirrors were clipping brush. Along the way, we went plenty slow. In one blind curve, a Silverado heading in the opposite direction almost ended my day. Luckily I was being super cautious and was able to ditch the X and he swerved just in time to miss me.
We took our time and in the really bad curves, I blew my horn a few times to hopefully warn oncoming traffic. After meeting a few more vehicles, we made it to the top where the old fire tower used to stand.
 20180825_164526
 by
TerryD, on Flickr
We stretched our legs for a bit and then headed on toward West Augusta on the ridge road. Just under the lookout, the road turns back to gravel/dirt but it was pretty smooth and we were making ok time. At one point we spooked a coyote out of hiding and he ran up the trail in front of me for a short stint. I didn't manage to get to my phone in time to snap a picture of him.
After a bit, we met a blue pickup coming the other way and he told us there was a biker up ahead that had gotten separated from his group and was headed back off the mountain. David and I talked it over on the radio and decided if we ran into him, we'd at least offer to help if we could. As luck would have it, he did indeed need help. When we found him, he was pushing his bicycle. Just after he met the guy in the pickup, he'd wrecked his bicycle and blew out the rear tire. His attempts to repair it had not worked so he had resigned himself to push it off the mountain.
We stopped and offered him a ride he gladly accepted. I strapped his bicycle to my roof and my daughter cleaned him out a seat in the X. It was a good 20 minute ride from where we picked him up to where his truck was parked. It was around 6 when we got there, it would have been well after dark by the time he got there if he'd had to walk off.
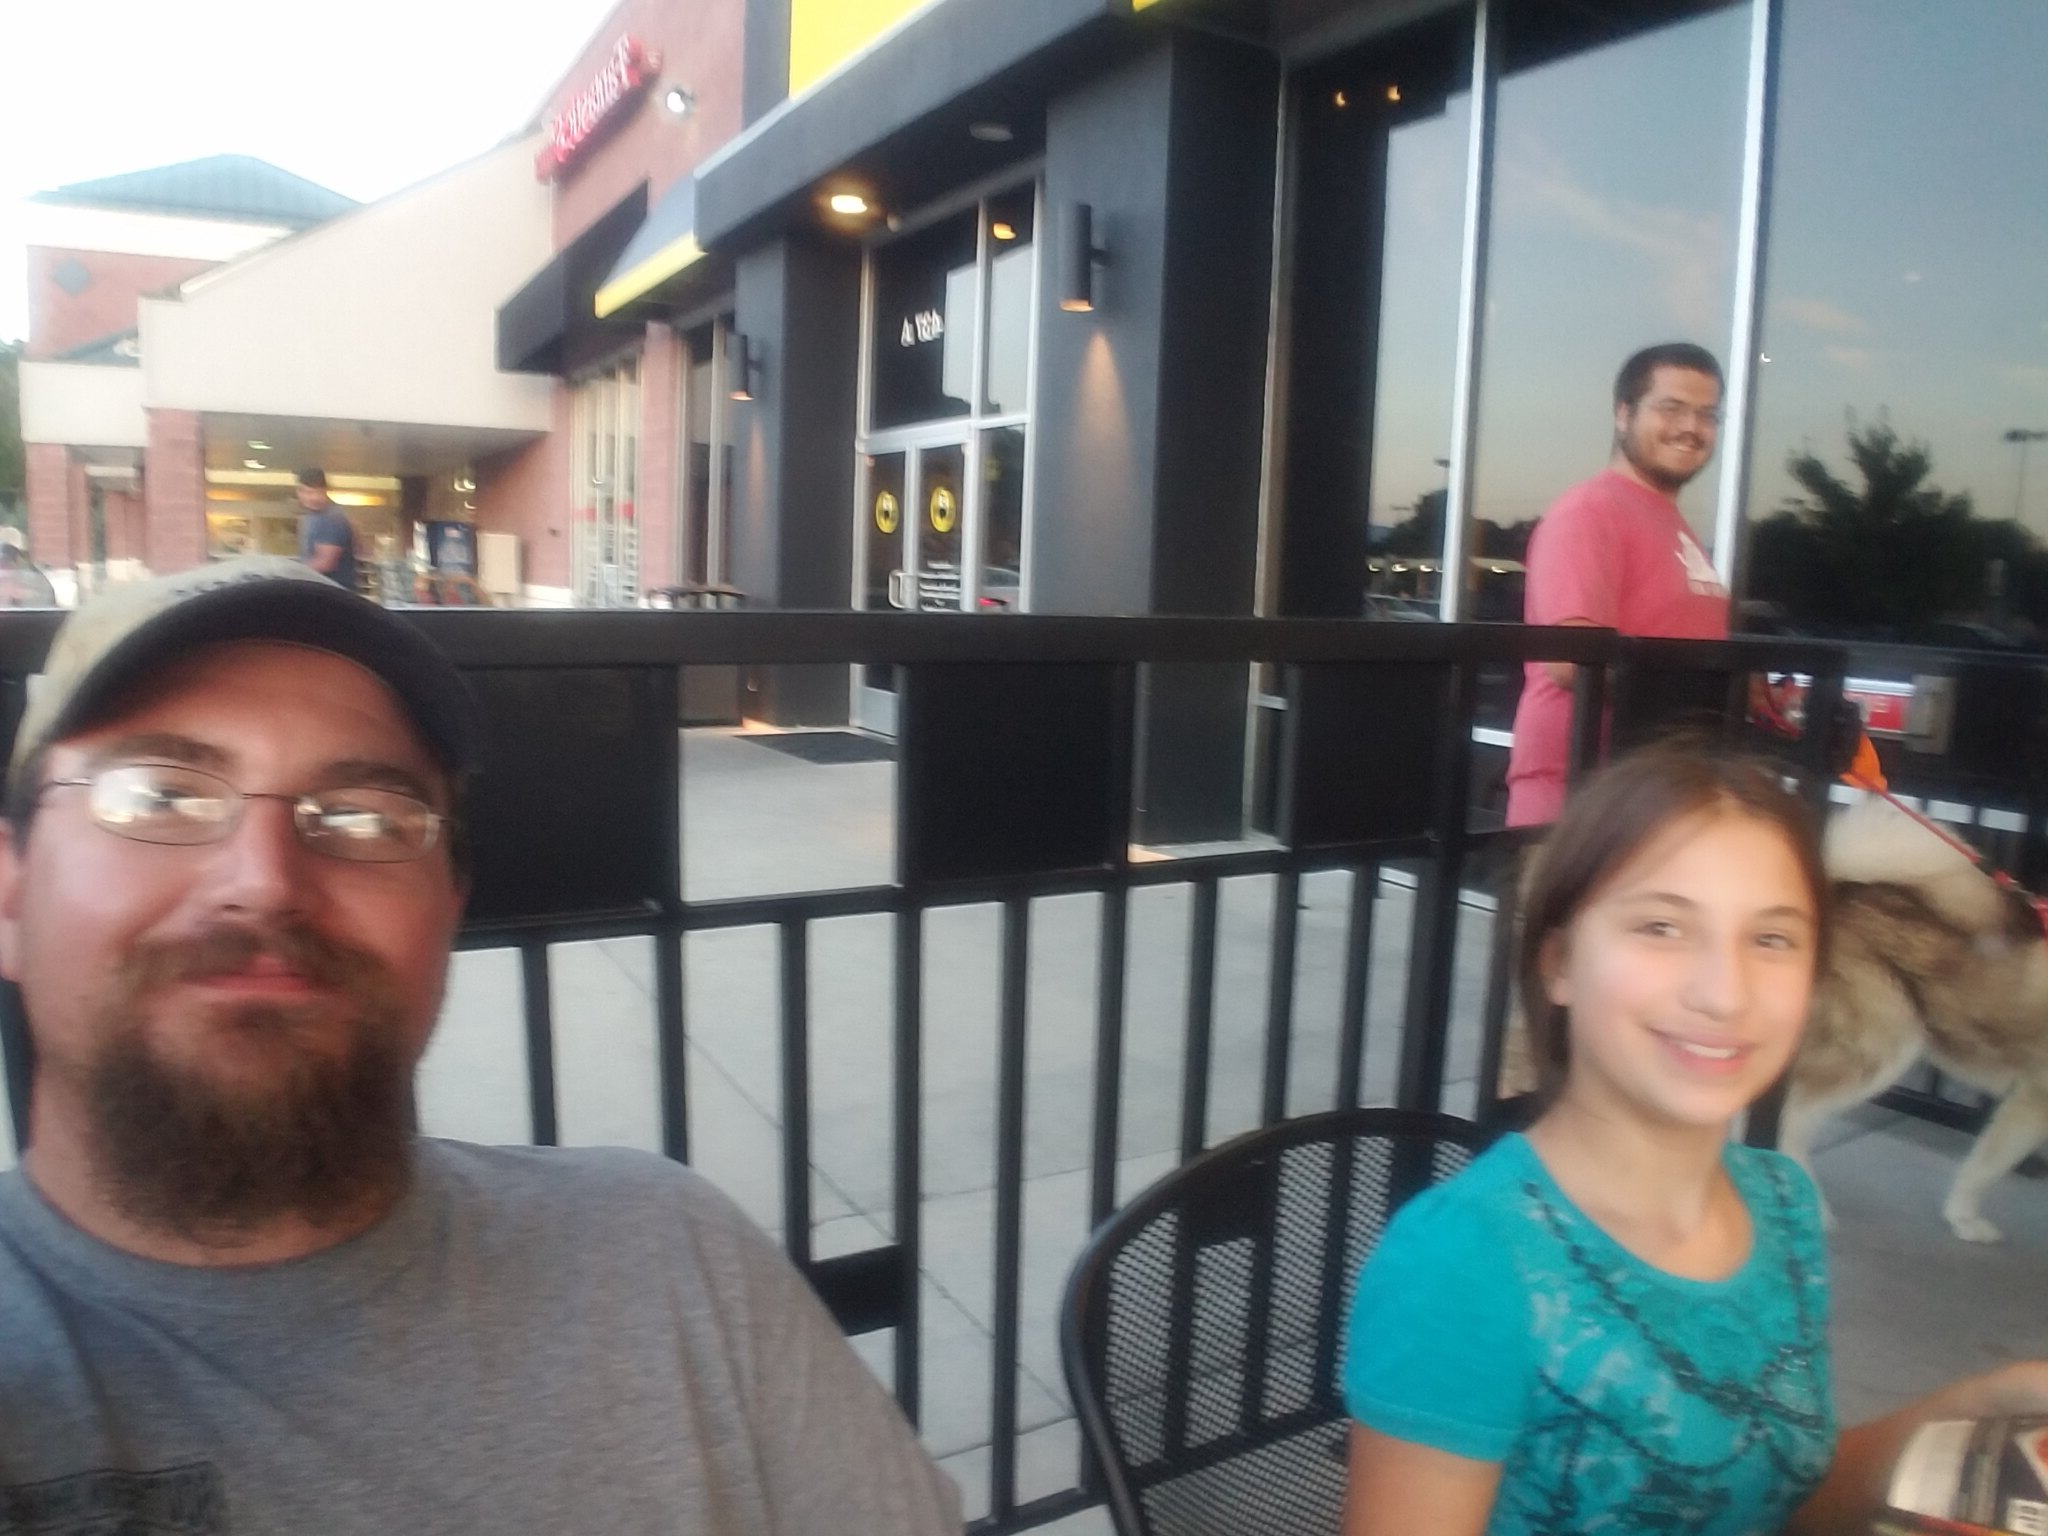
From there, we wound our way back to 250 where we both aired up. I had been running 18psi all day and I didn't think it was a good idea to drive the 30 minutes to Waynesboro at those pressures. It took about 20 minutes to air us both up with my little compressor. My daughter had asked if we could eat supper at Buffalo Wild Wings and the one in Waynesboro was the closest to where we were.
David joined us along with his dog Tiga (tye-gah). We left there around 9:20 headed home and made it back to the house at 10:30.
 20180825_194938
 by
TerryD, on Flickr
 20180523_170852 by TerryD, on Flickr
 20180718_130929 by TerryD, on Flickr
 20180919_172355 by TerryD, on Flickr
 20180919_193434 by TerryD, on Flickr
 20180920_100149 by TerryD, on Flickr
 20180920_100154 by TerryD, on Flickr
 20180920_105313 by TerryD, on Flickr
 20180920_130143 by TerryD, on Flickr
 20180920_182427 by TerryD, on Flickr
 20180921_145642 by TerryD, on Flickr
 20180921_140059 by TerryD, on Flickr