The last Potts run really fucked my front diff up, the crush collar for the pinion got fucked somehow and made the pinion really loose and I wanted to go to a solid collar spacer instead. Also, the stub shaft broke off inside the diff on the passenger side, so I had to get the diff taken apart anyway. In addition, it was time to ditch the welded diff for a lunch box locker as the welded diff just caused more problem. Nick was the one who gave me the idea to run a lunchbox after I think my 5th or 6th CV and was prolly the best advice I couldve taken from a basic bitch Jeeper. The welded diff was a nice cheap solution for a locker especially if you just blew up the spiders previously, but I would never run a welded diff on an ifs rig again, not only are you more likely to blow CVs compared to a regular locker, but turning on the trail especially aired down is a complete bitch and a half. This also gave me chance to tighten up any backlash or pinion preload. So it was time to rebuild everything better and more precise.
Im also posting this cuz no one really has a comprehensive regear write up on the Toyota IFS diffs, mainly cuz they're little fucks to get set up properly, more so than any normal diff. Ill get into why as we go along. Taking the diff apart is pretty straight forward, so we'll just skip to the meat and potatoes of the regear and locker install.
Free Spartan locker with the purchase of a very expensive beer koozie! Also got a solid collar pinion spacer from ECGS. Not the cheapest place to get diff stuff, but they are very reliable and have great customer service.
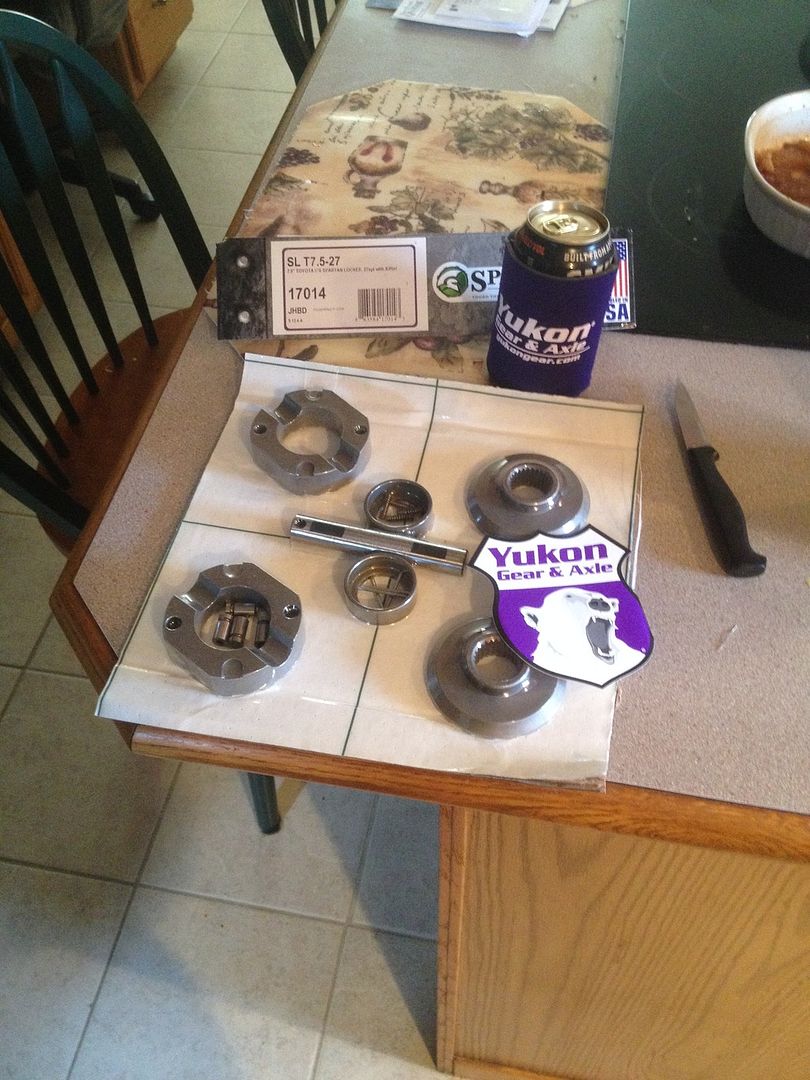
The instructions that came with the locker were pretty self explanatory, having the ring gear off the diff makes things a ton easier, but can be done with it on. Spartan on the left, welded shitbox on the right. You can see where the stub shaft broke off in the diff.(yes, yet another spare diff I got from my shed in my backyard)
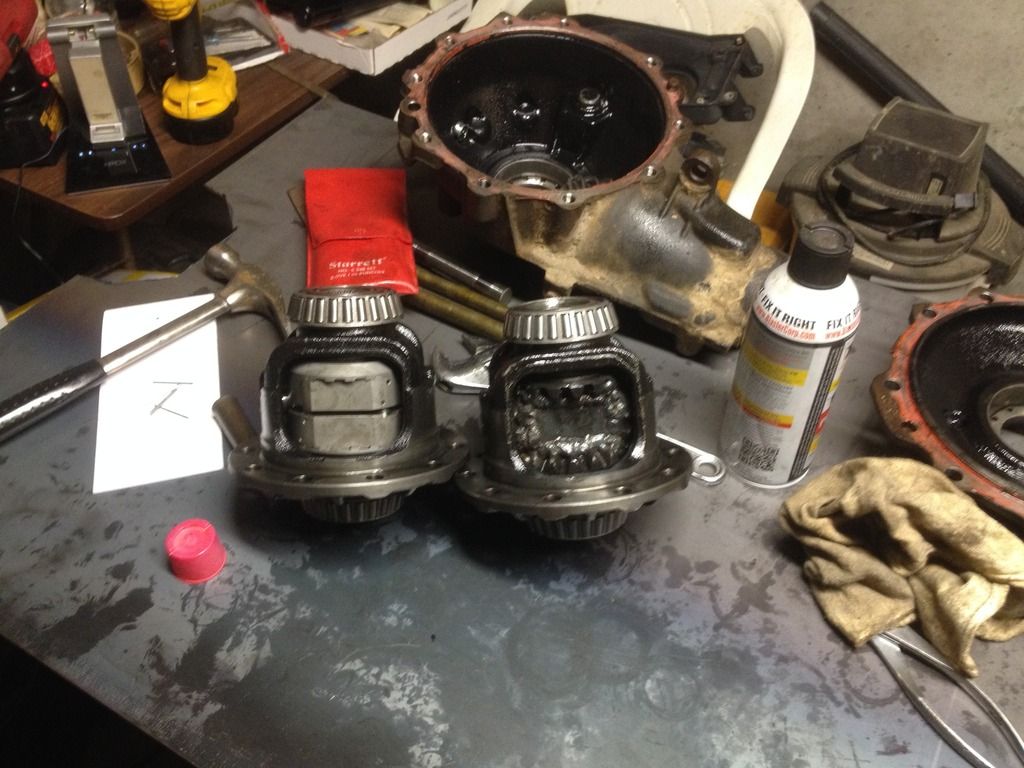
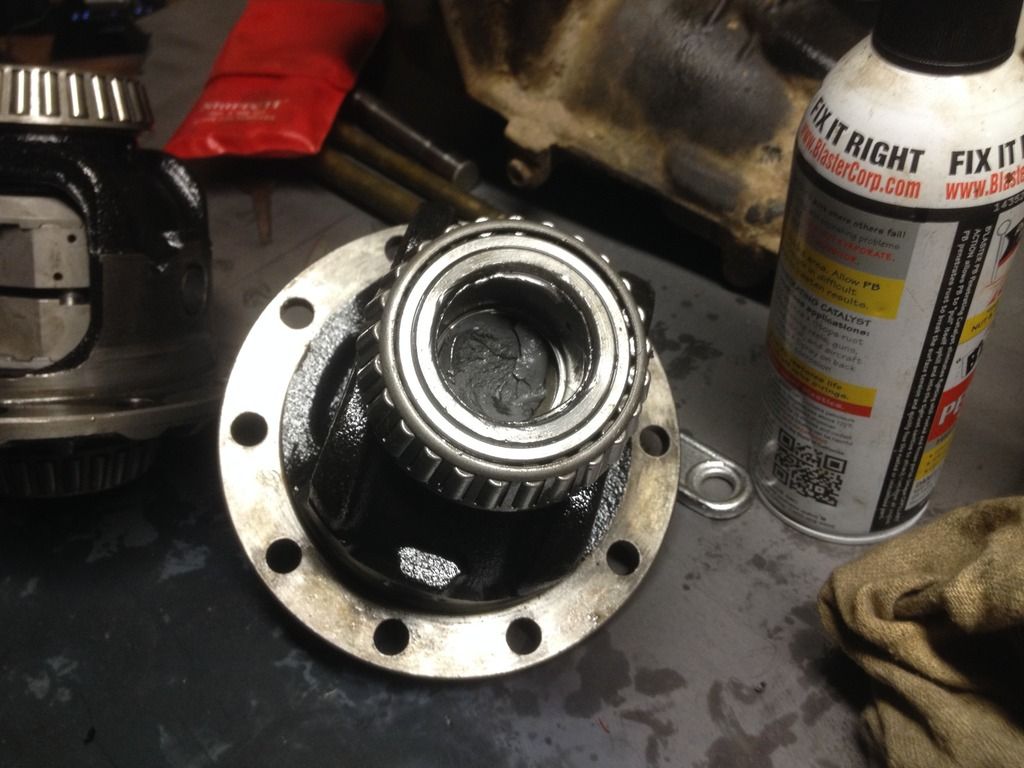
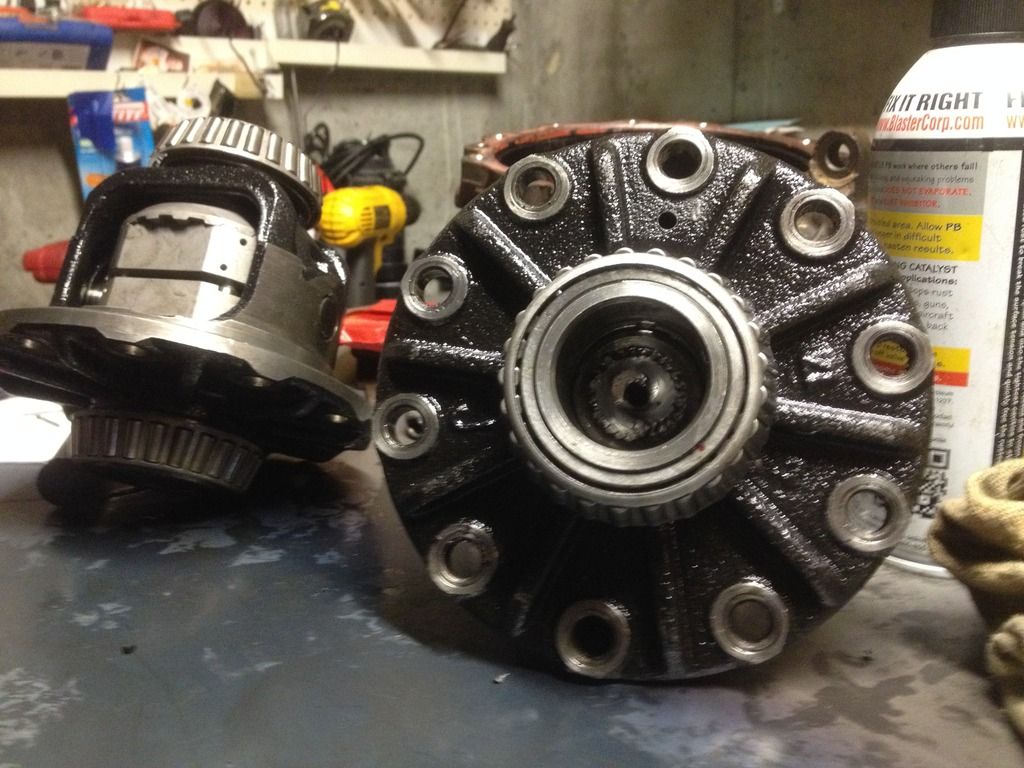
NOTE:You will need to press on new bearings onto the pinion along with a pinion shim before setting preload, same with the carrier bearings. Since Im reusing my old pinion, bearings and pinion shim, I went straight to setting preload. The bearings were still good as I put all knew bearings in a few months prior when I first built my diff.
So the first thing to do is setting the pinion preload. If you have a crush collar, then leave the collar out till the final assembly. All you have to do is tighten the pinion nut without a collar until the proper preload is reached with an in-lb torque wrench. You just need proper pinion preload to get a pattern check. Since I went with a solid collar, the first thing I did was mic out all the shims, mark them, and order them to make it easier.
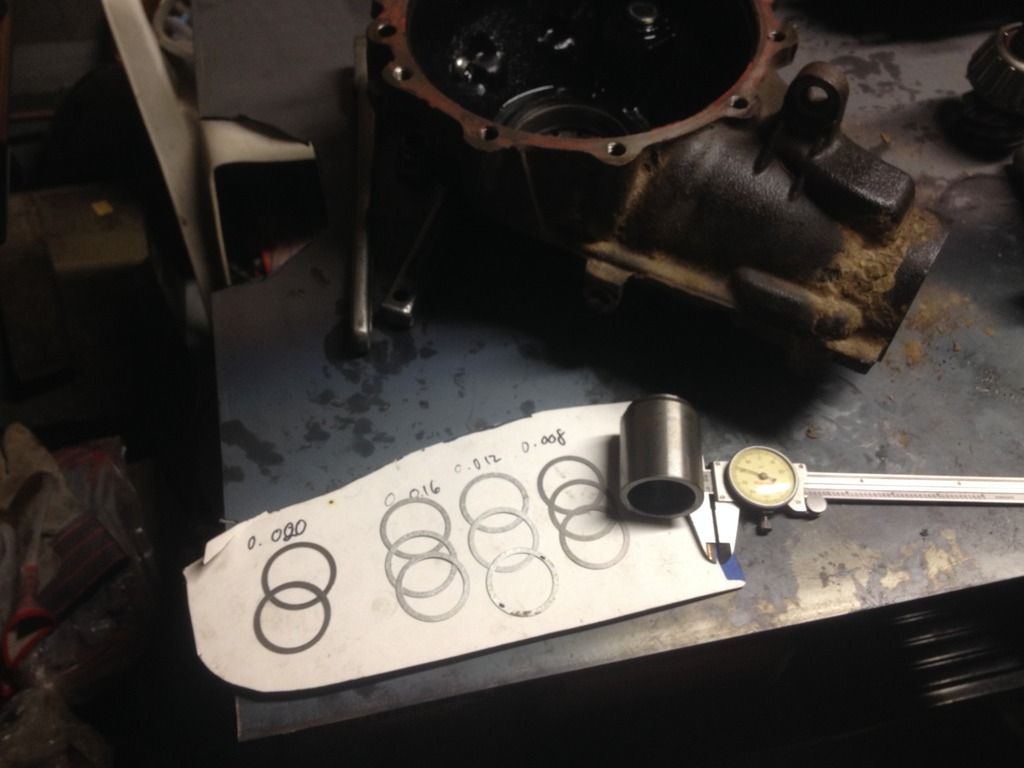
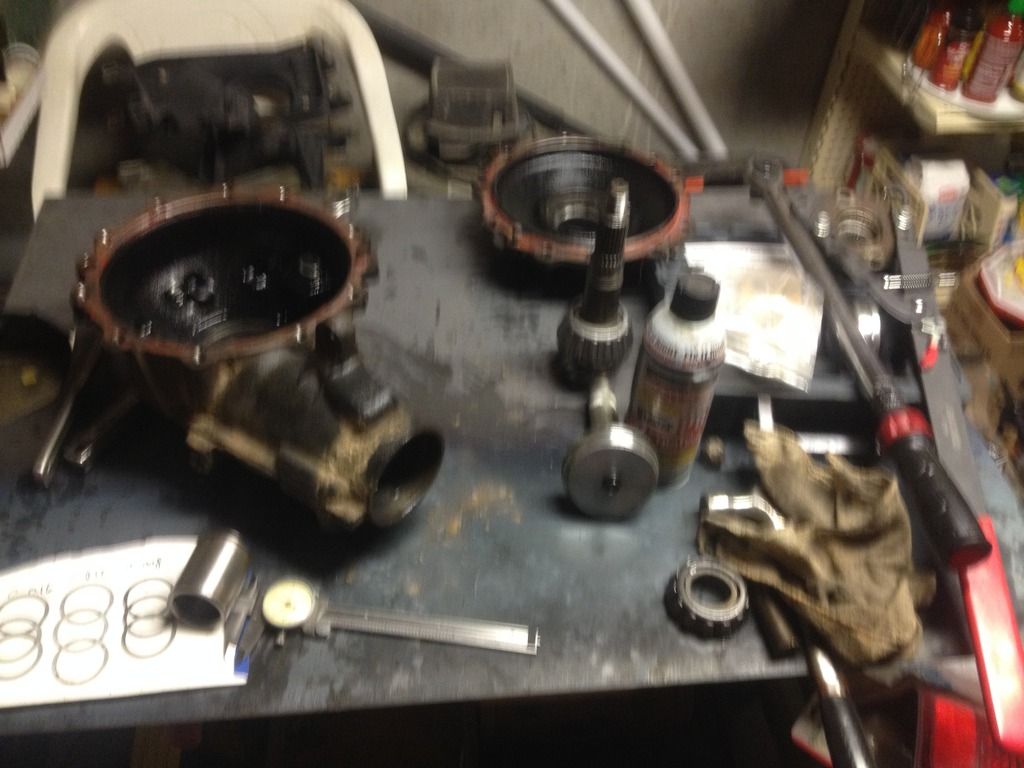
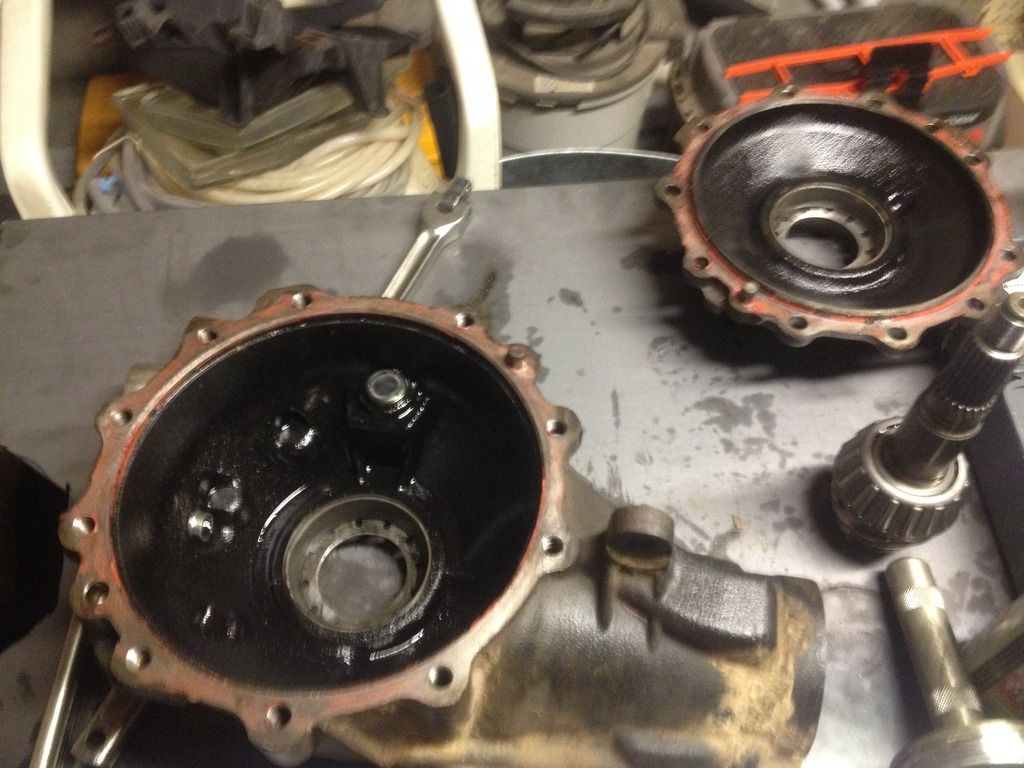
If you have your old crush collar, then you can use that to get a general ballpark as to how many shims you need for your solid collar when you mic it.
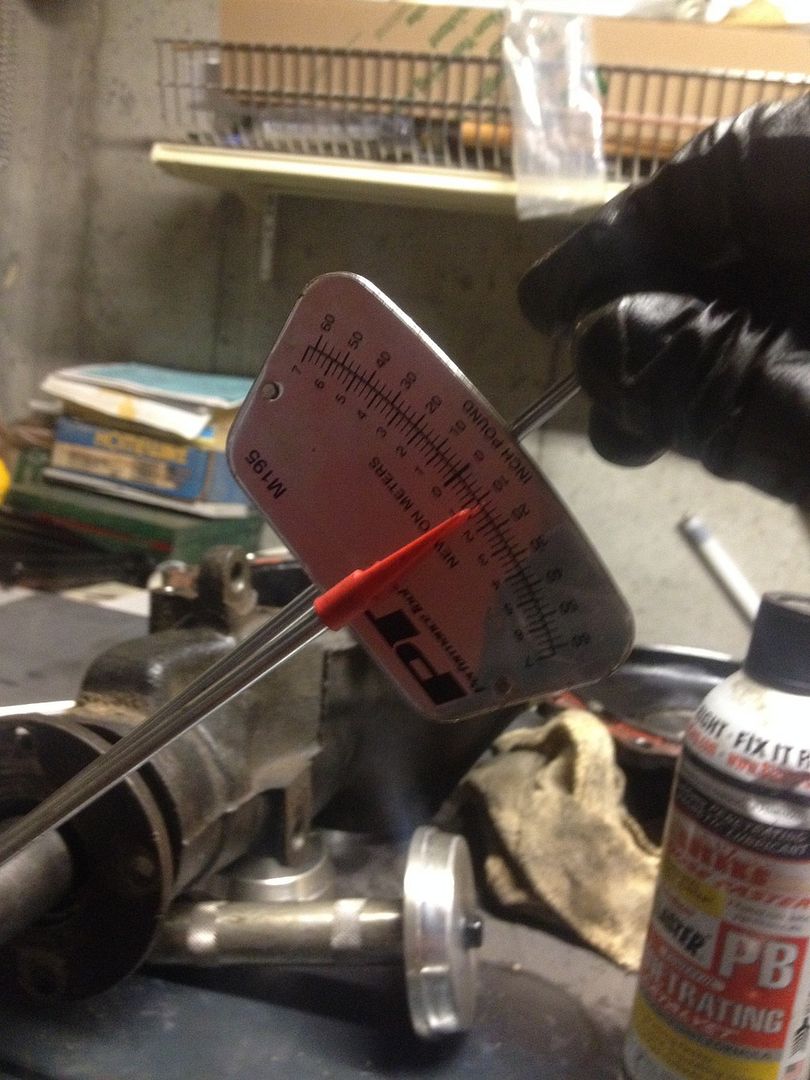
I unfortunately did not have my old crush collar and just used the guess and check method. Started out with 0.052" of shims added to the collar, slid that onto the pinion, put the pinion in the housing, then slid the outer bearing on followed by the oil slinger and the drive flange. Put the pinion nut on and torqued it to 150ft-lb. You can use a vice to hold the flange while you torque it, or I used a fan pulley holder, which worked out really well. Then it was time to measure the pinion preload using an in-lb torque wrench. Too tight pinion would not move.
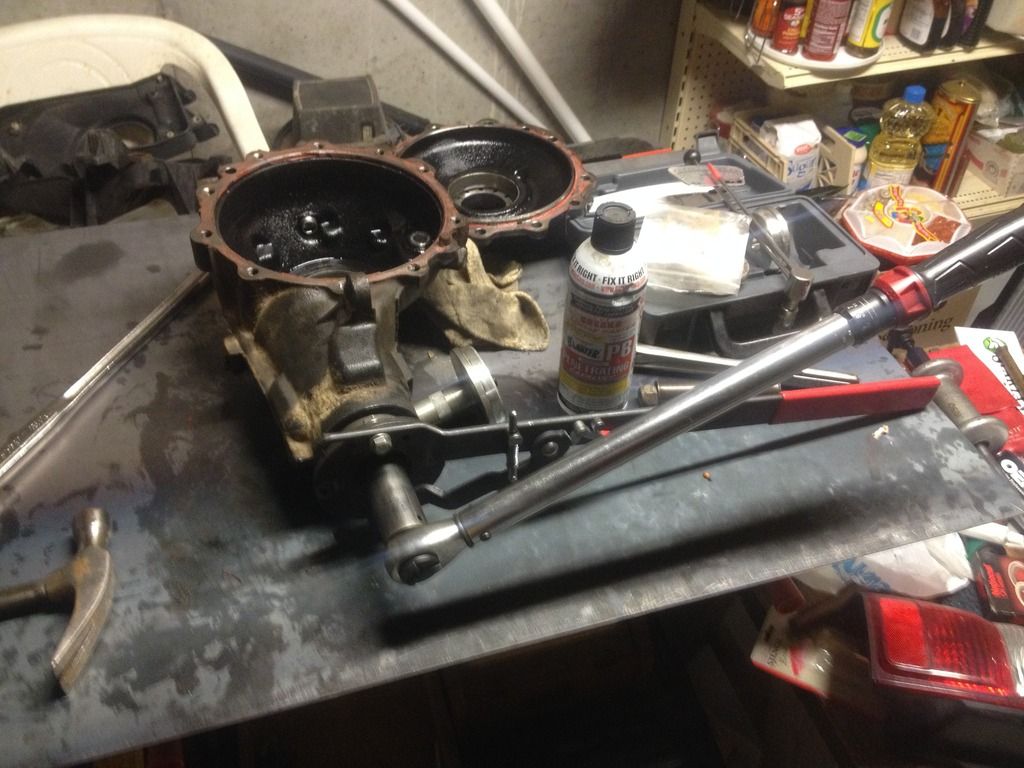
Basics to setting a solid collar:
Too much preload-add shims
Too little preload-remove shims
keep playing with shims till desired preload is reached.
Keep in mind, pinion nut torque must be kept at a constant
Took everything back apart, bumped the shims up to 0.060", slid everything back on, torqued it all down and measured right at 10in-lbs of pinion preload which is right where I want it. Also, make sure that all your bearings have lube on them before you test anything.
Used bearing preload: 5.2-8.7in-lbs
new bearing preload: 10.4-16.5in-lbs
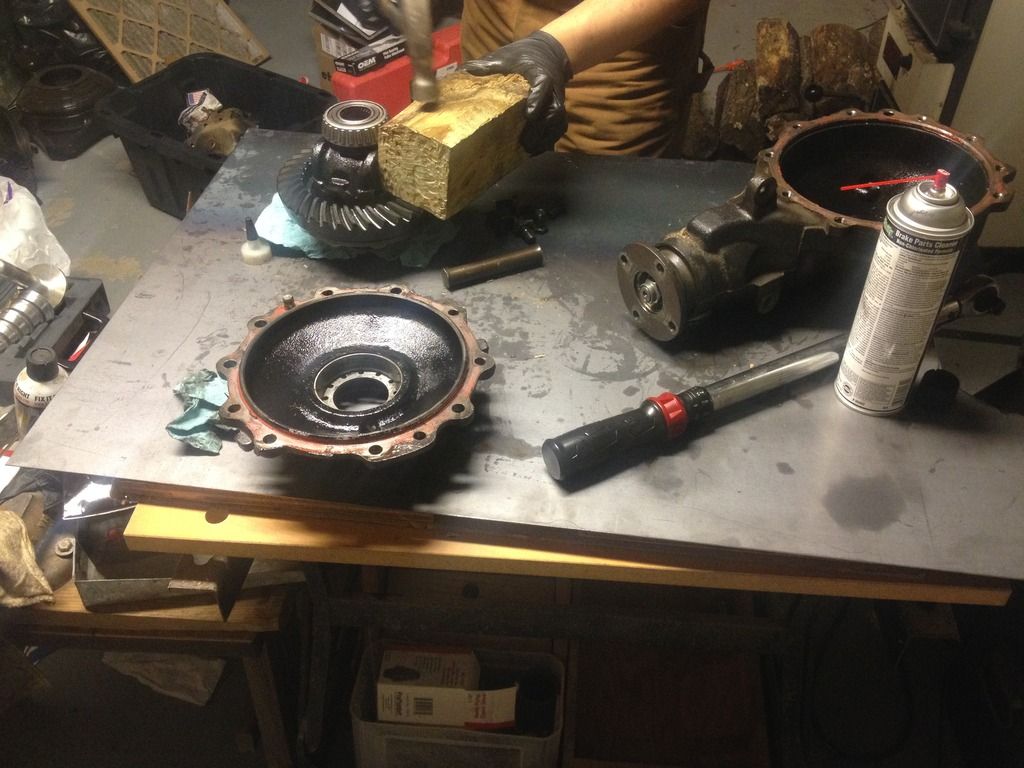
Next, I took a piece of wood and hammered on the ring gear onto the diff. Other methods of putting on the ring gear include baking it or heating it in hot water. Put some red thread lock on the ring gear bolts and torque them to spec.
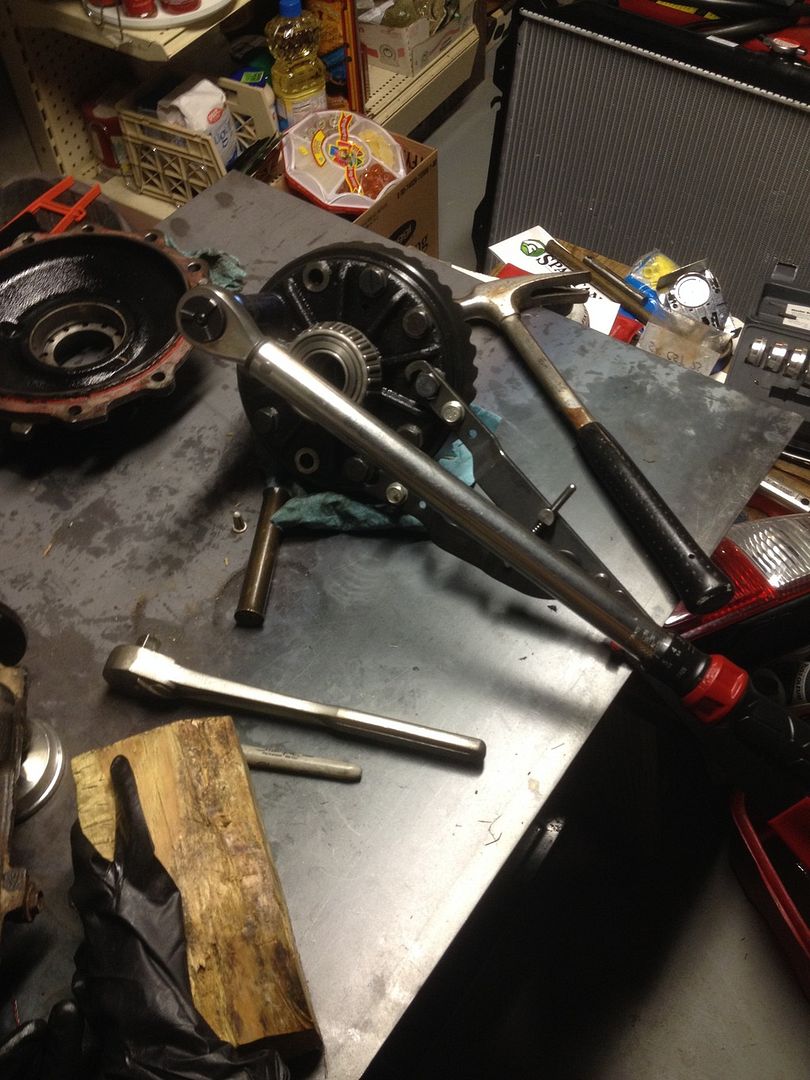
Backlash is next. BL on the Toyota clamshell diff is a complete bitch. Drop the diff in the housing, then torque the clamshell bolts to spec. So to measure BL, you have to stick the dial indicator through the drain plug hole and onto one of the ring gear teeth. Then you have to stick something splined in the diff, I just used a CV, to move the ring gear again the pinion and get a BL reading.
Toyota BL usually runs pretty tight at 0.0039-0.0071"
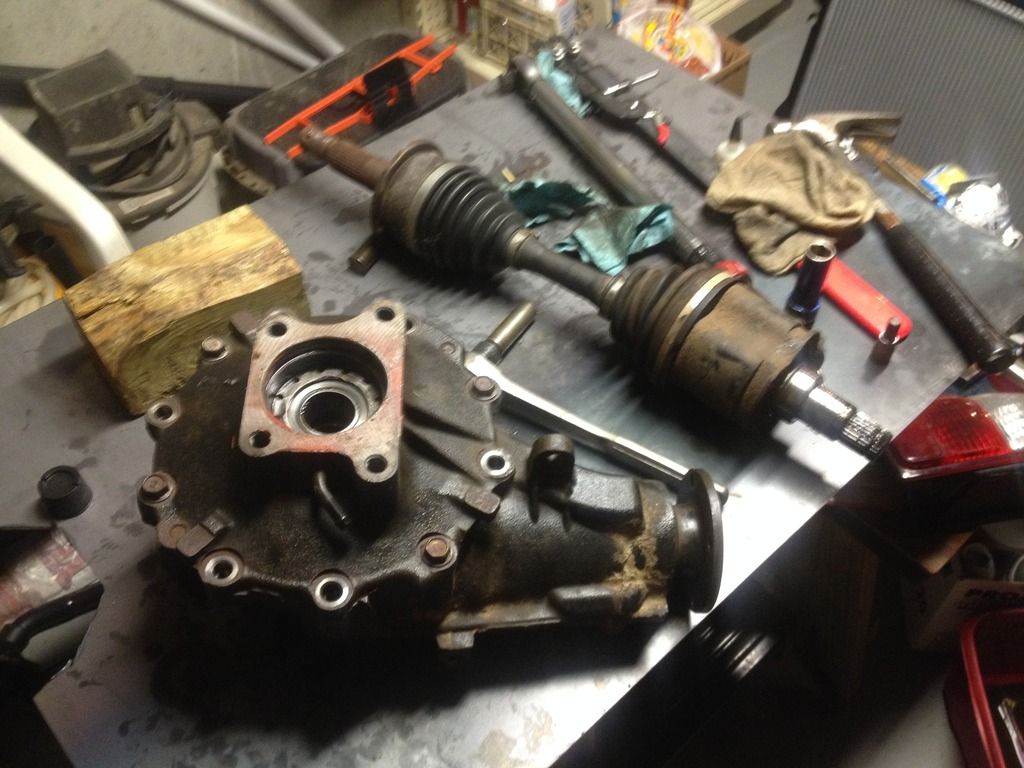
When I first rebuilt the diff, I got 0.0050" BL, and this time I got 0.0060" so that was good enough for me, no need to adjust shims.
Adjusting BL, pretty much the whole reason as to why it is such a bitch. They way to adjust BL on the clamshell is by adding or subtracting shims on either side of the carrier bearings while keeping the overall shim thickness from both sides the same. Unfortunately, the shims are pressed between the housing and the carrier bearing, so every time you need to make an adjustment you have to take the whole diff apart,press out the bearing, adjust your shims on both sides then press the bearings back on and get the case back together to test BL again. I havent tried this yet but i guess you could also grind down the outer diameter of the outer carrier race so you dont have to press it in and out every time, just make sure to put new races in before final install.
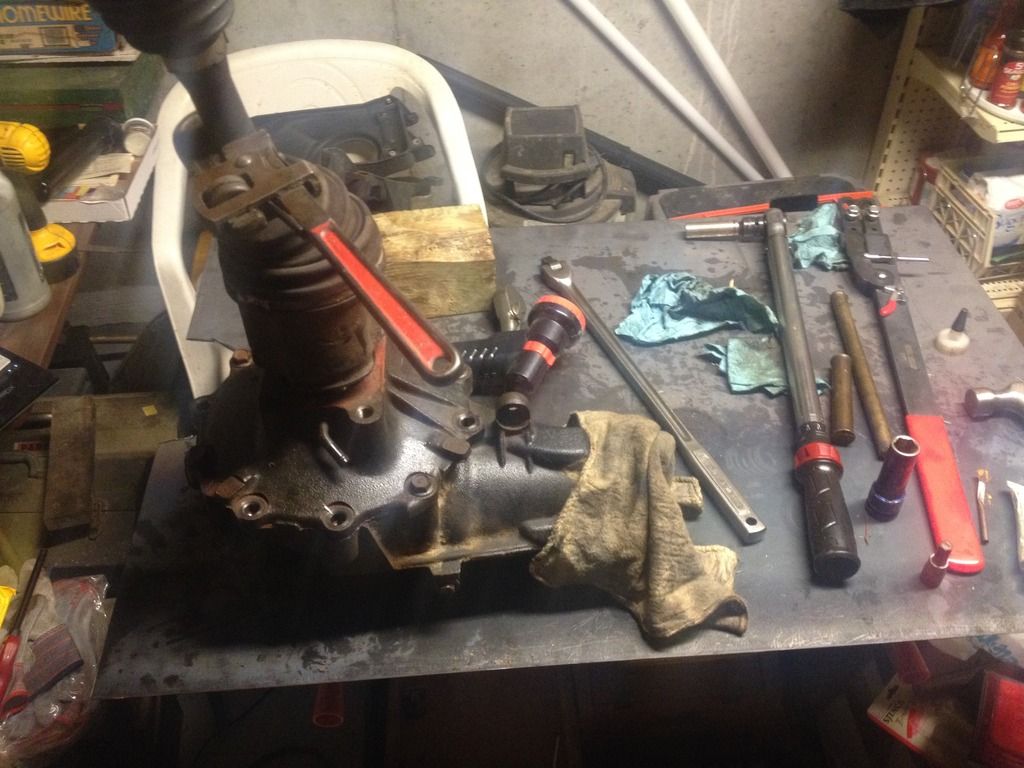
Basic rundown:
BL too loose (>0.0071") : subtract shims from side facing ring gear, add whatever subtracted to opposite side bearing
BL too tight(<0.0039") : add shims to side facing ring gear, subtract whatever added to opposite side bearing
keep playing with it till you get it right.
For reference: Last thing: pattern check
Split the clamshell again, take the diff out and mark about 4 teeth of the ring gear on both the coast and drive sides. Stick it back in, torque the clamshell to spec and youre ready for a pattern check. Also, make sure to use good quality marking compound like the GM shit, its like $8 and makes reading patterns a lot easier compared to toothpaste or prussian blue. So since we cant physically put our hands on the ring gear, youre gonna have to stick something splined in the diff to rotate the ring gear again the pinion both ways, while you are turning the ring gear, hold on to the pinion flange with a rag to simulate some resistance which will help to get a cleaner pattern.
This is what I got, pretty much spot on, but like I said its been set up before, so I really didnt have to mess with any shimming
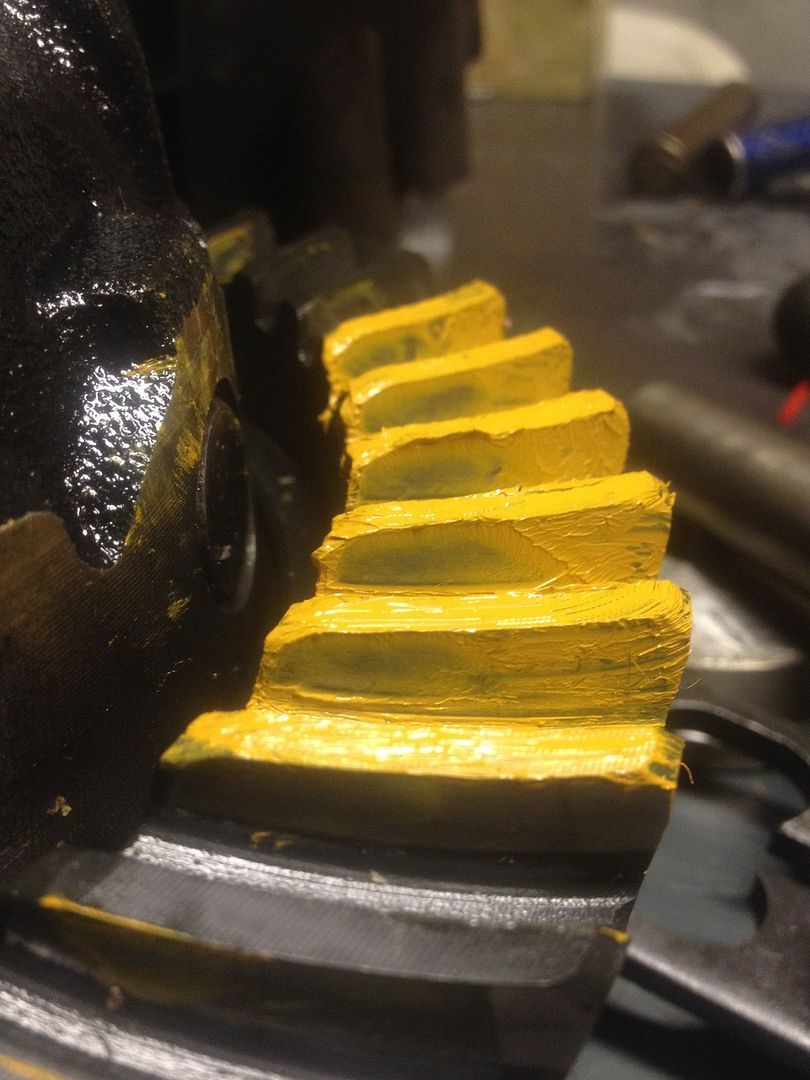
It is favoring the heel of the ring gear, but that is fine so as long as the contact patch is center between the bottom valley of the ring gear and the top of it.
Didnt get a pic of the coast side, but was pretty much the same.
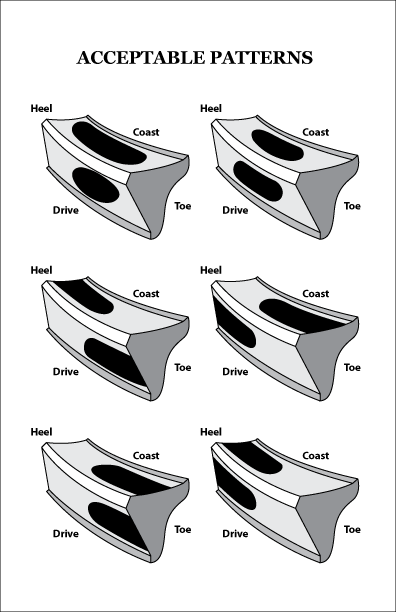
If you google gear patterns, itll show you multiple examples of good and bad patterns.
So, your pattern isnt quite right huh? Well, tough shit sugar tits, youre gonna have to blow everything back apart down to that little pinion shim right below your inner pinion bearing. That pinion shim is whats going to need to be adjusted. Grinding out the inner race of an old pinion bearing will make things quicker so you dont have to press the inner bearing on and off.
Pattern basics:
Pattern too deep: subtract pinion shims
pattern to shallow: add pinion shims
This will be a long process as you will have to take everything apart and back together several times including setting pinion preload each time unless you have a solid collar set up. You should not have to do BL each time as that should stay the same. Just keep adjusting only the pinion shim until desired pattern is achieved.
Got a good pattern, BL, and PPL?! SWEET! NOW BLOW EVERYTHING APART AGAIN!!! Arent setting gears up fun?!
Pressing in any new pinion bearings, races, ect. for final install. Make sure that they are lubed.
Put outer pinion bearing in housing then tap on a fresh pinion seal.
Slide pinion in housing with shimmed solid collar and torque to 150ft-lbs.
Drop in diff and sinch down the two halves of the clamshell and torque to spec.
Next you can either do final gear pattern check which is good practice or you can trust that everything you just did was hopefully right and start bolting the half shaft to the housing along with some fresh axle seals.
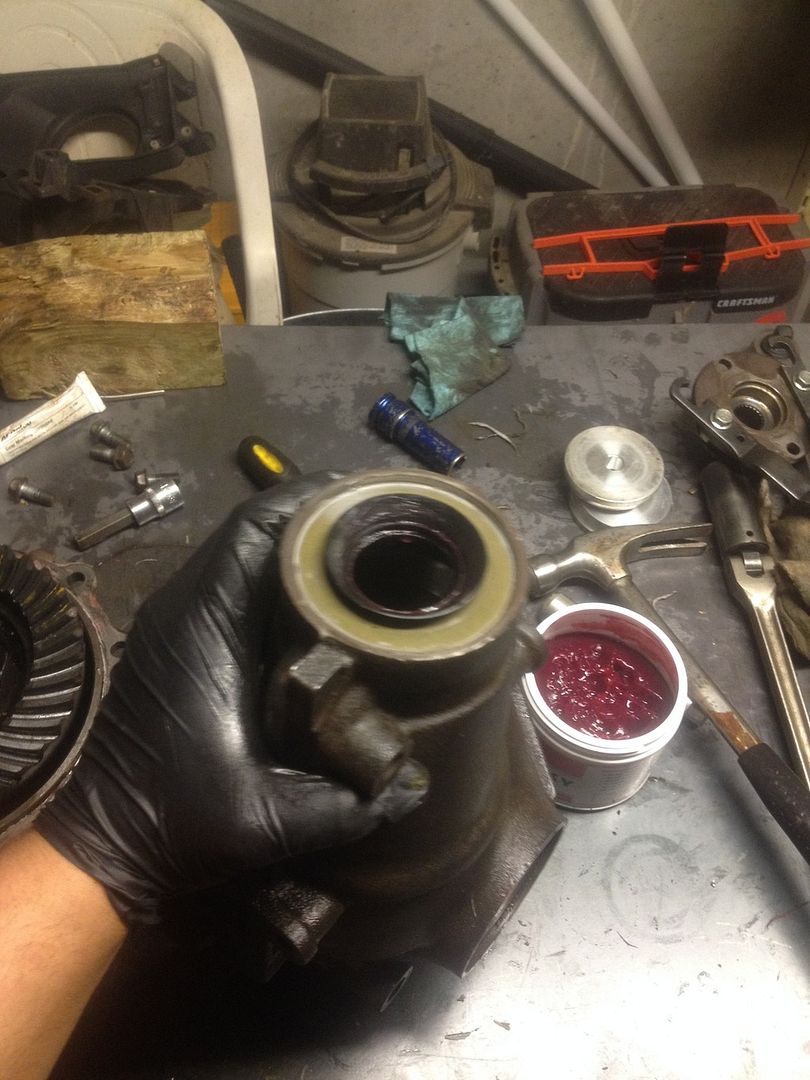
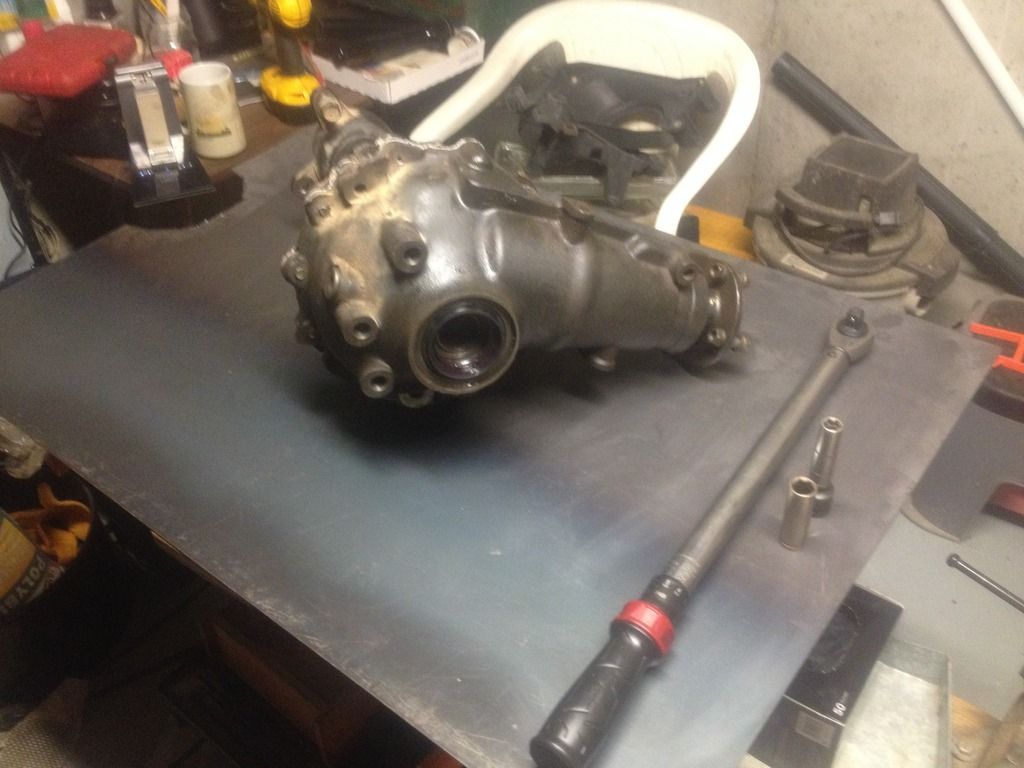
THATS IT! Stick err in your rig, slap on some CVs, lube err up with some 75w-90 and shes good to go! If you running a fresh set of gears, make sure to do the 500 mile light driving break in period, then drain old gear oil and add fresh oil in.
WHATS THAT? You want more mindless reading?! Here you go! Everything you could possibly want to know about gearing every other Toyota diff!!!
http://www.gearinstalls.com/